
DFRobot Devastator Tank Treaded Tracked Robot Part 1 Assembly
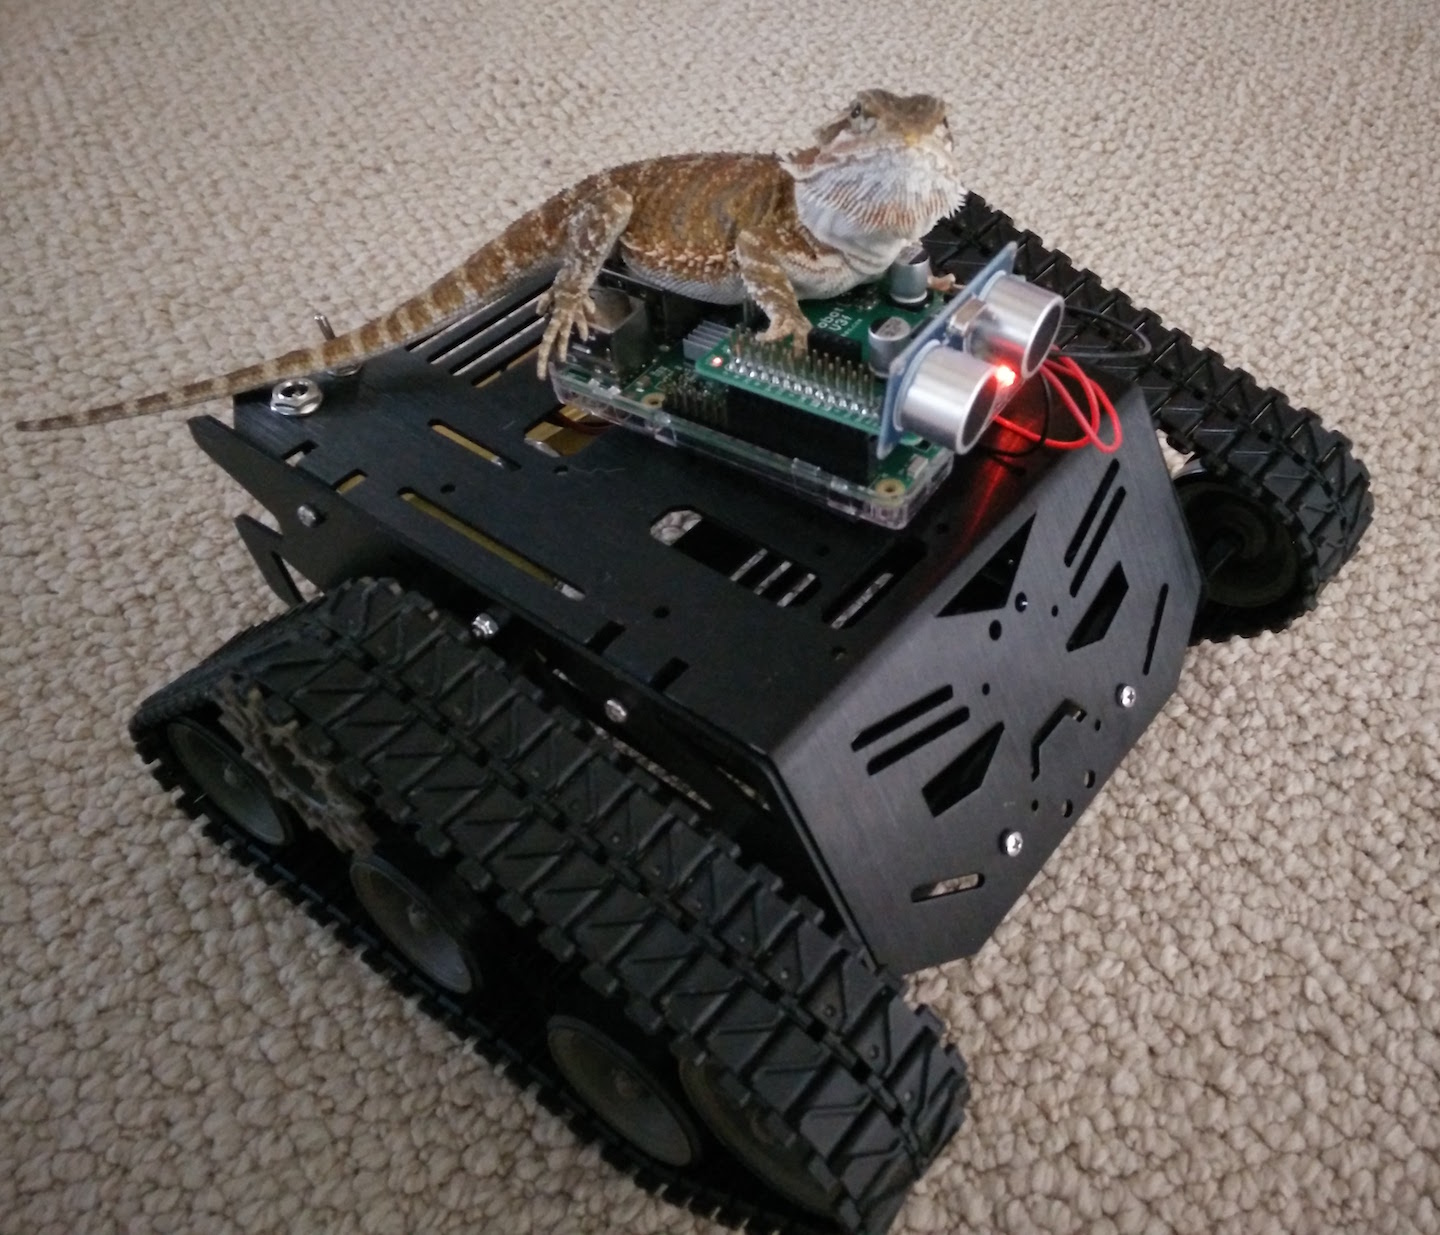
You may have seen a few pictures of Rex our bearded dragon on top of a Tank Treaded Robot in some of my other posts. In this post I will go though the initial assembly and build of the DFRobot Devastator Tank Treaded Tracked Robot (although I have a feeling this will be an ever evolving project!)
*Disclaimer: Most if not all links on this page will be Affiliate Links. You still pay the same price but it helps us pay for things like website hosting and more bits & gadgets to write about.
DFRobot now has 2 Devastator kits available: one with plastic bodied motors and one with all metal higher torque motors.
DFrobot Devastator with Plastic Motors is about $74 on Amazon
DFrobot Devastator with Metal Motors is about $94 on Amazon
You can also buy both kits directly from DFRobot here for cheaper but you’ll need to factor in shipping costs from China: https://www.dfrobot.com/index.php?route=product/search&search=Devastator&description=true
The metal gear motors are better suited to outdoor use and also increase the load capacity of this robot. As per DFRobot these are some of the improvements:
- Upgraded V1’s plastic motors to durable and robust metal gear motors
- Improved speed and torque
- Increased load capacity from 1.5kg to 3kg
It will likely cost you more than $20 to upgrade the plastic motors to metal motors. (It cost over $30 just for the 2 Metal DC motors on DFRobot’s site. Maybe we can find them elsewhere.)
The all metal motors weren’t available when I purchased my kit, so this build is based on the plastic bodied motors. Also, I believe DFRobot has made some minor changes to the new versions making them even easier to put together.
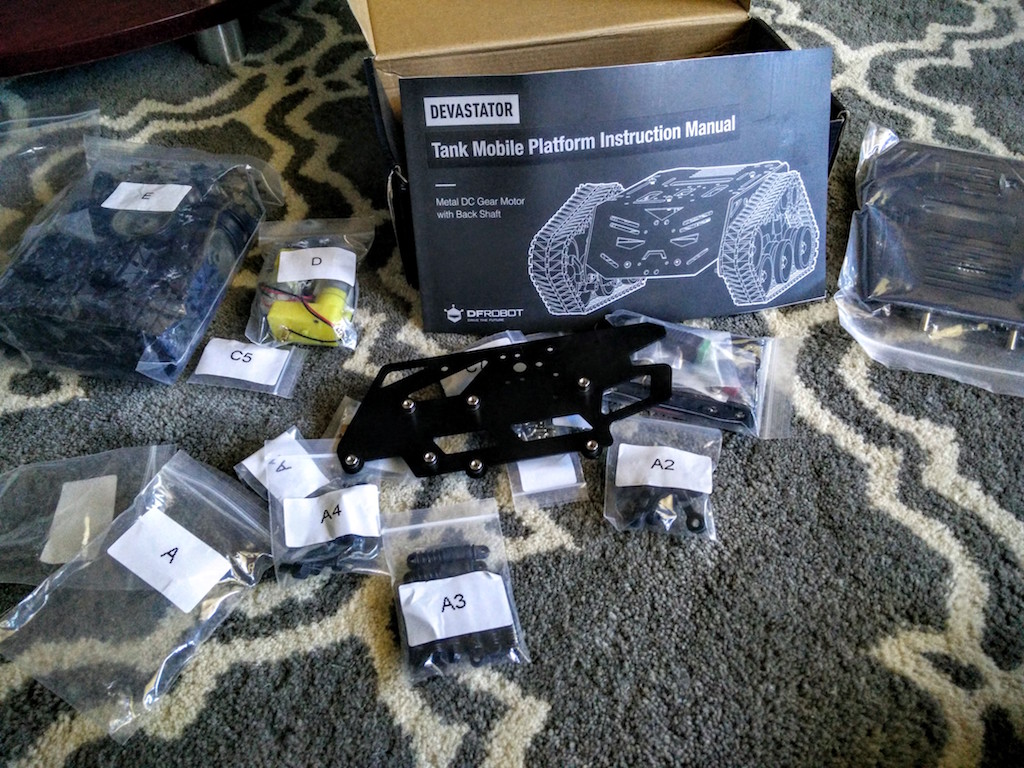
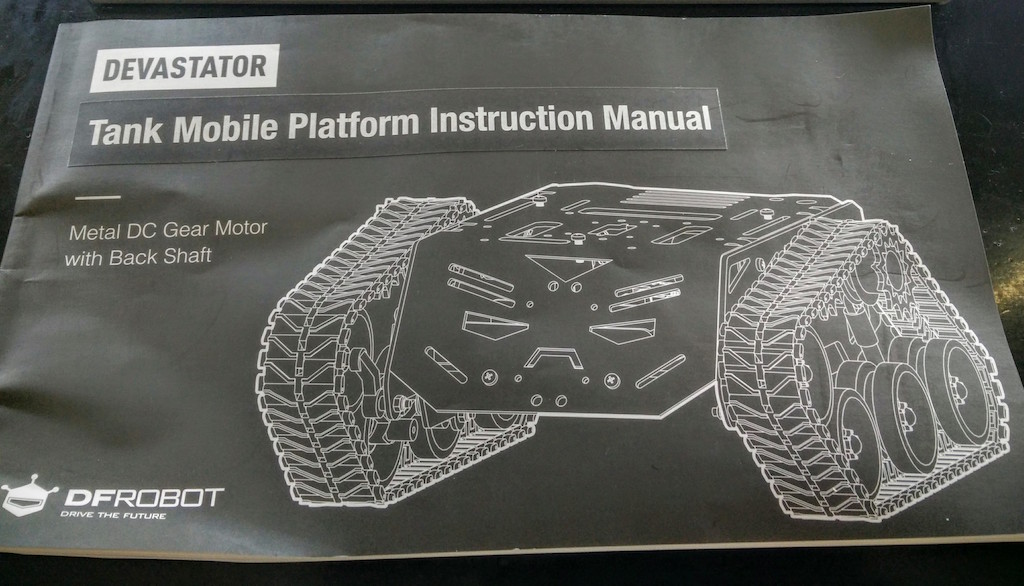
Everything came well labeled and the instructions were fairly easy to follow(as in better than Ikea). Updated instructions are available online via PDF here: https://github.com/Arduinolibrary/DFRobot_Devastator_Tank_Mobile_Platform/blob/master/ROB0112.pdf?raw=true
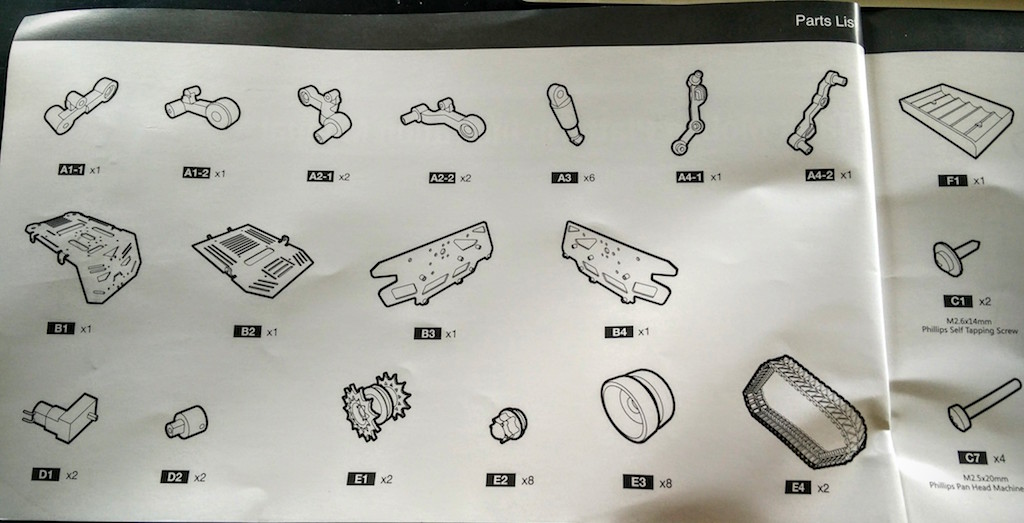
I suggest you do a parts inventory and also read through the instruction thoroughly before you get started with your assembly.
It took me one evening, maybe about 4 hours, to assemble the entire robot and get some basic working code running.
I already had the following parts on hand which made this build possible in one night:
Raspberry Pi 3 Starter Kit $49
MonkMakes RaspiRobot V3 Motor Controller Hat $29
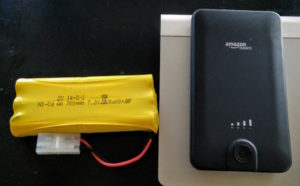
Rechargeable battery from an old RC Car to Motor power
AmazonBasics Portable Power Bank – 5,600 mAh for Raspberry Pi Power
HC-SR04 Ranging Detector Mod Distance Sensor $10
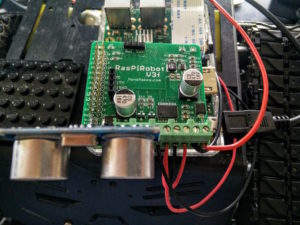
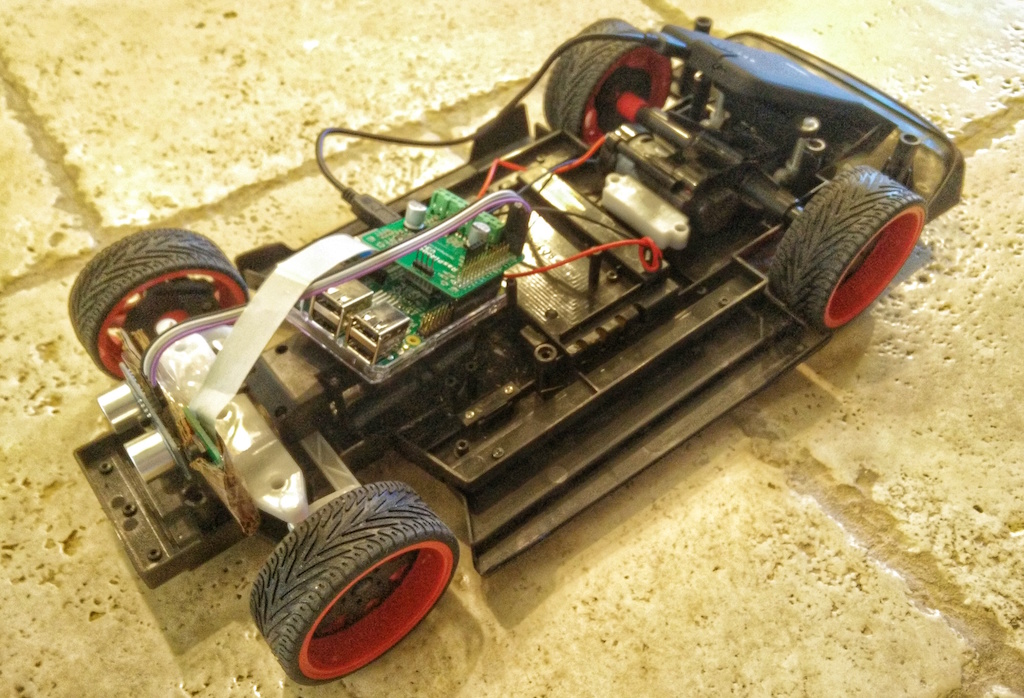
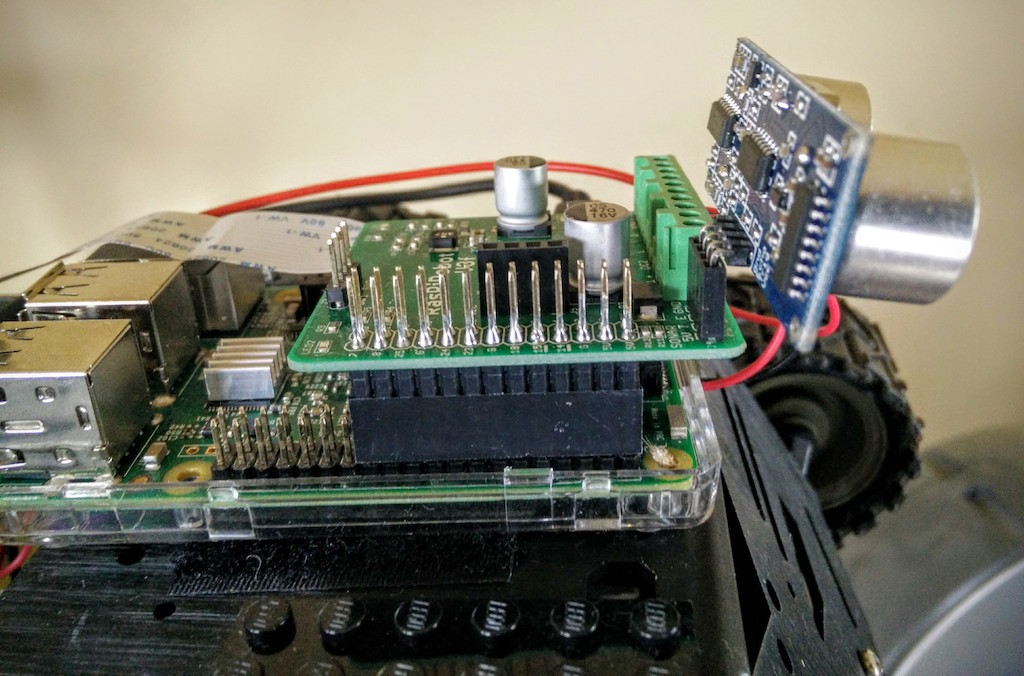
We had played with the Monk Makes RaspiRobot previously on an old RC car. It is a motor controller hat that attaches to a Raspberry Pi. It includes a built in socket for the HC-SR-04 Rangefinder, I2C headers, 2 built in LEDs, 2 open collector buffered outputs and it can also power the Raspberry Pi(when supplied with power itself). it can also be used to control 1 stepper motor.
You can check out the Github Python library here: https://github.com/simonmonk/raspirobotboard3
Here’s an example of the code to make a robot move forward:
rr.forward() # forward half speed indefinitely
rr.forward(5) # forward for 5 seconds at half speed
rr.forward(5, 1) # forward for 5 seconds at full speed
I didn’t run into any major snags during the assembly of the robot and maybe only sweared the Tech Gods 1 or 2 times 😉
The hardest part of the assembly was removing a few tread sections to get them tight enough, but DFRobot has a page dedicated to those instructions: https://www.dfrobot.com/forum/viewtopic.php?f=12&t=1832
In Part 2 (DfRobot Devastator Tank Robot Raspberry Pi Python Code) we’ll run through some of the different code we’re using for autonomous and FPV(first person view).
Unboxing
Instruction Manual
Parts List
Assembly Instructions
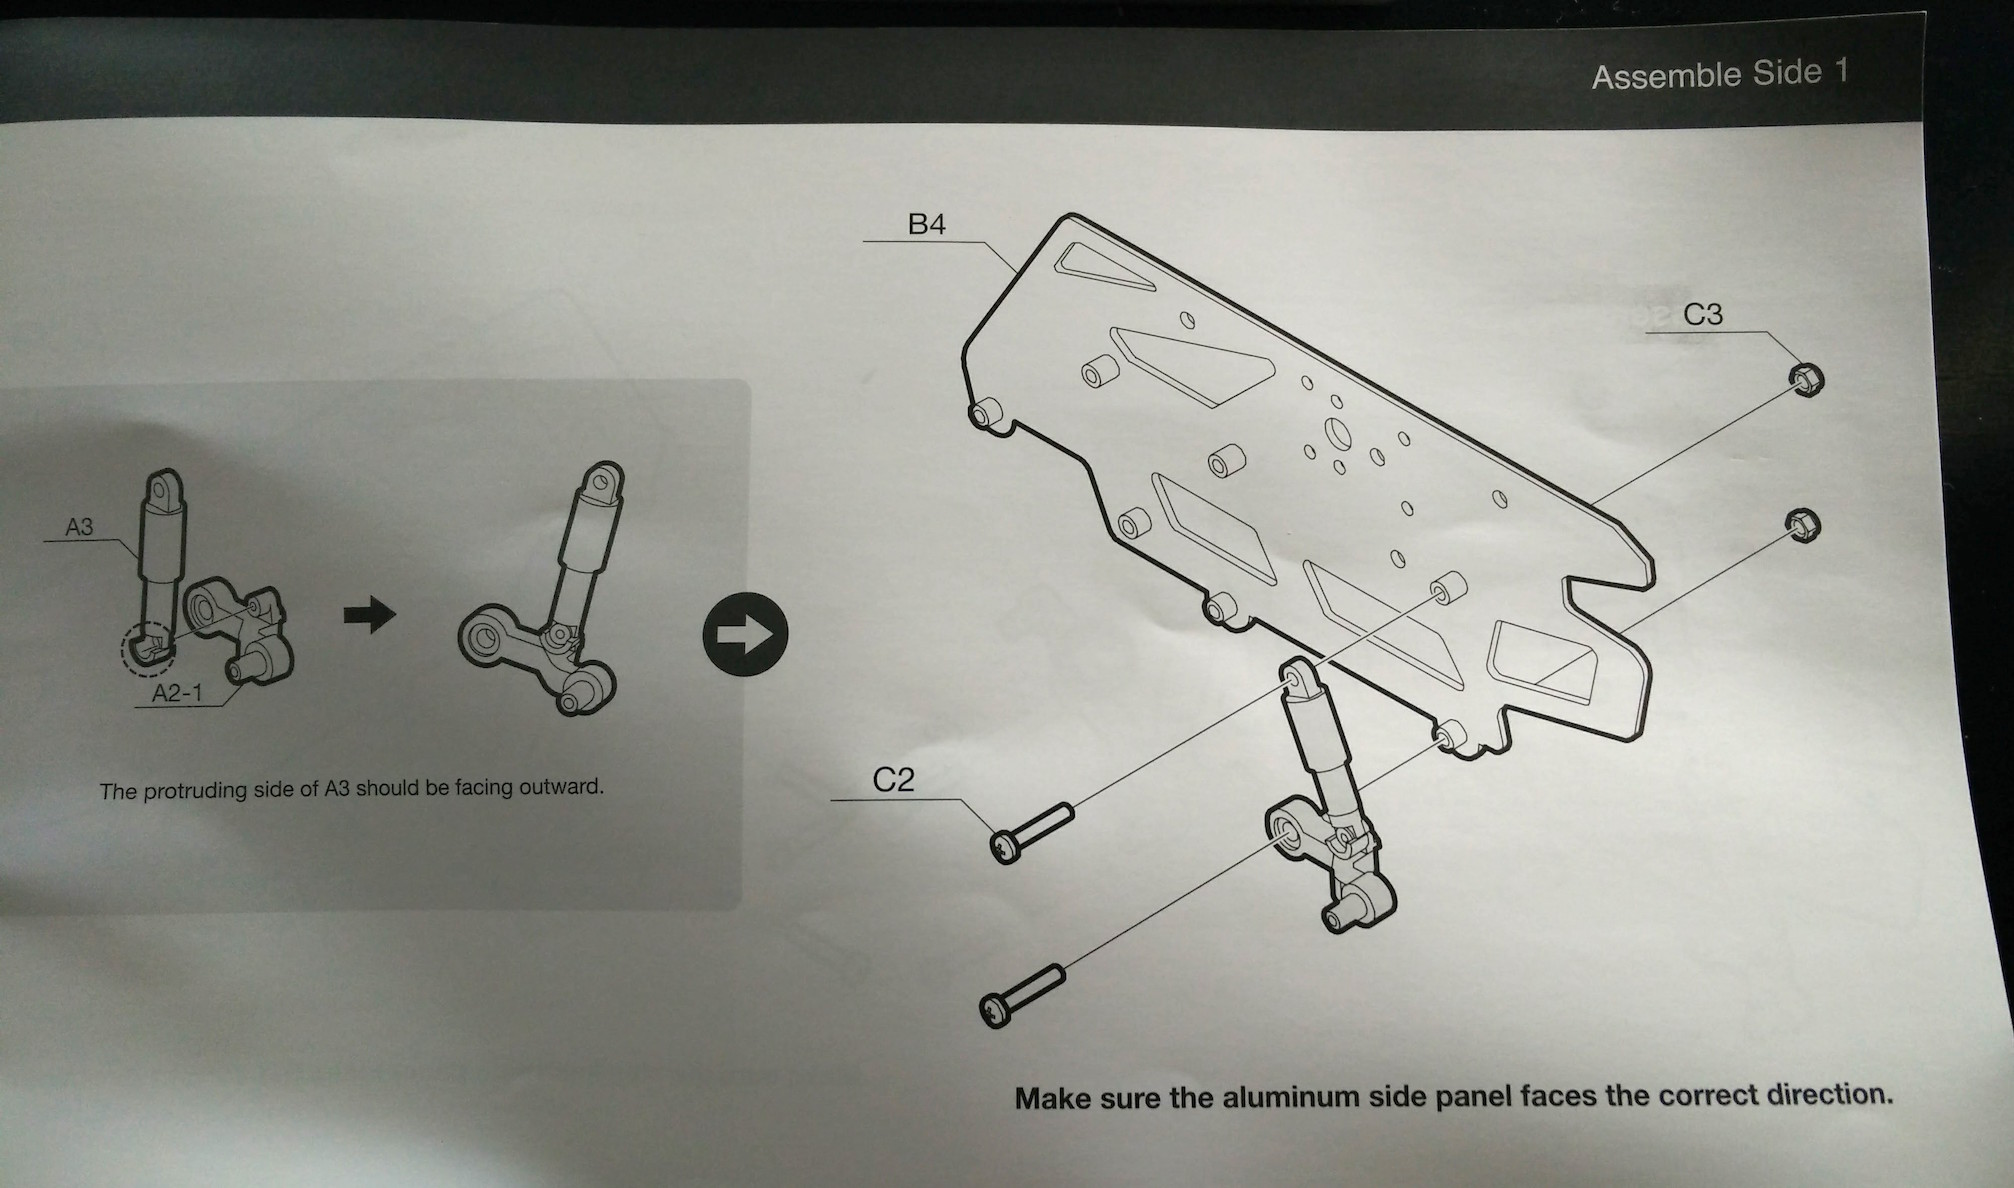
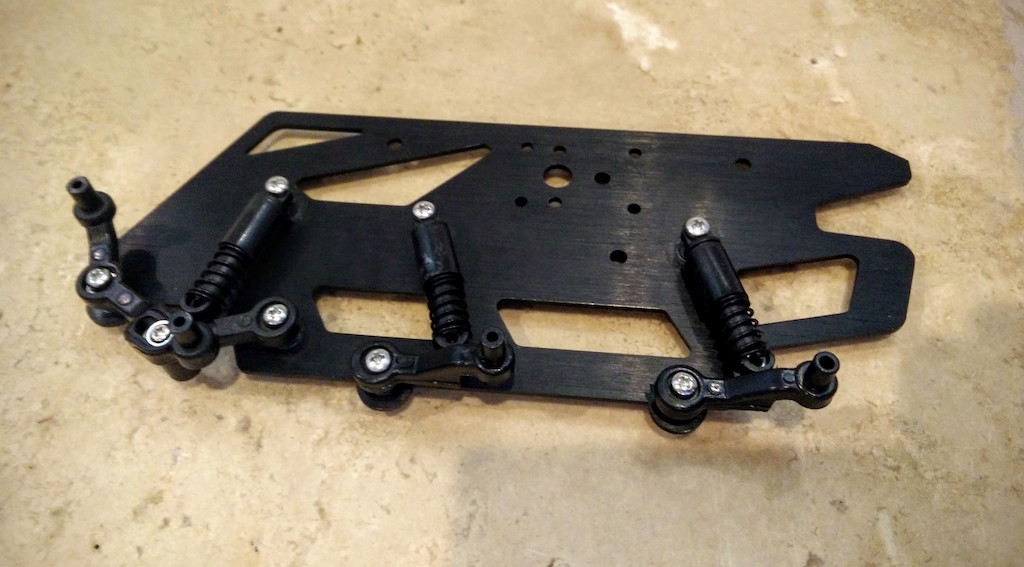
Left Side Shocks and Roller Mount Assembly
Right Side Shocks and Roller Mount Assembly
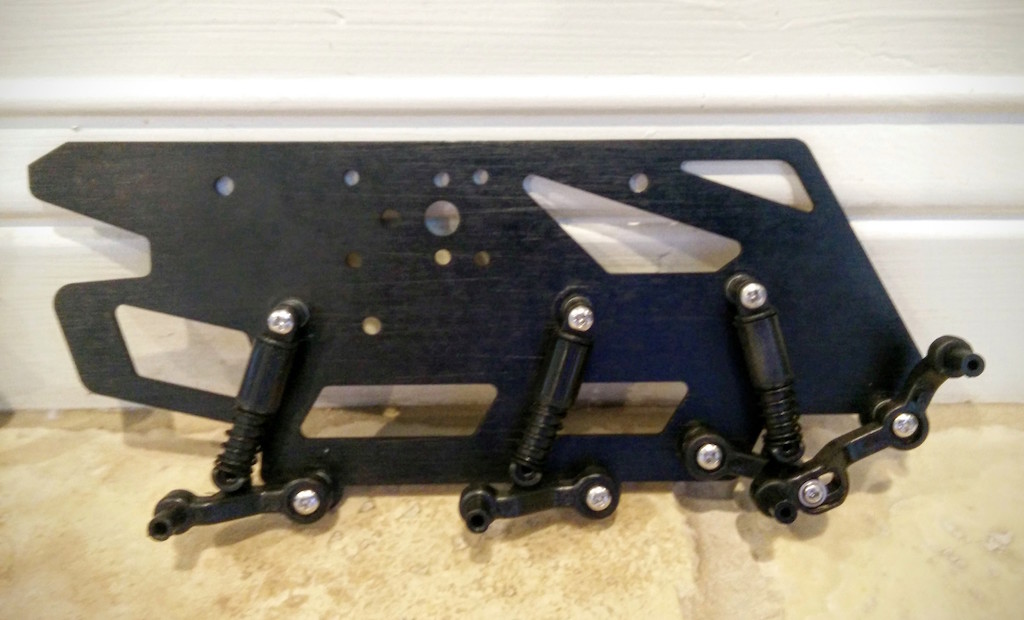
Left and Right Side Shocks and Roller Mount Assemblies

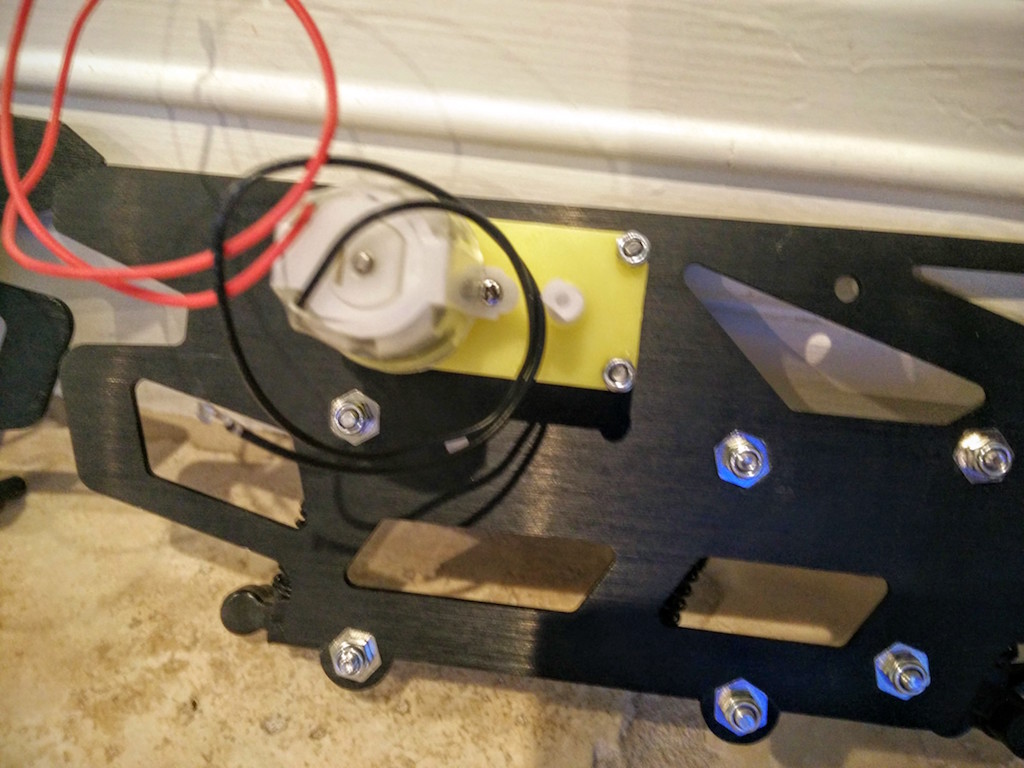
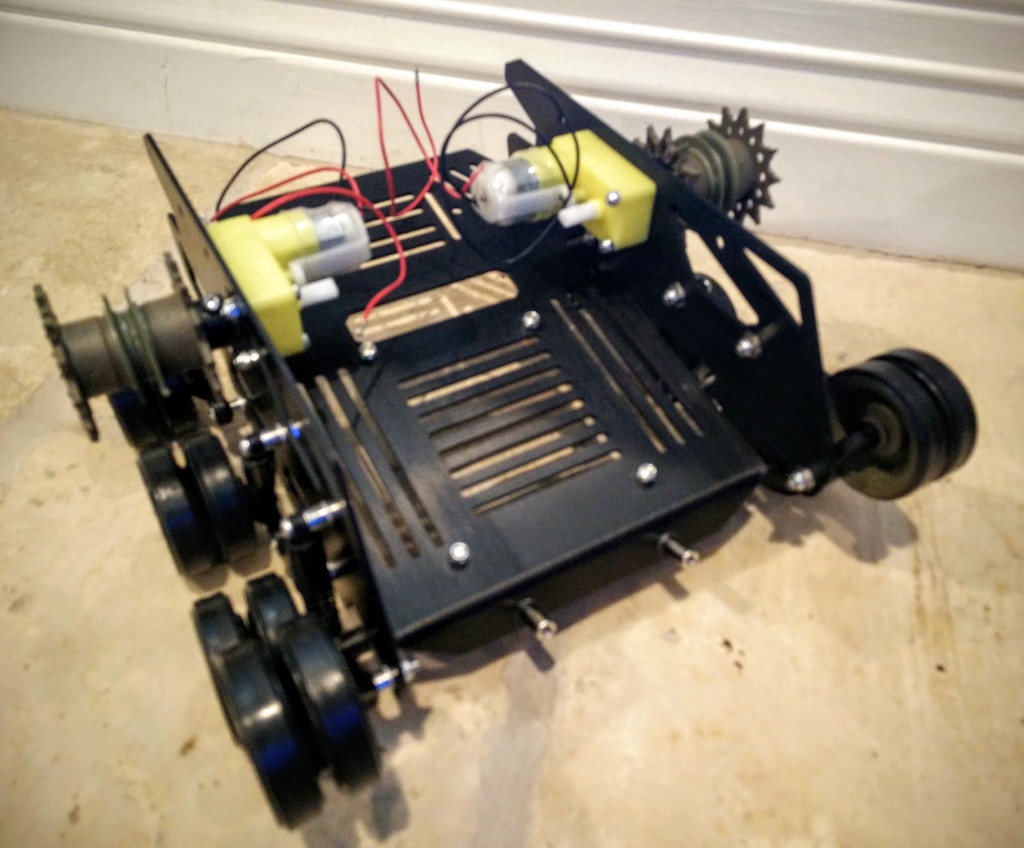
Left Side Motor Mounted
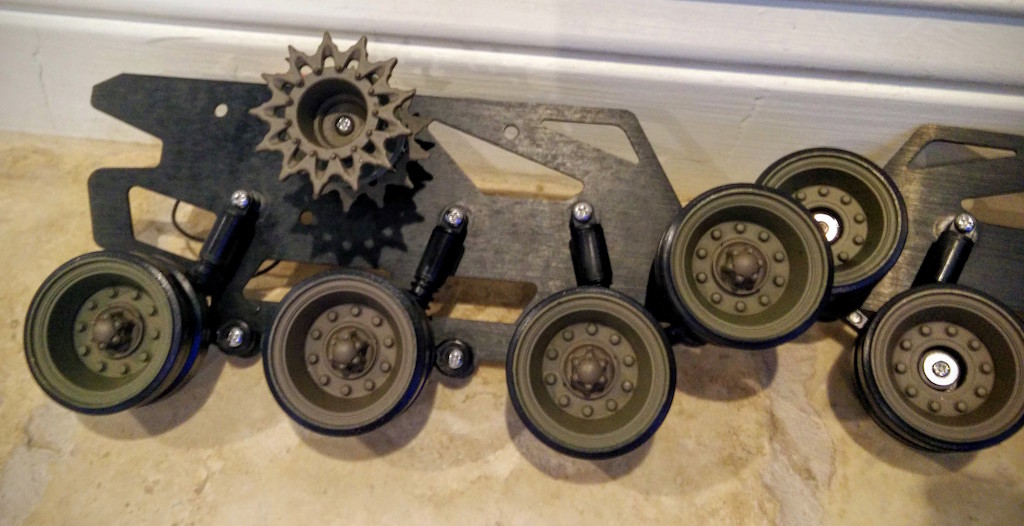
Right Side Rollers and Driver
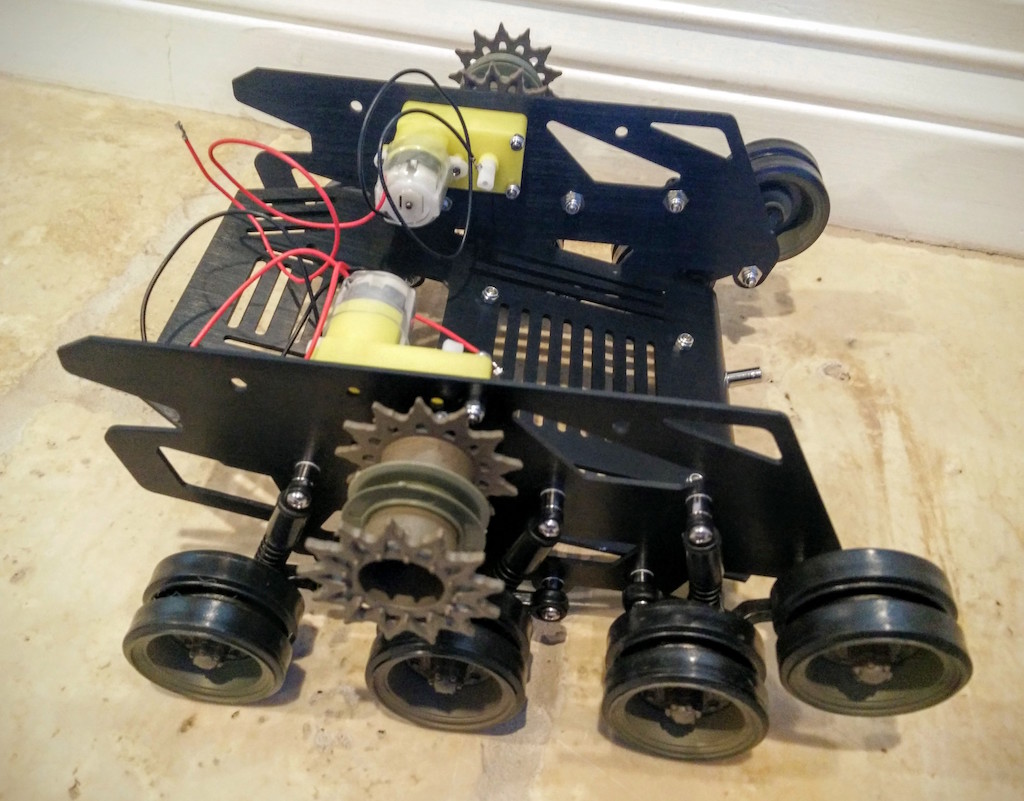
Almost There! Motors, Rollers and Bottom Mounted
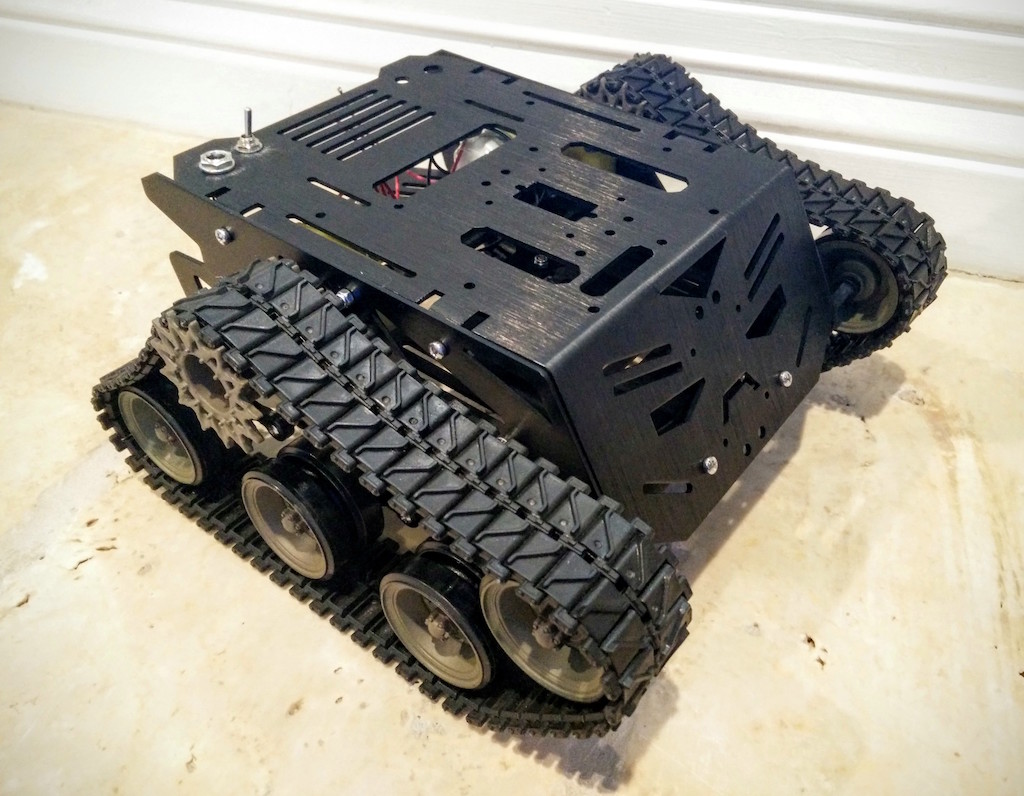
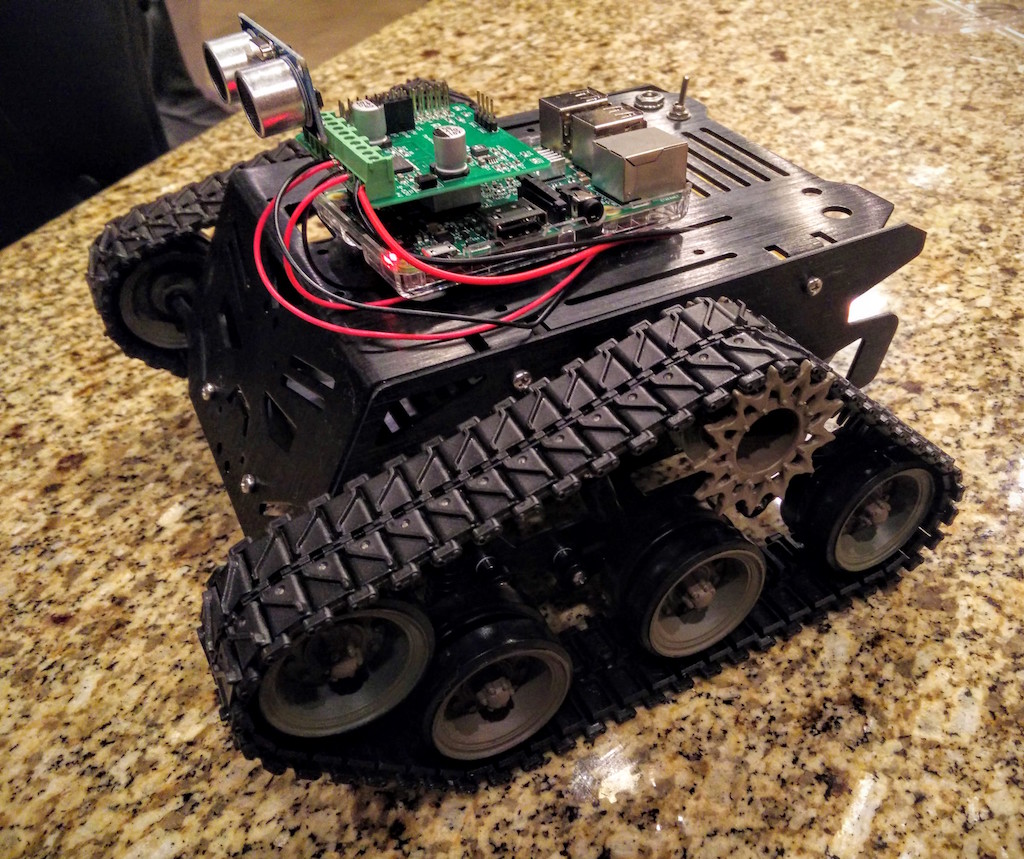
Top Plate Mounted and We’re Started to look like a Tank!

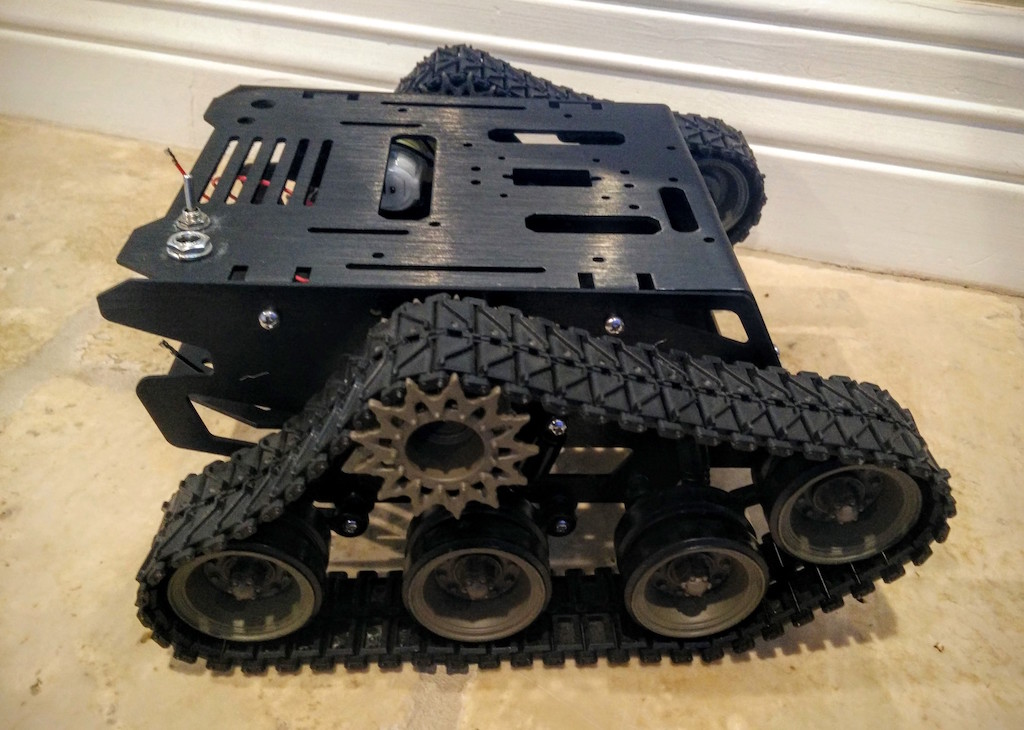
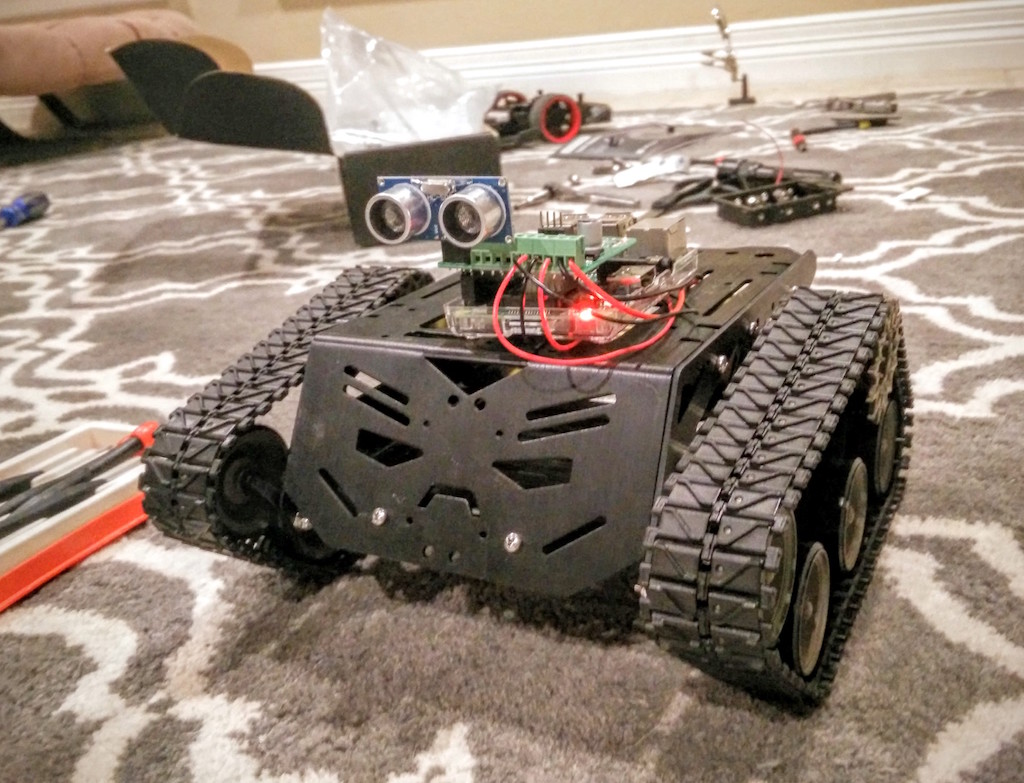
Treads Mounted and it looks great! Need to remove some tread sections though.
Raspberry Pi with RaspiRobot Mounted and Powered Up
Close Up of RaspiRobot Mounted on Raspberry Pi
[ratings]
Reminder, some links in the post might be affiliate links, so I’ll make some coffee/beer/gadget money if you buy anything. You get it at the normal price, though!