
Well, I really wasn’t planning on doing an iMac 27 2013 Fusion Hard Drive Replacement with SSD post, but my hard drive failed earlier this week!
I was having some previous random issues on my iMac where Chrome would lock up and sometimes the whole system would lock up, But, I kept blaming it on the 50 – 60 tabs I usually had open in Chrome 😉
On Cyber Monday, it finally it “Gave up the Ghost” as they say and would no longer boot. 🙁 I tried booting into Recovery Mode (turn power on and the hold Command + R) and running Disk Utility, but it was never able to repair the drive.
No products found.My iMac 27 Late 2013 had the Fusion drive which is basically a 1TB Seagate Hard Drive paired with a 128GB SSD Drive(for the late 2015 iMac models Apple has reduced the size of the SSD drives to only 24GB for the 1TB combo). These 2 drives appear and act as one volume on your iMac and the system takes care of moving/caching your most frequently used files onto the faster SSD drive. If you want to read more about Fusion Drives, checkout this wikipedia link: https://en.wikipedia.org/wiki/Fusion_Drive
Unlike like most of the Windows PCs I worked on during my IT career, you can’t just simply open up an iMac and swap out the hard drive. You can still open it up, but the process it a bit more involved as there are no screws to gain access inside. You need to separate the screen from the main chassis. The screen is attached with adhesive.
There are several detailed YouTube videos that show you how to do this; I used the following one from OWC and watched it a few times to get familiar with the “surgery”.
Disclaimer: Most if not all links on this page will be Affiliate Links. This helps pay for things like website hosting and more bits & gadgets to write about.
Parts List:
Some of these parts might have been a bit cheaper on Amazon since it was Cyber Monday.
Update June 7, 2019: OWC nows sells complete kits on Amazon which have everything you need including SSD Hard Drives.
For example, the 1TB SSD Kit is currently $175 and the 2TB Kit is $365
No products found.
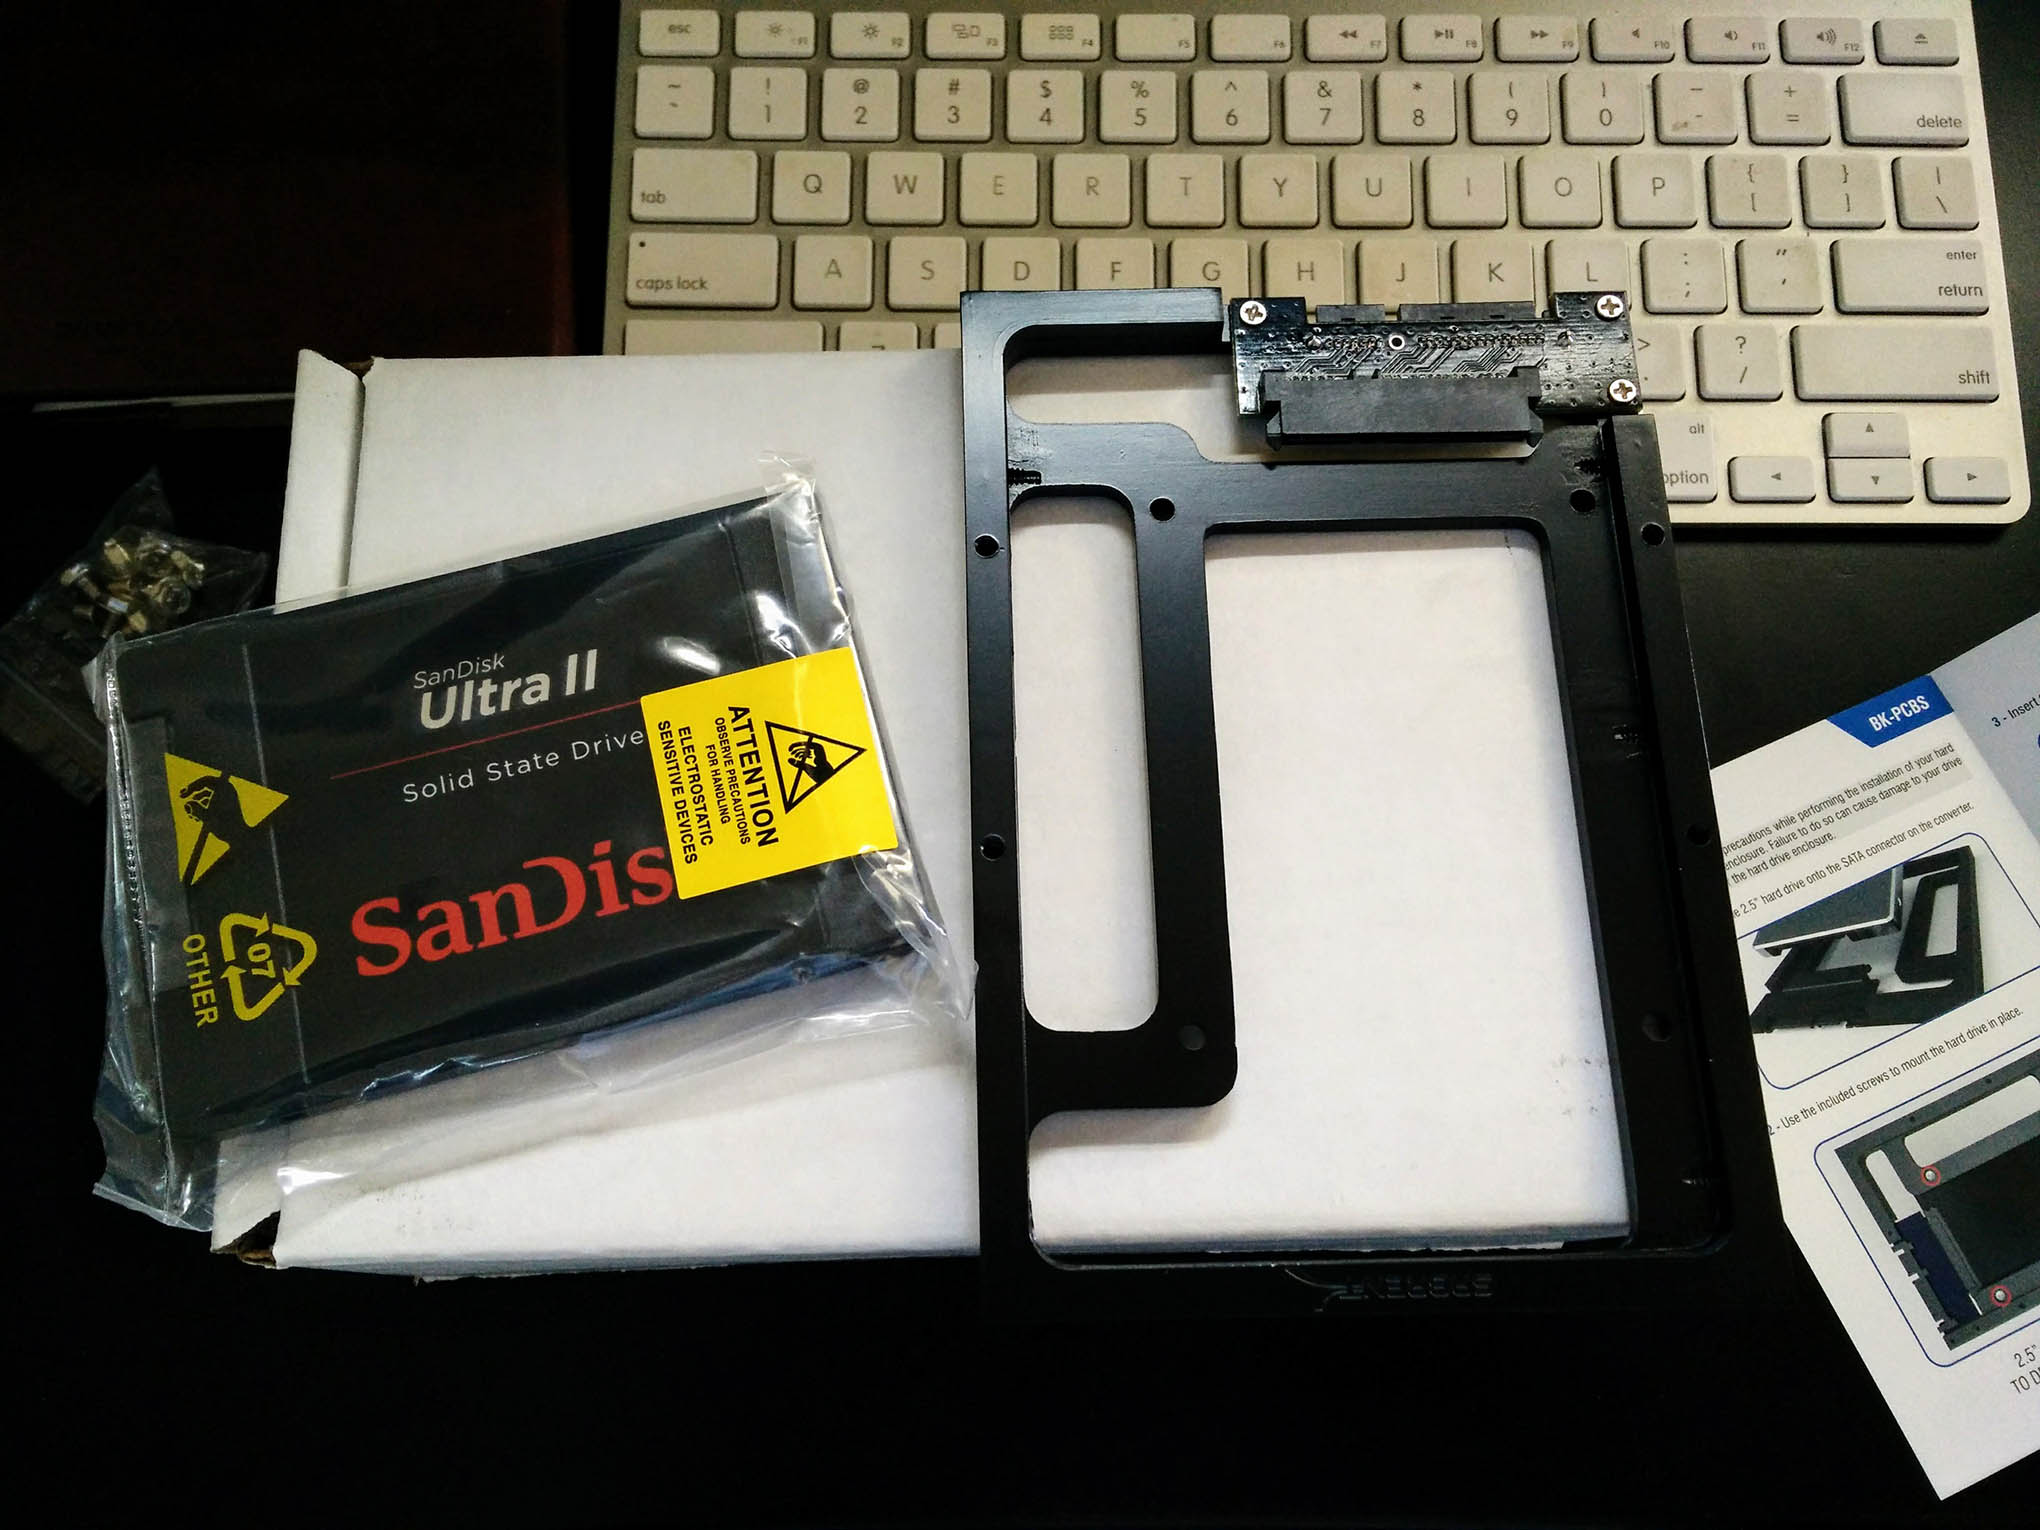
I can’t believe how much SSD Drive prices have dropped! I purchased a SanDisk Ultra II 960GB SATA III 2.5-Inch 7mm Height Solid State Drive (SSD) for about $200 on Amazon.

If your budget allows, you can purchase a Samsung 860 EVO 4TB 2.5-Inch SATA III Internal SSD for $600! These were double the price about a year ago!
No products found.
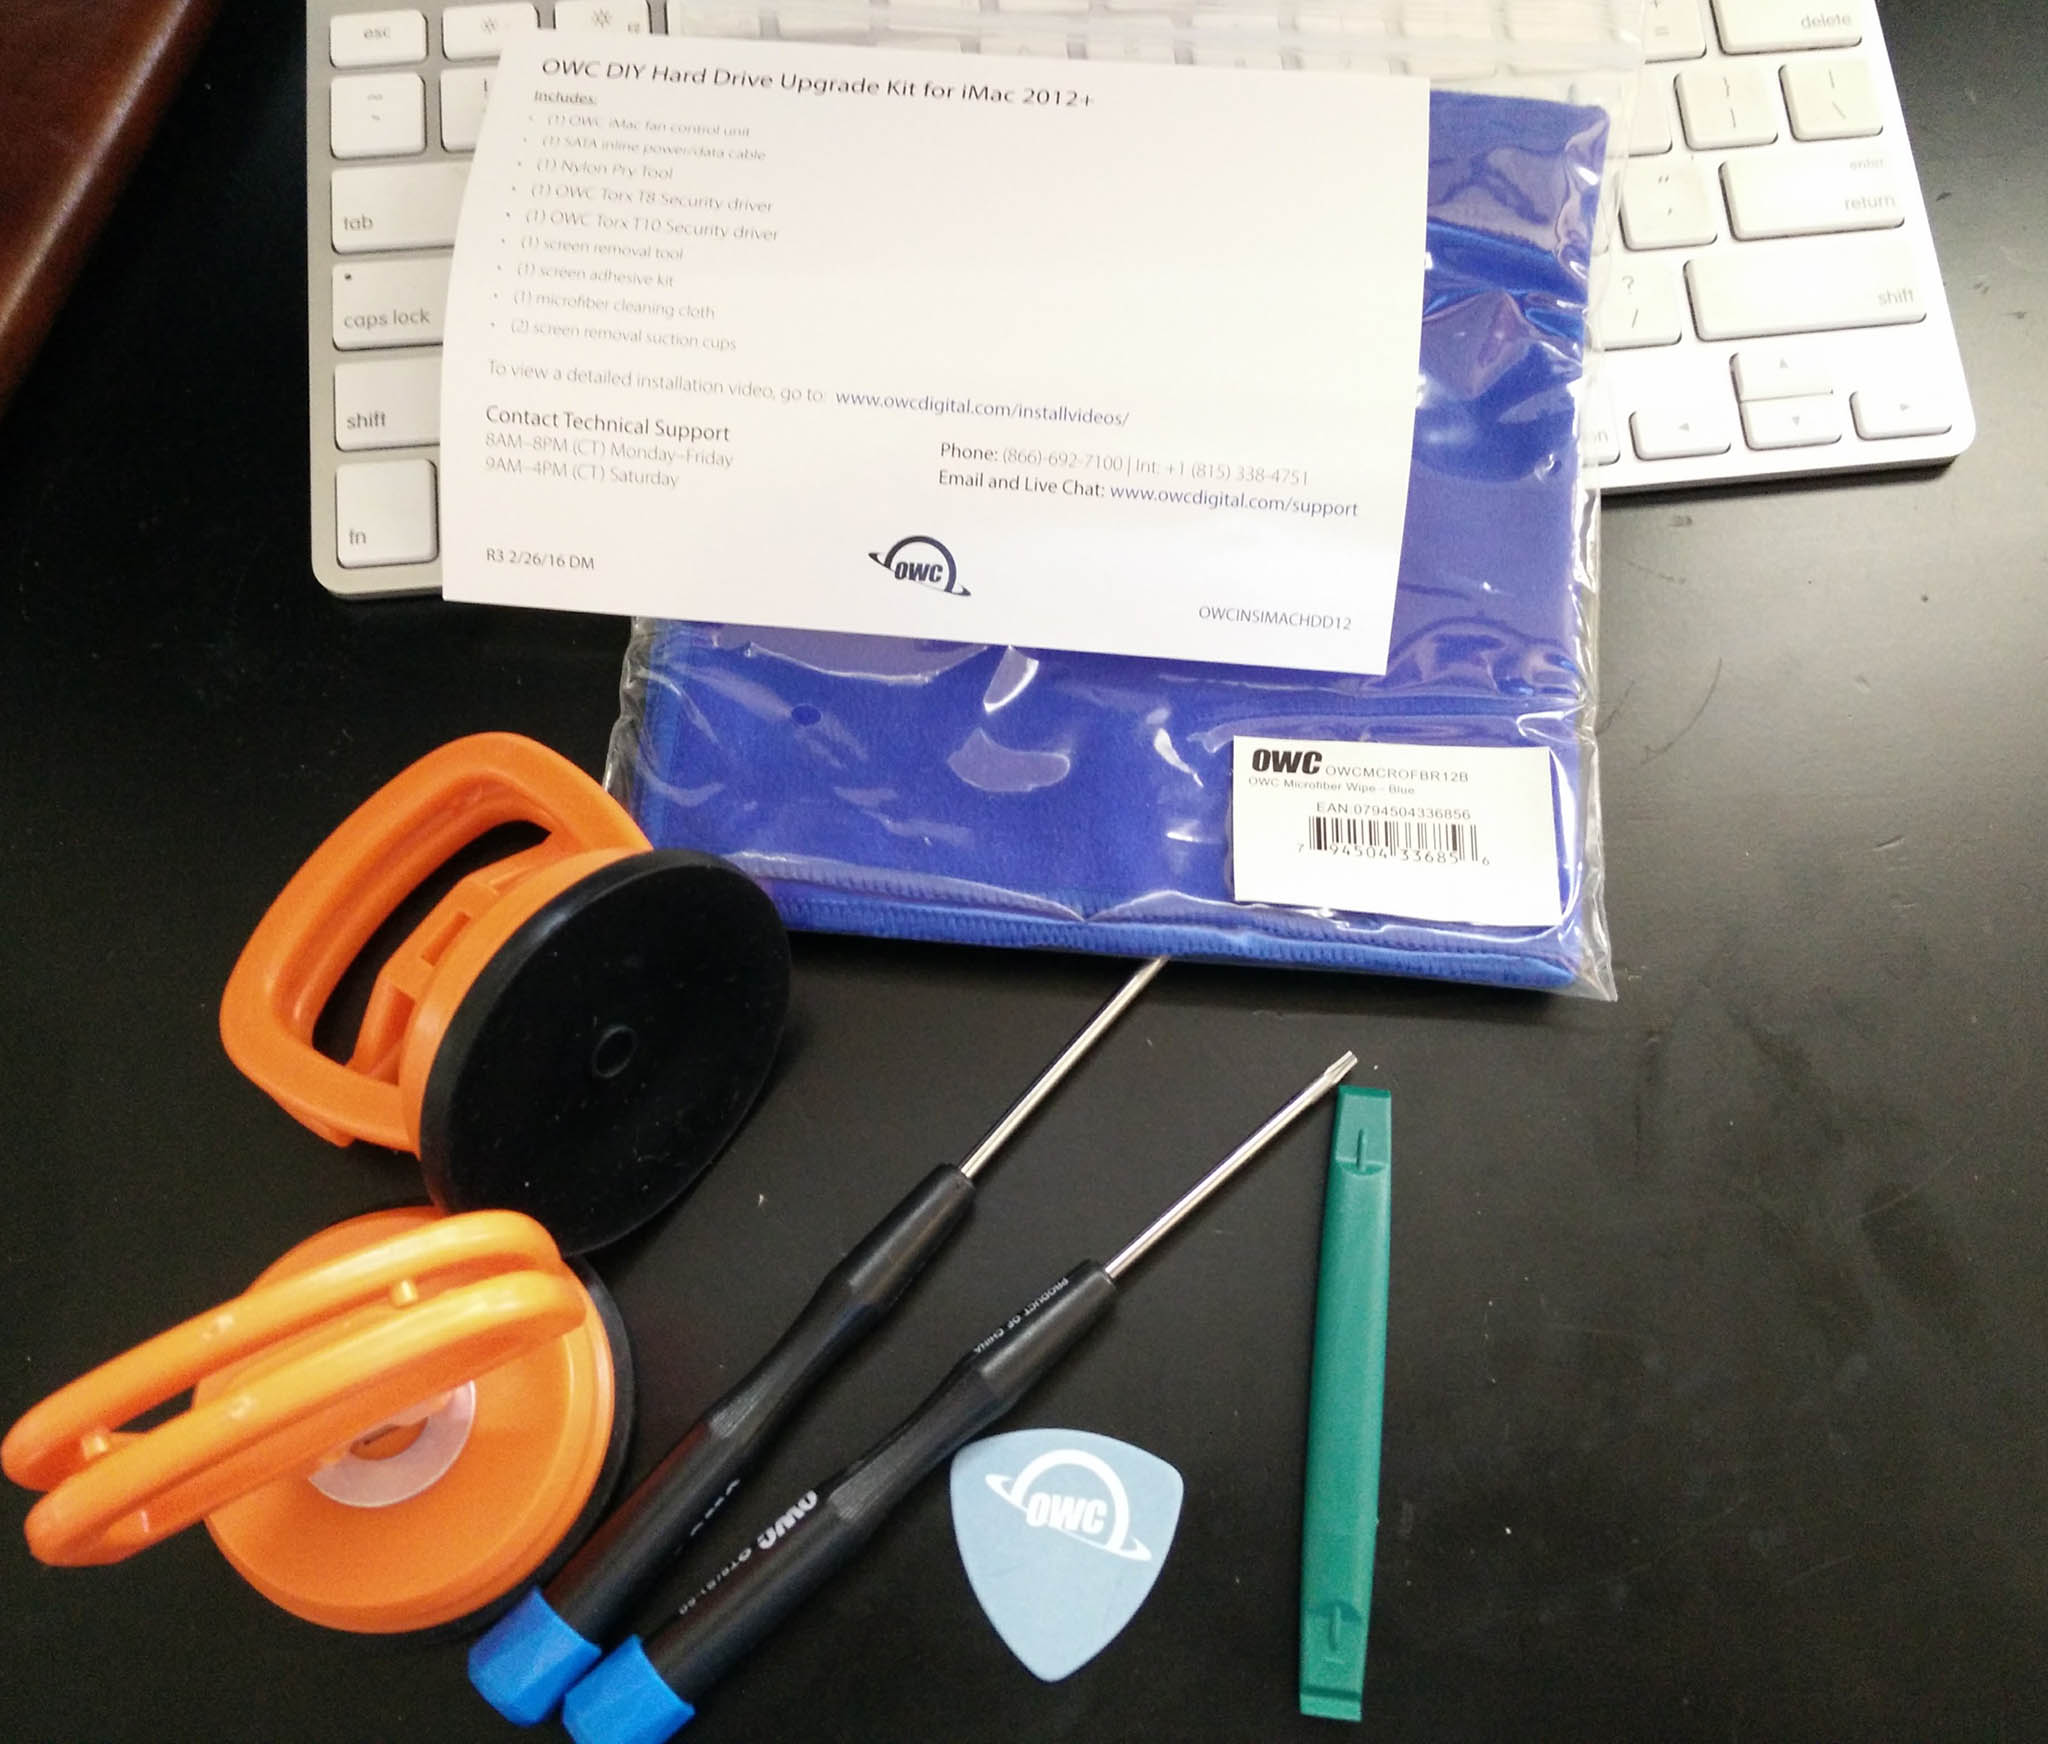
To make my life easier I order the OWC Complete Hard Drive Upgrade Kit Including Tools for all 27″ iMacs 2012 & Later for about $53.
No products found.If you have some of these parts or tools laying around, then you could get away with purchasing this kit instead: OWC In-line Digital Thermal Sensor for Hard Drive Upgrade for 27″ iMacs 2012 and Later
No products found.Without that special Thermal Sensor Cable, apparently your iMac will spin the Hard Drive cooling fans up and make a lot of noise. There are some DIY hacks to get around this without purchasing the cable, but OWC is a company I trust and I didn’t want to risk shorting anything out.
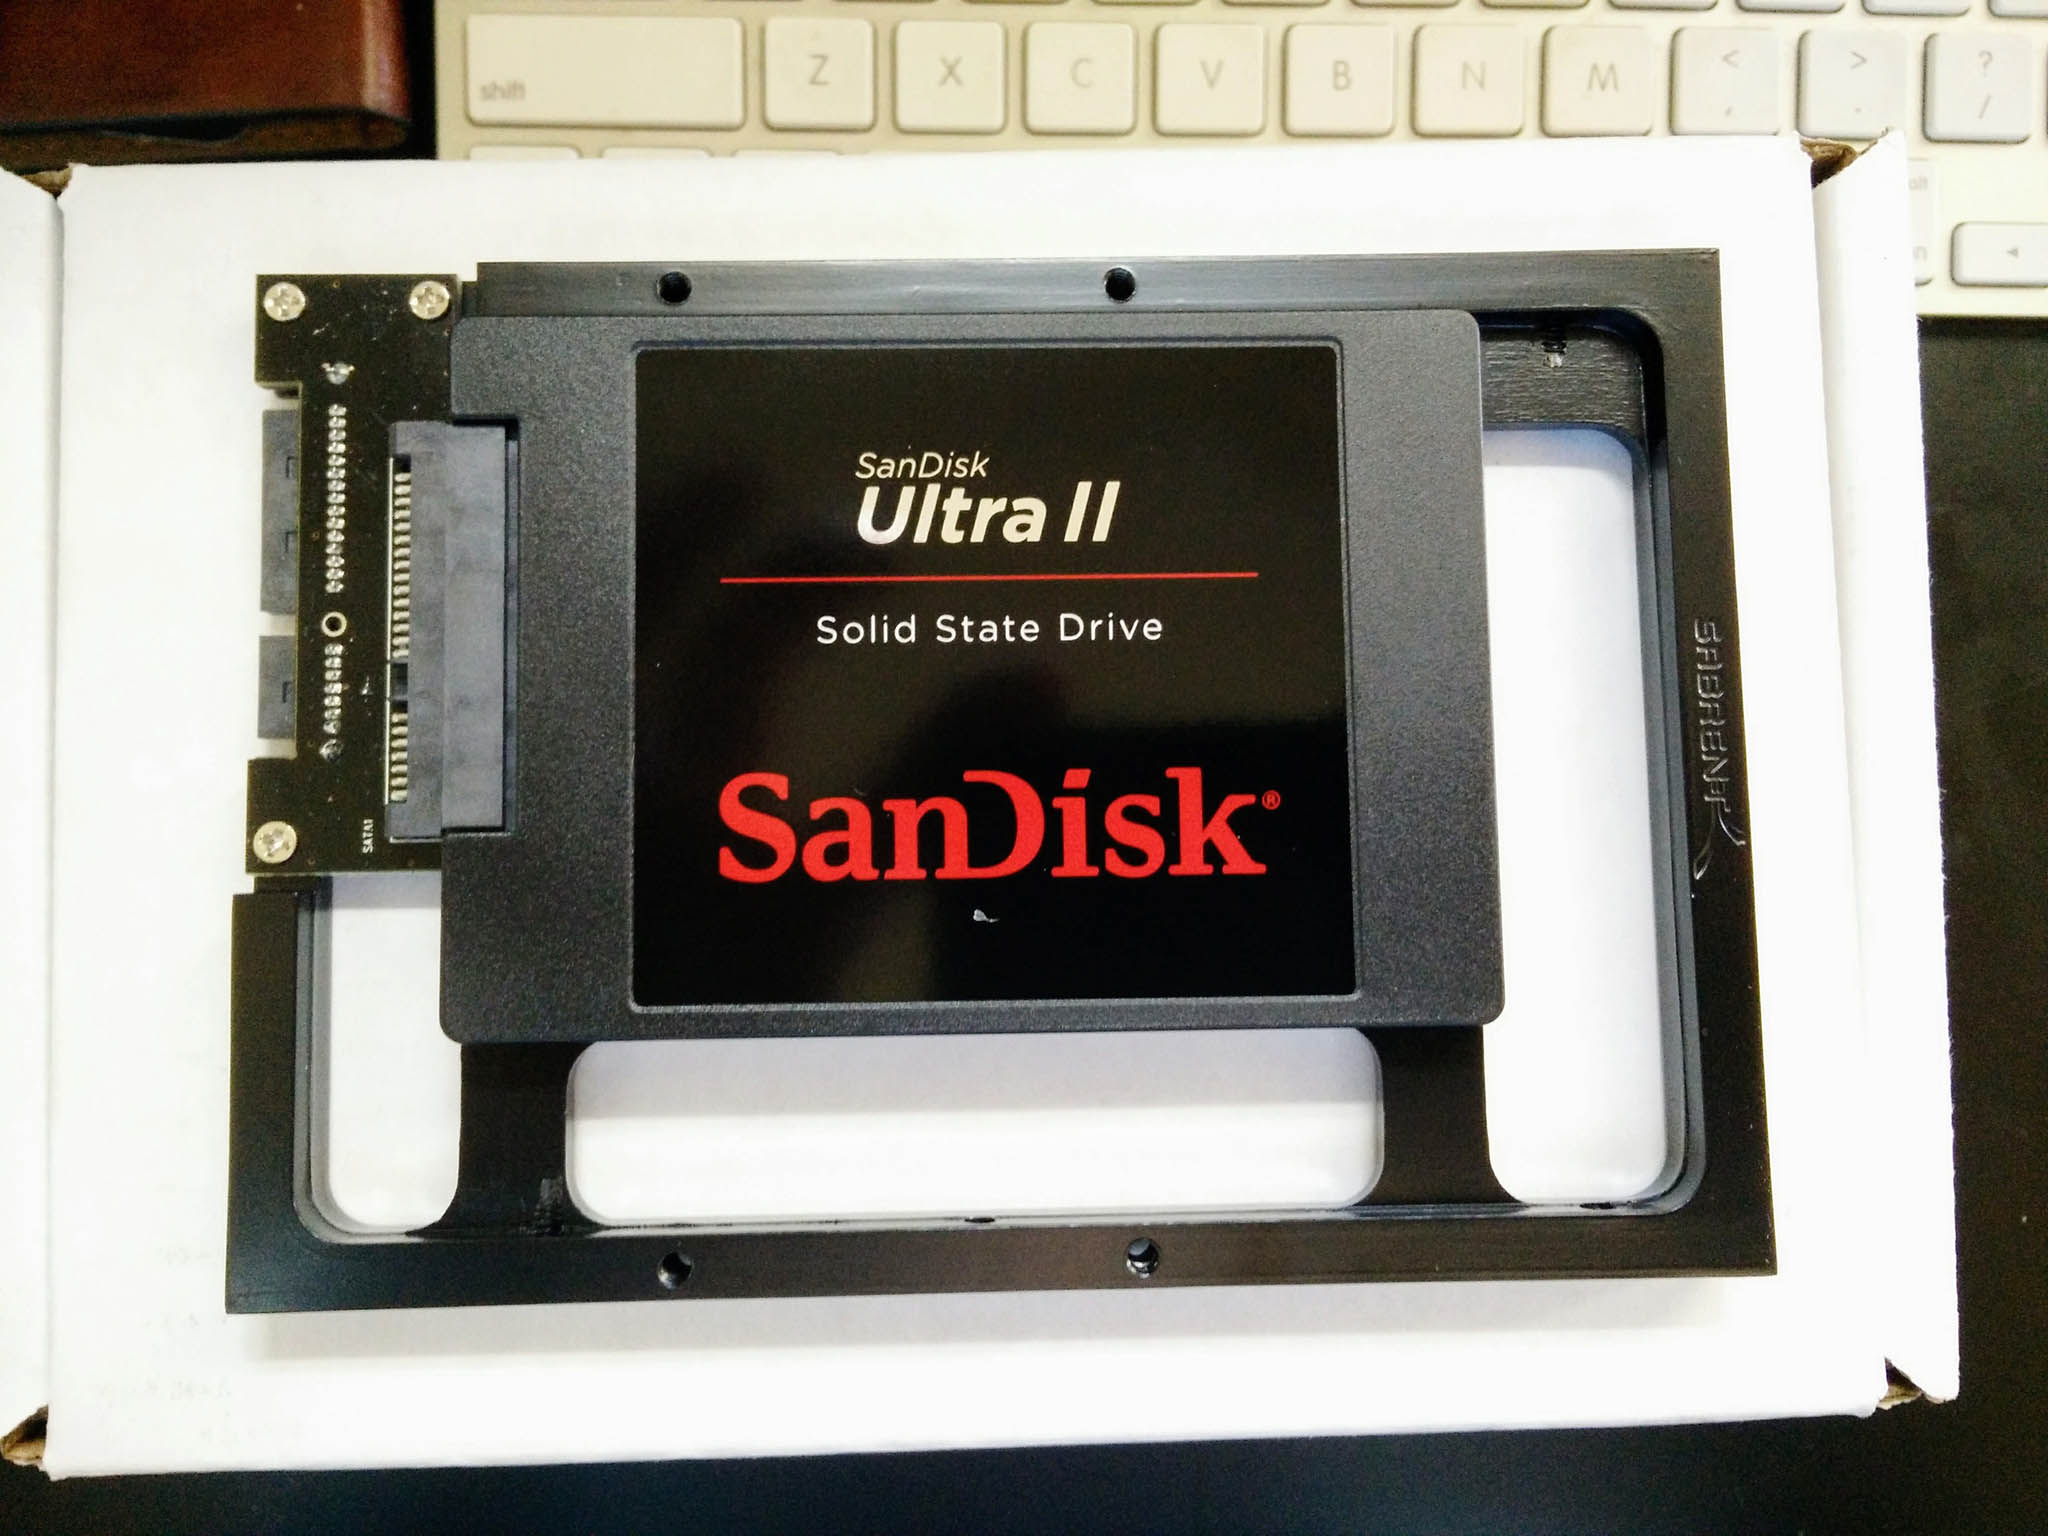
I also need to purchase this Sabrent 2.5” SSD & SATA Hard Drive to Desktop 3.5” SATA Bay Converter Mounting Kit (BK-PCBS) so that the 2.5″ SSD woud mount correctly where the previous 3.5″ 1TB Seagate Drive was.

I watched the YouTube video above a few times to get familiar with the process.
I unboxed all my parts and I attached the SSD onto the Sabrent Cradle adapter using the smaller countersunk supplied screws.
Next, I started the screen separation by taking the green pry tool and working it in gently to start prying the glass which is attached with adhesive to away from the chassis. Then you work the “Guitar Pick” in and start using that to separate the screen from the chassis(green line in pic below for illustration). This step would be a little easier with two people, one to work the pry tool and then one to get the “Guitar Pick” in.
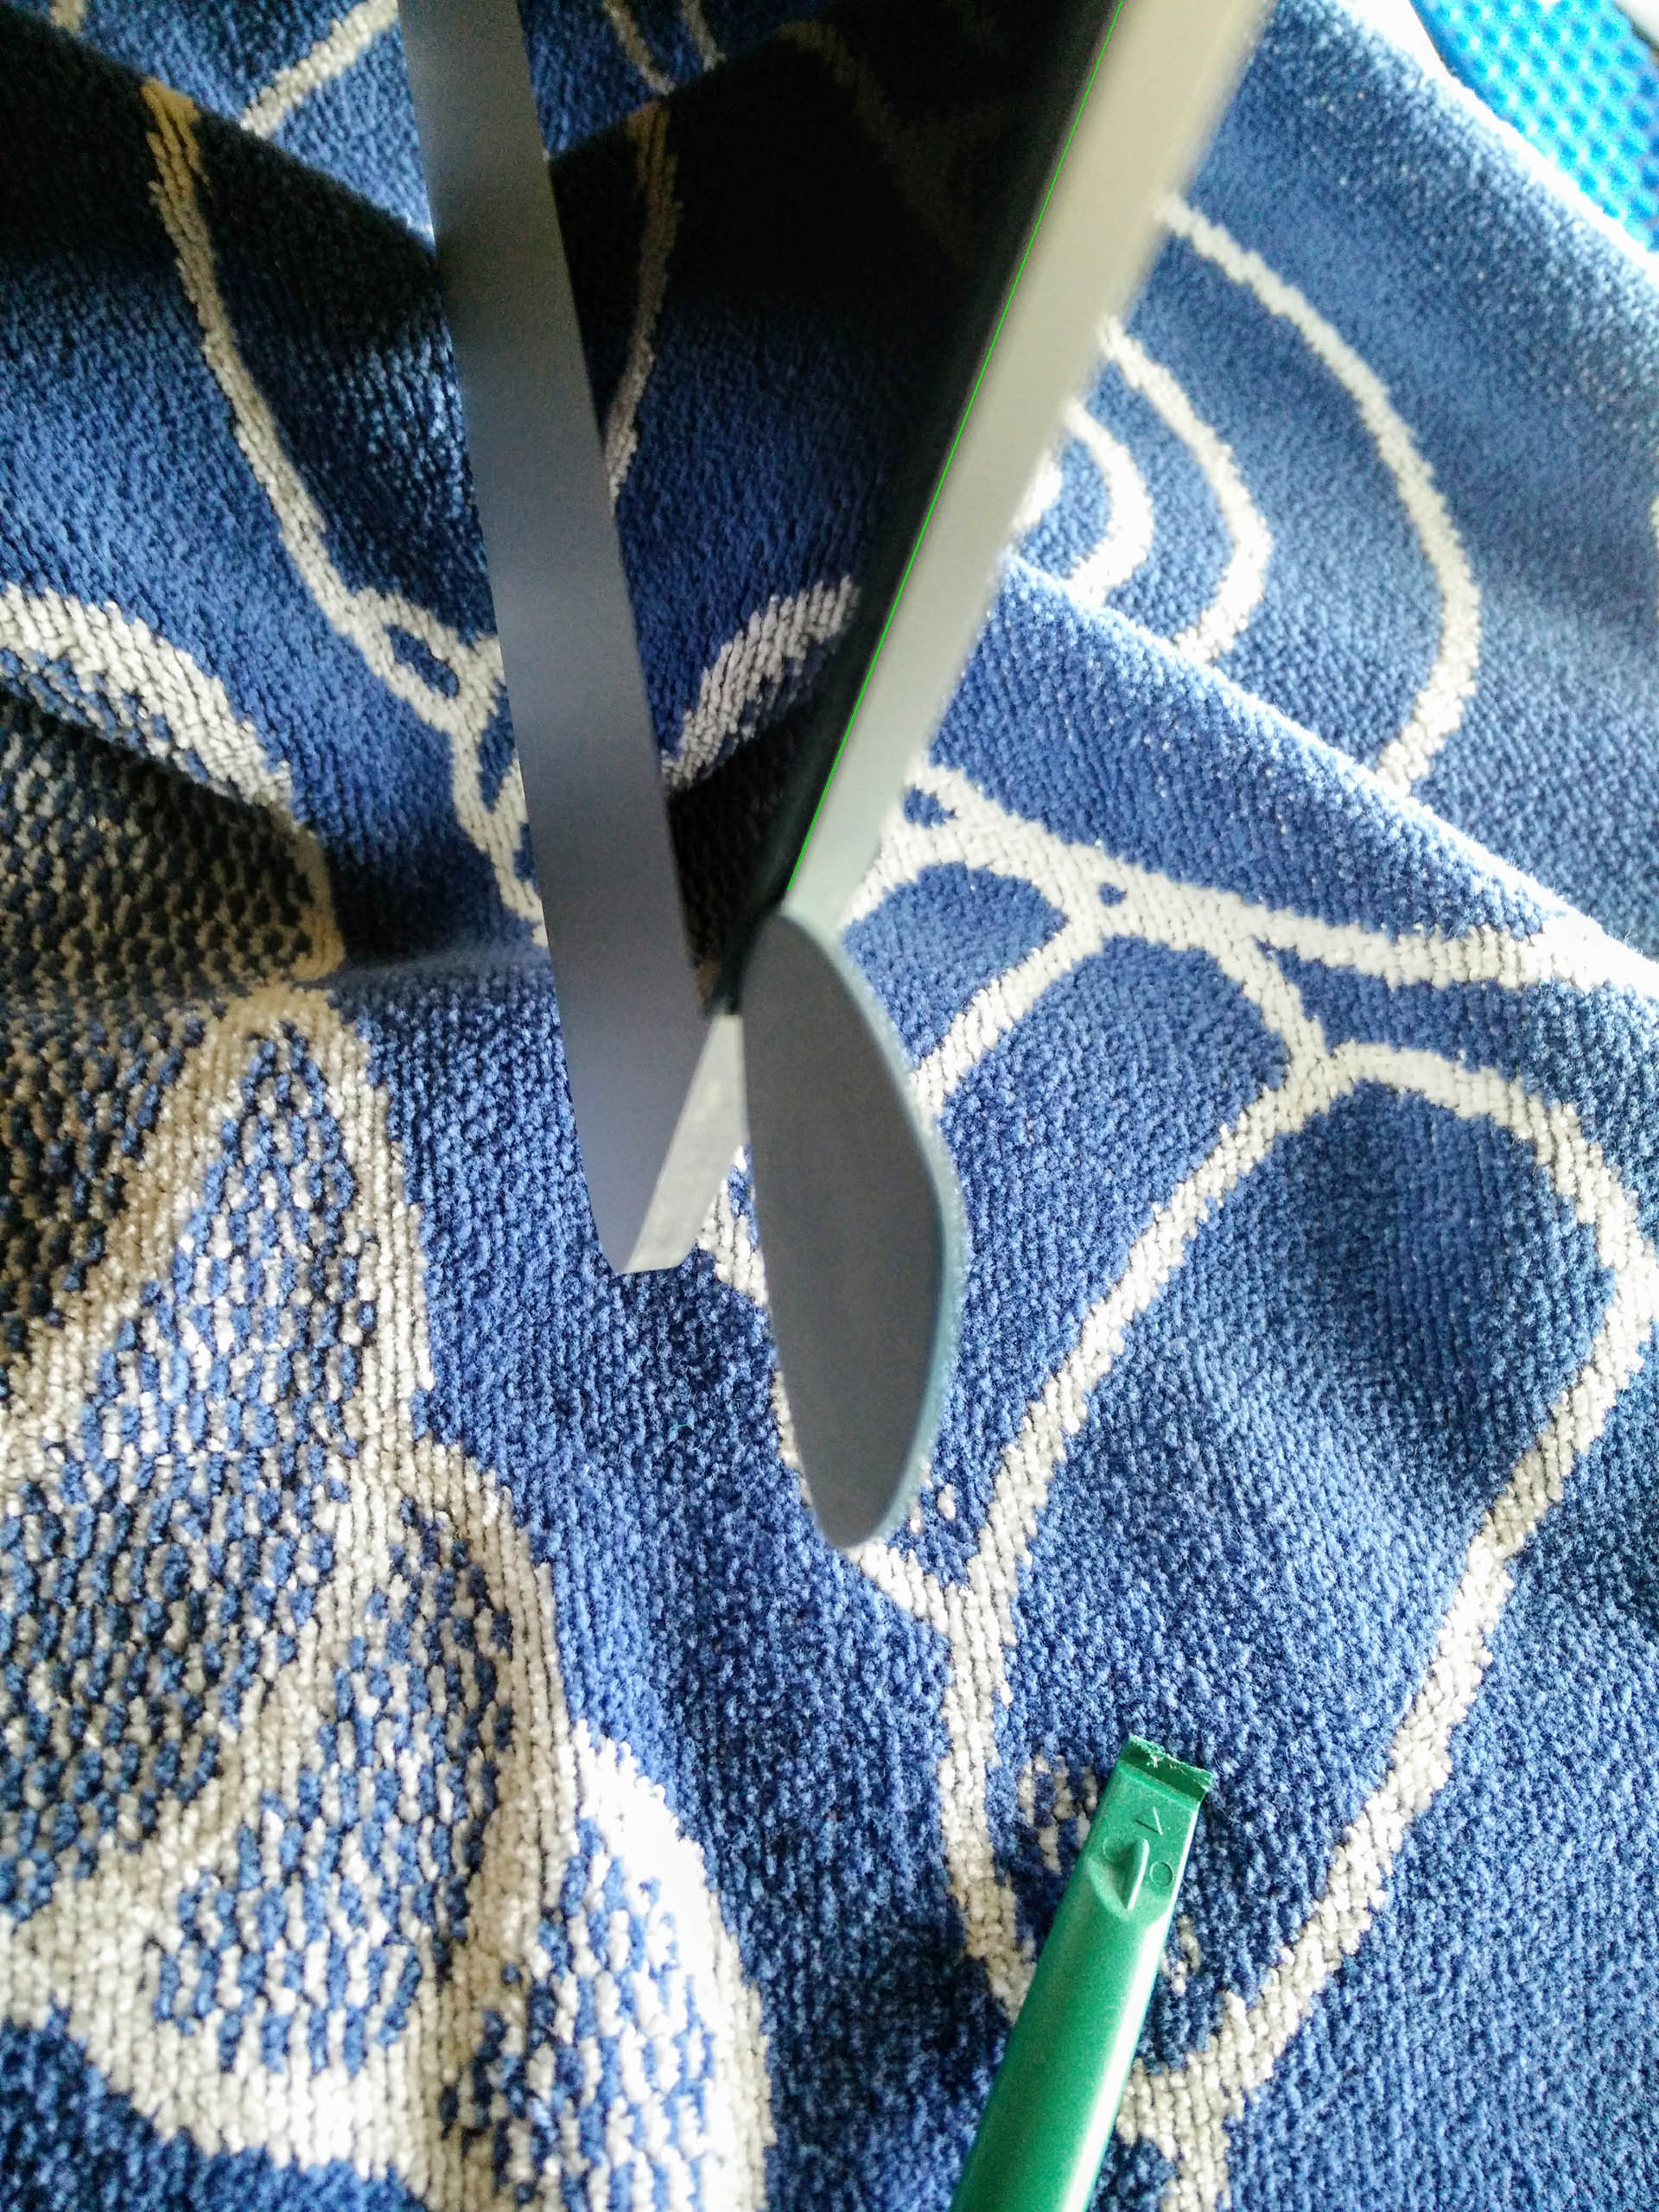
I worked it around twice and was careful not to go too deep by the webcam. You’ll hear the adhesive as you work through it.
At this point you should feel the screen separating a bit from the chassis. You can either use the supplied suction cups or your fingers to gently pry the screen away and then down from the main chassis. I had a nice big sift towel waiting to lay the screen on and I also used a roll of paper towels to support the screen.
Once you get the screen down, you will need to carefully disconnect the 2 screen cables on the right side. One has a pull tab and the other has two side tabs you need to squeeze while pulling.
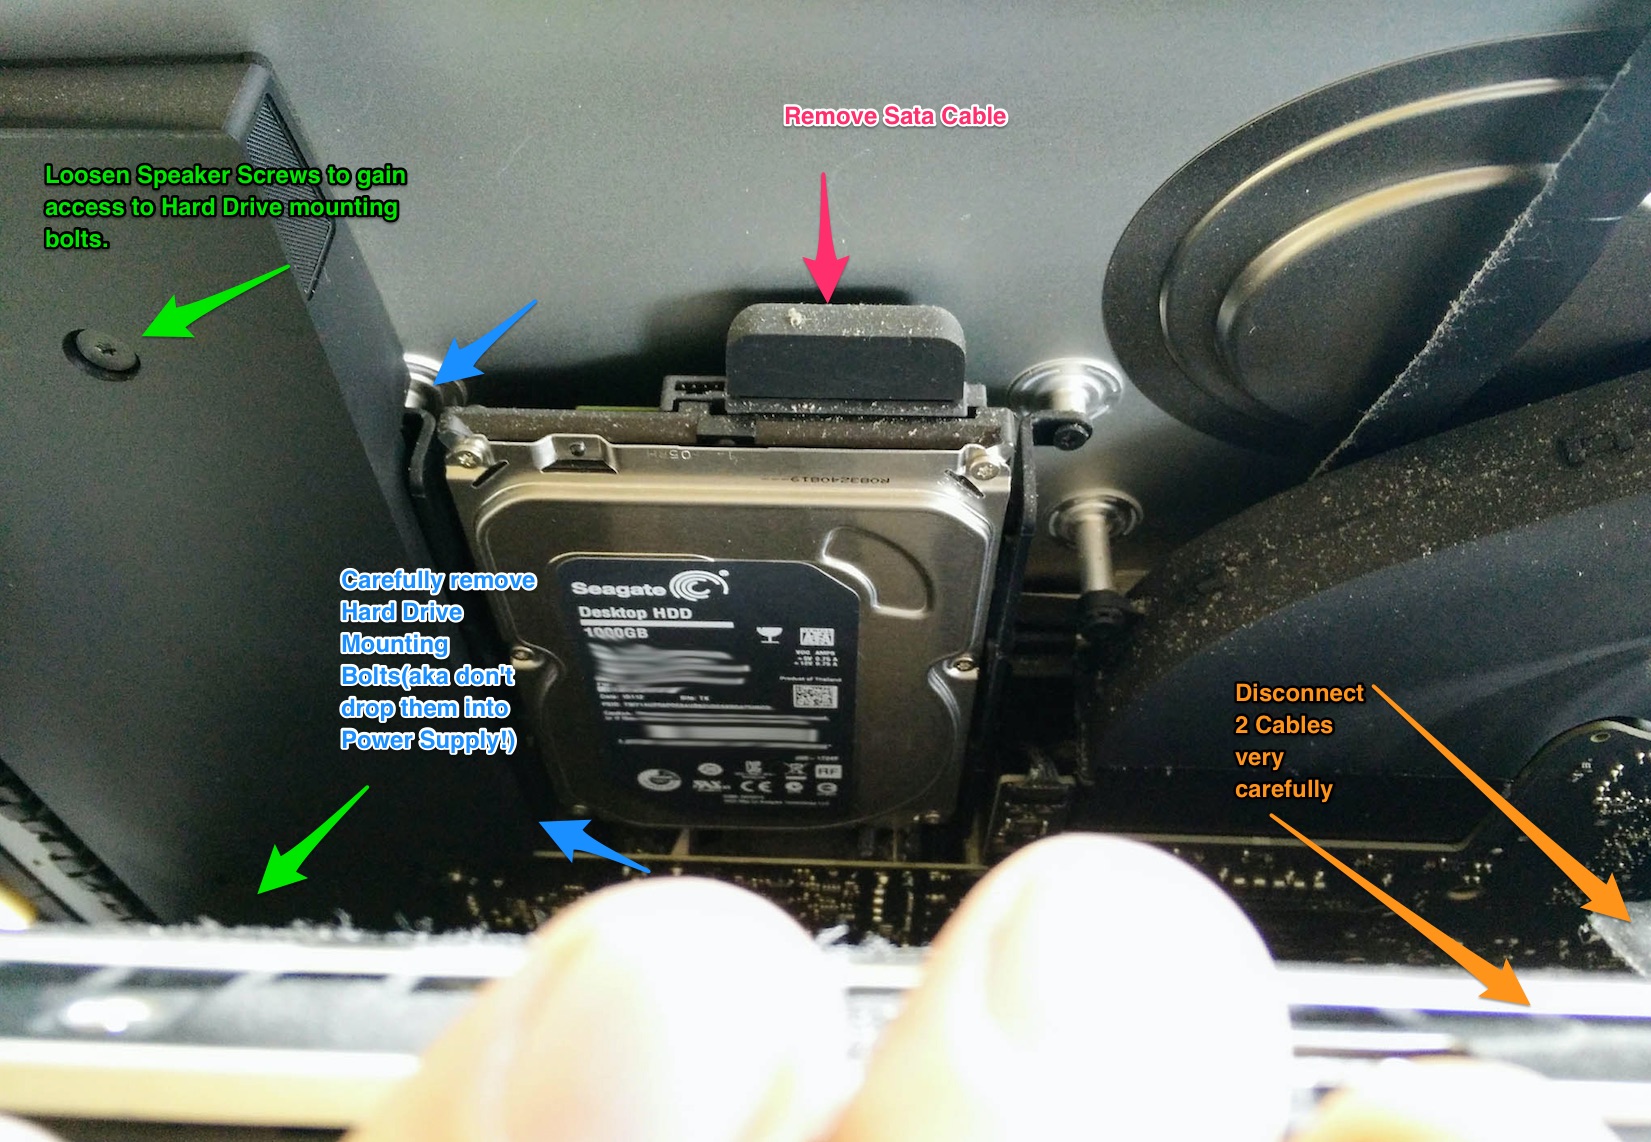
Next you’ll need to loosen the left speaker screws(I did not remove them) so that you can gain access to the 2 left hard drive mounting screws. When removing these 2 Hard Drive mounting screws, be careful not to drop them into the power supply!
Remove the SATA Cable.
After you get the hard drive out, you can remove the small bracket on the left side. Next, you will need to transfer the 4 mounting peg screws to the new drive adapter.
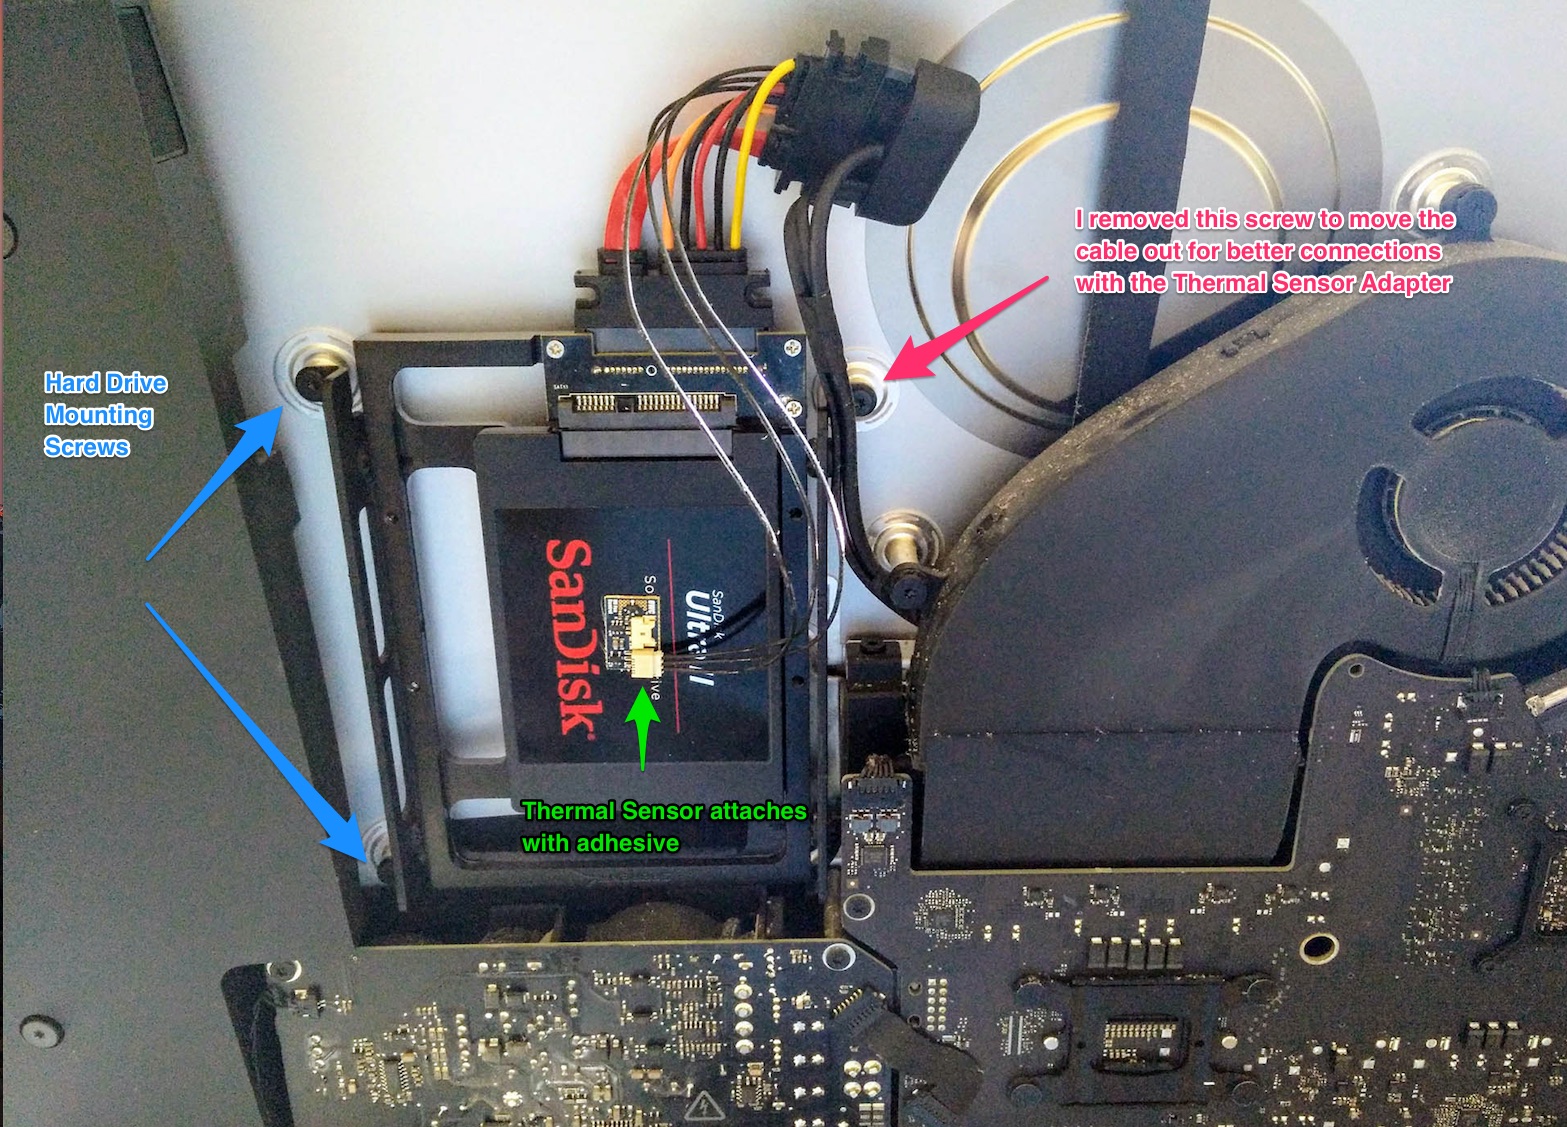
Here is how the new drive looks installed with the Thermal Sensor Cable. I removed the top right hard drive mounting screw so that I could swing the cable around for a better connection.
At this point you gently put the screen back and test if it works. If your iMac doesn’t boot into recovery mode, power it off and then on again, pressing down Command + R after powering it on.
Run disk utility and format the new drive.
Now, you really need to open it up again and make sure all the adhesive is removed, then you need to apply the new supplied adhesive to seal the screen back to the chassis permanently.
After sealing up the screen, power back into recovery mode.
Next, if you have a Time Machine backup and are luckier then me, you can restore it. My Time Machine backup was corrupt!
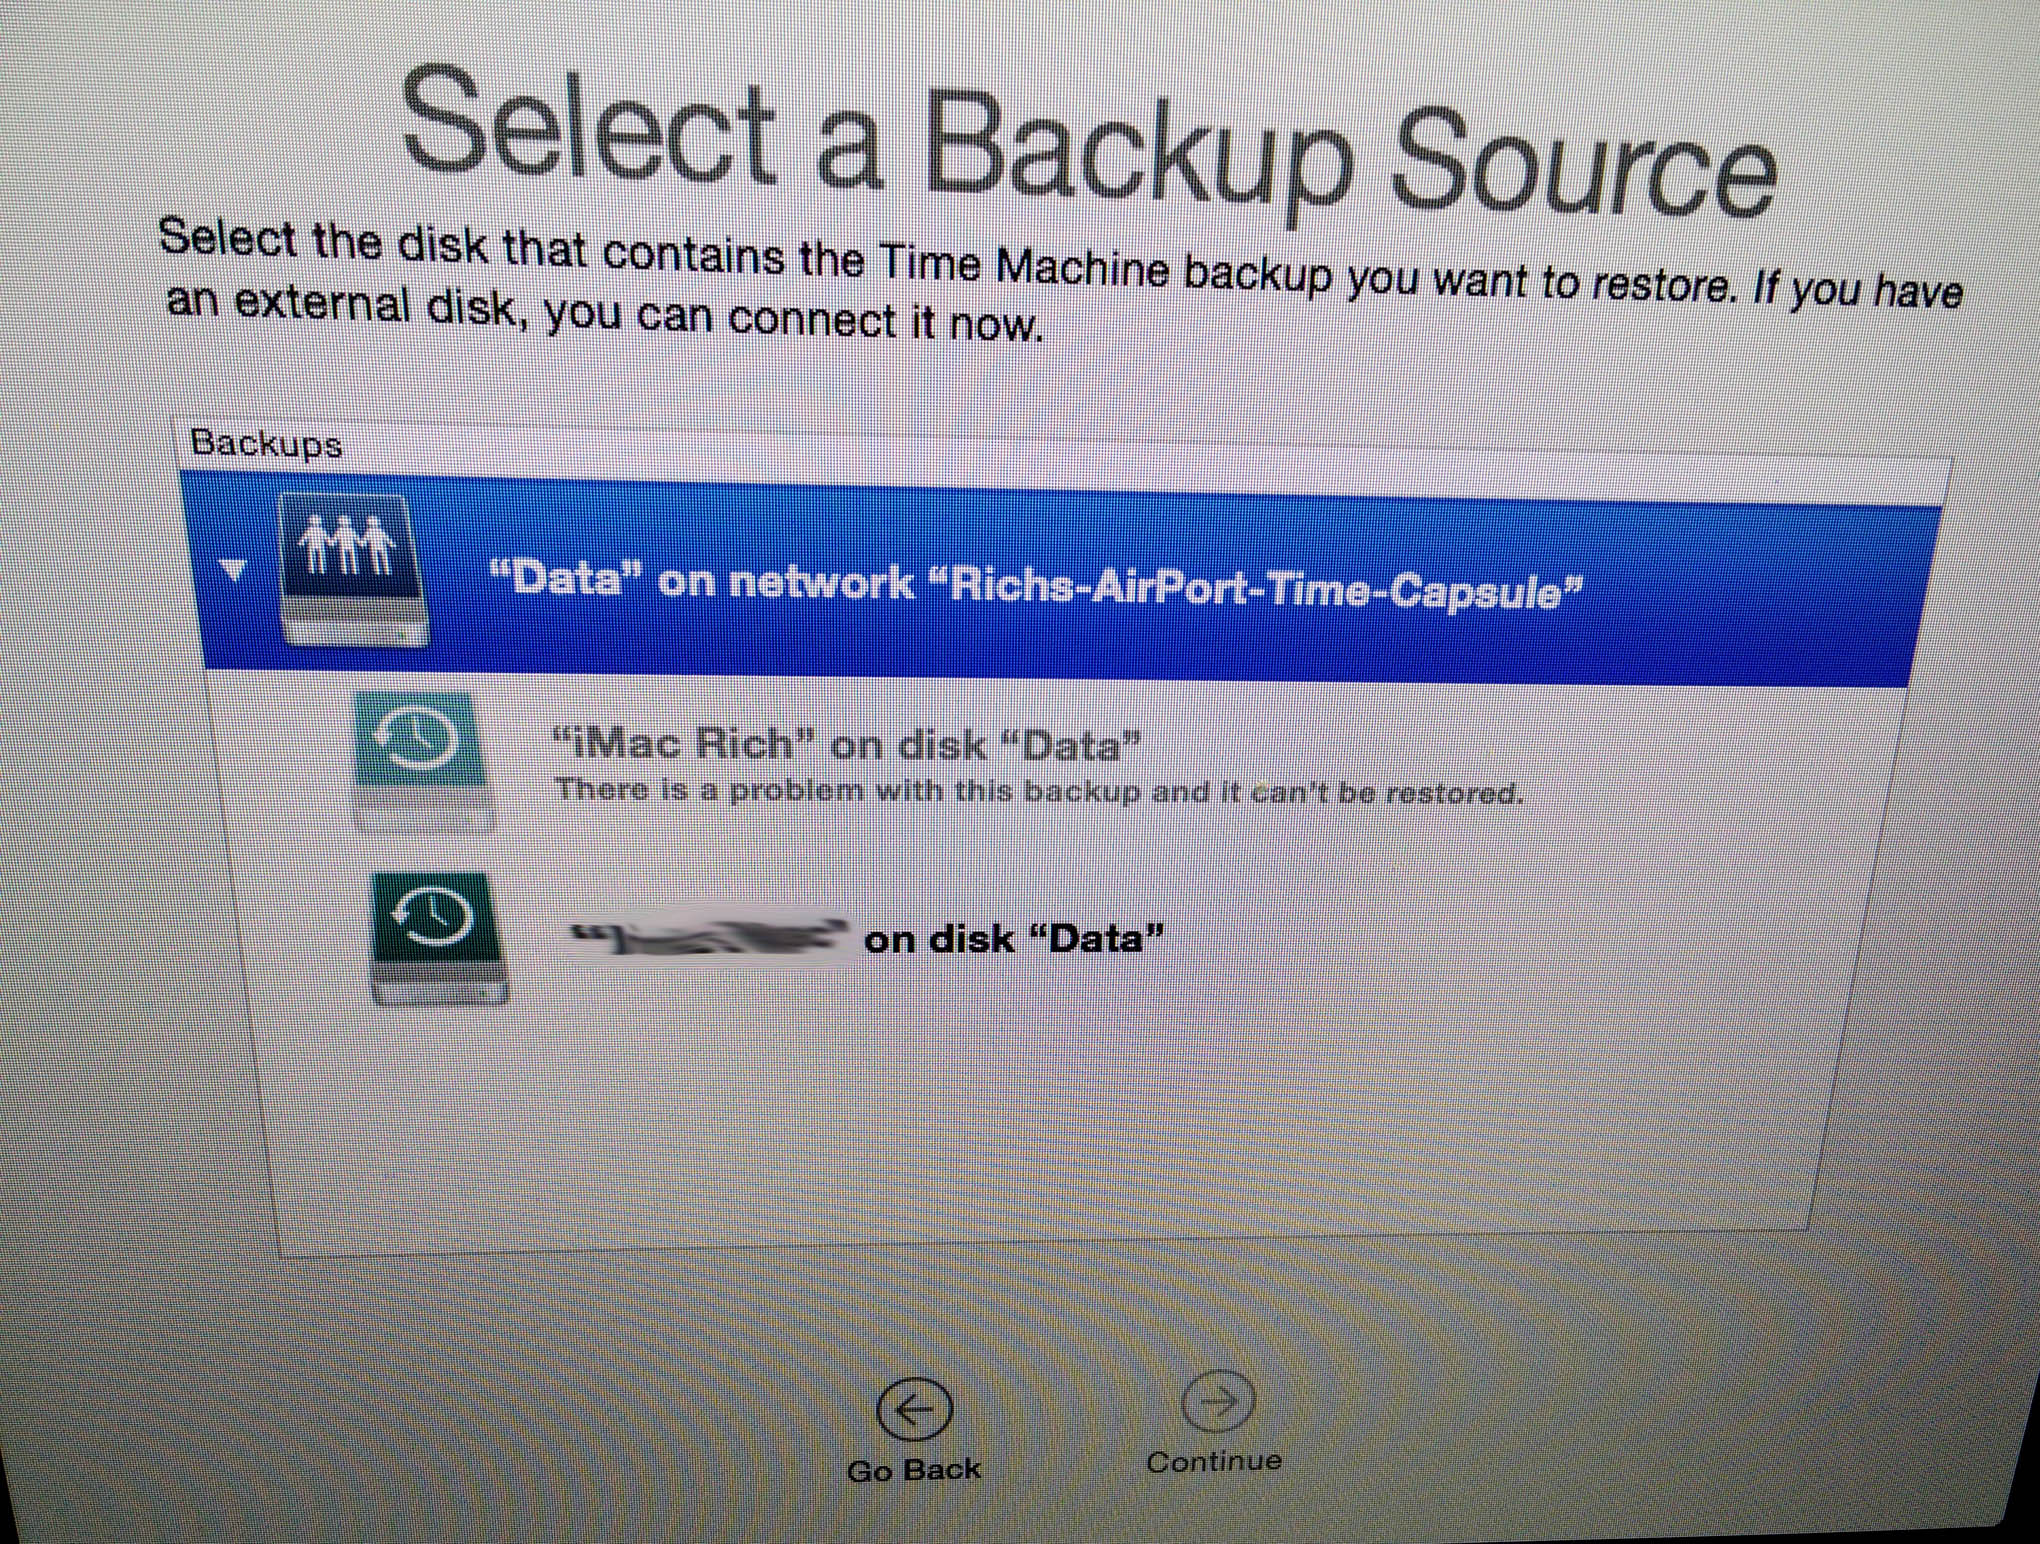
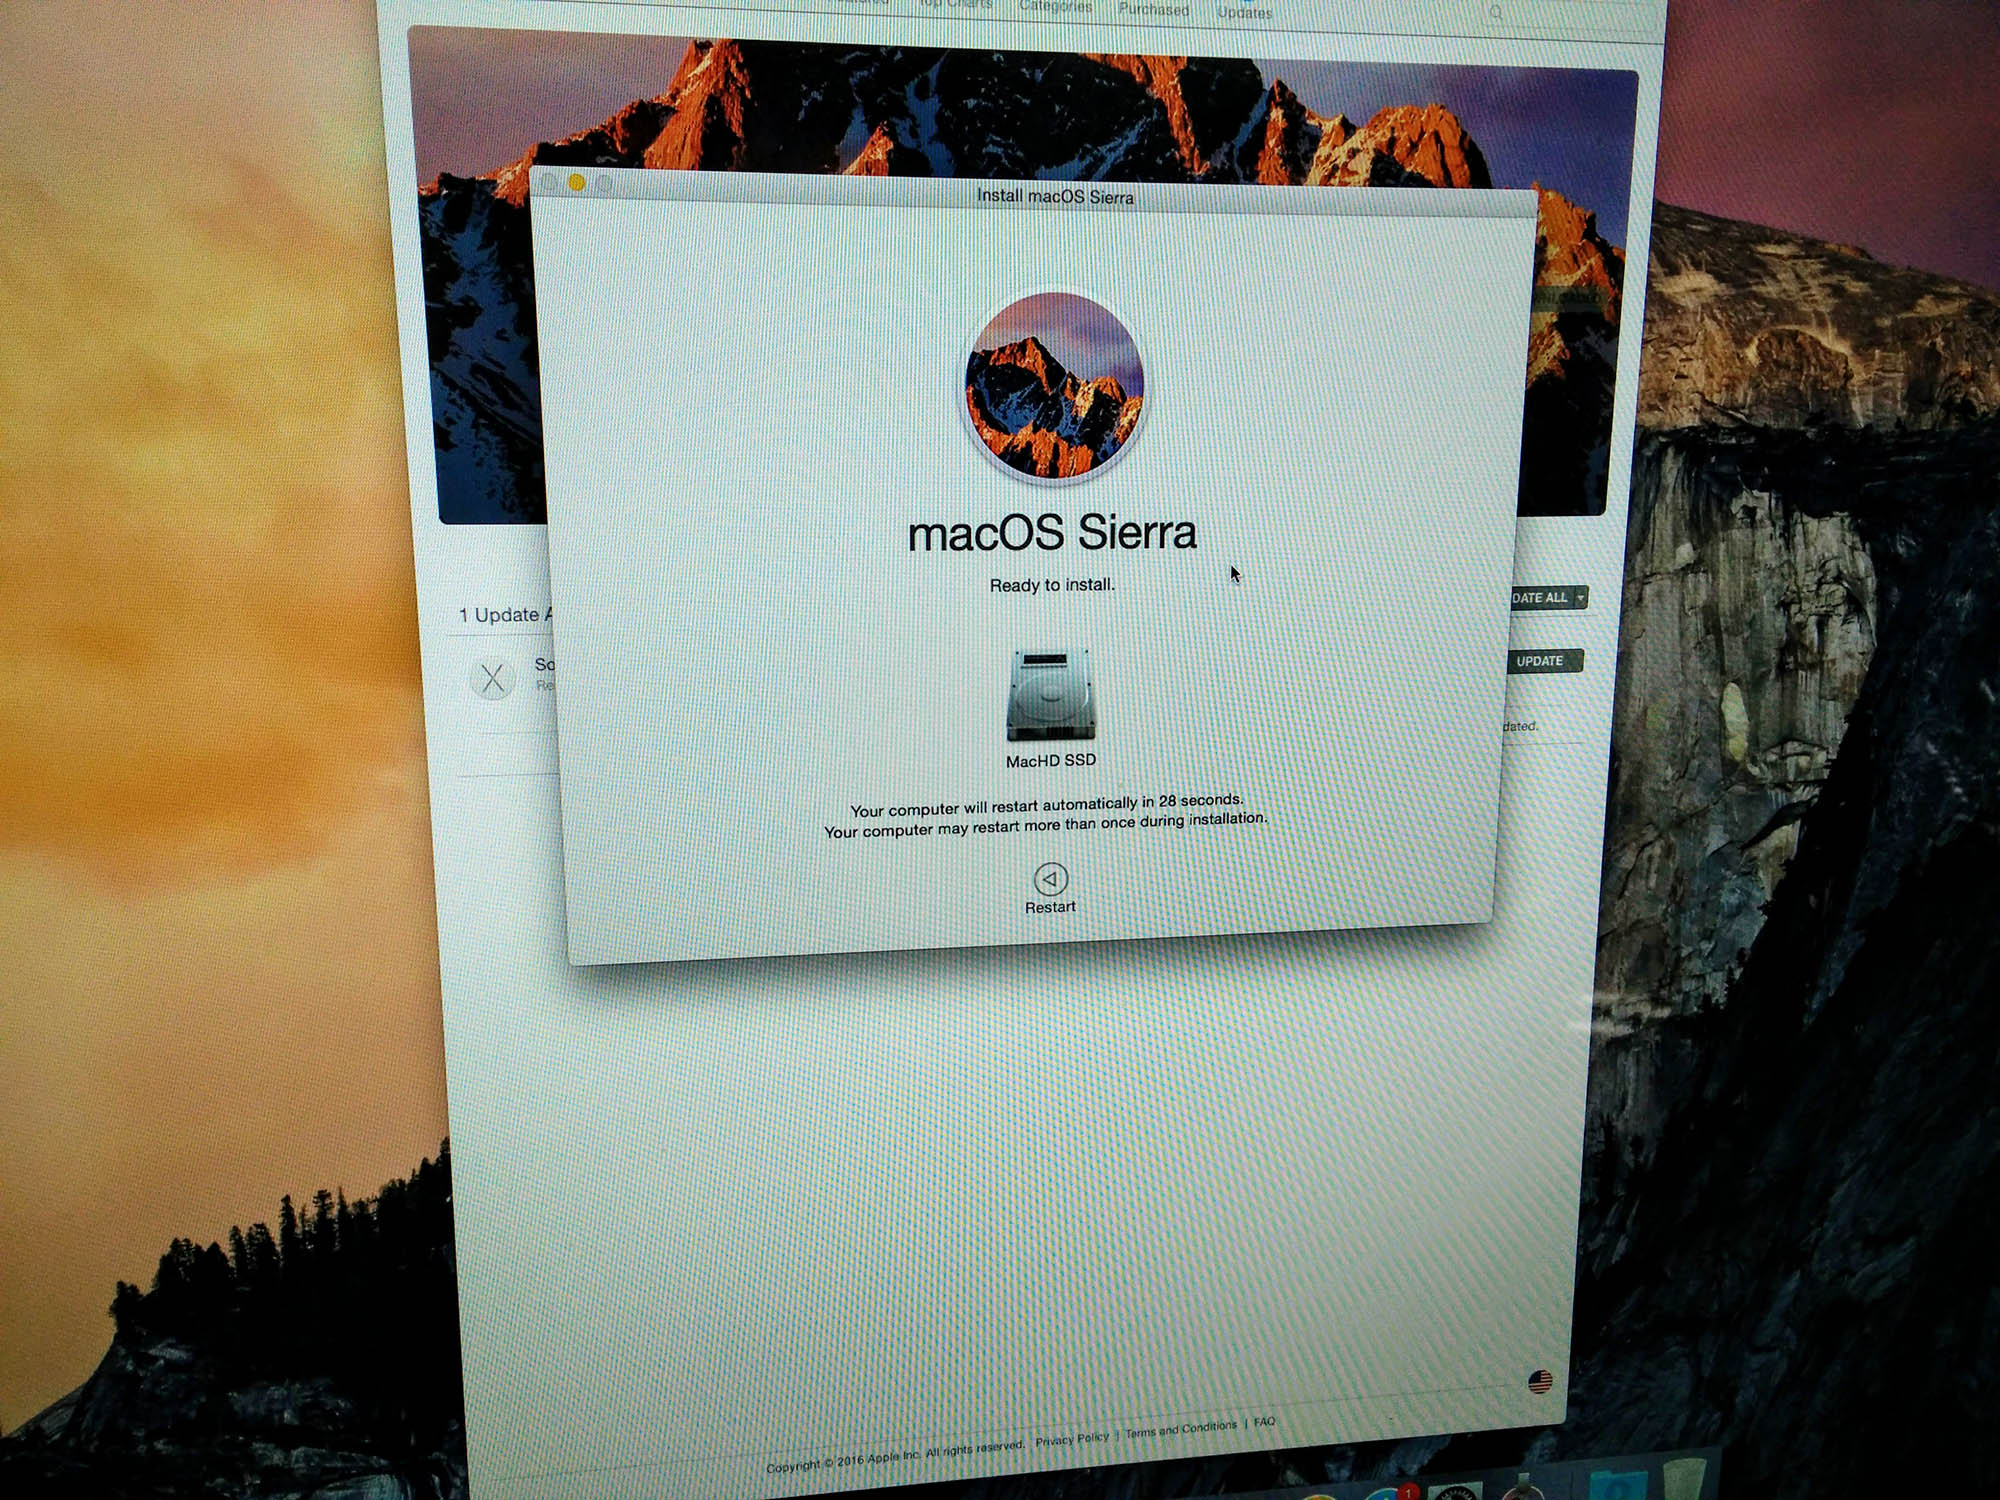
Since my my backup was corrupt, I decided to install a fresh copy of MacOS.
After I my iMac was up and running, I started researching how to fix a corrupted and found an awesome blog post from Tony Lawrence: Fixing corrupted time machine backups
Although his article talks about recovering a Time Machine backup on a ReadNAS, it was easy to adapt this for my scenario with a Time Capsule by replacing
/Volumes/TimeMachine
with
/Volumes/Data
which is where my Time Capsule was mounted. You would need to look into your /Volumes folder to see what your Time Capsule folder is called.
After following Tony’s instructions, the Time Machine backup was repaired and I was able to access my files.
Instead of using Migration Assistant to recover everything, I decided to manually copy back what I needed. Why you might ask? The installation of OSX (now MacOS) has been updated and migrated since 2008 and I thought it was time for a fresh install. A little more work, but I will have a cleaner MacOS running!
I have not put the new adhesive back on yet and will do that once I get everything restore on my iMac.
Google Drive is still syncing my files, but the computer does seem a bit faster.
It is most definitely much quieter and I can hear the 3TB hard drive on my wife’s iMac on the desk next to me!
[ratings]