What you will need
Before starting, here is exactly what we recommend for a reliable Pi-Hole setup. These are the same products we use on our own network.
- Raspberry Pi 5 Starter Kit (CanaKit recommended, includes case, power supply, microSD, cables) — about $100-130
- Argon ONE V3 Case (optional upgrade with active cooling and M.2 NVMe support) — about $30-45
- 64GB SanDisk Extreme microSD (A2 rated, needed if not using the starter kit card) — about $12
- Cat6 Ethernet Cable (Pi-Hole works better wired than WiFi) — about $8
- 5-Port Gigabit Switch (optional, if your router does not have a free ethernet port) — about $20
Affiliate note: we may earn a small commission if you buy through these links, at no extra cost to you. We only recommend products we have personally tested.
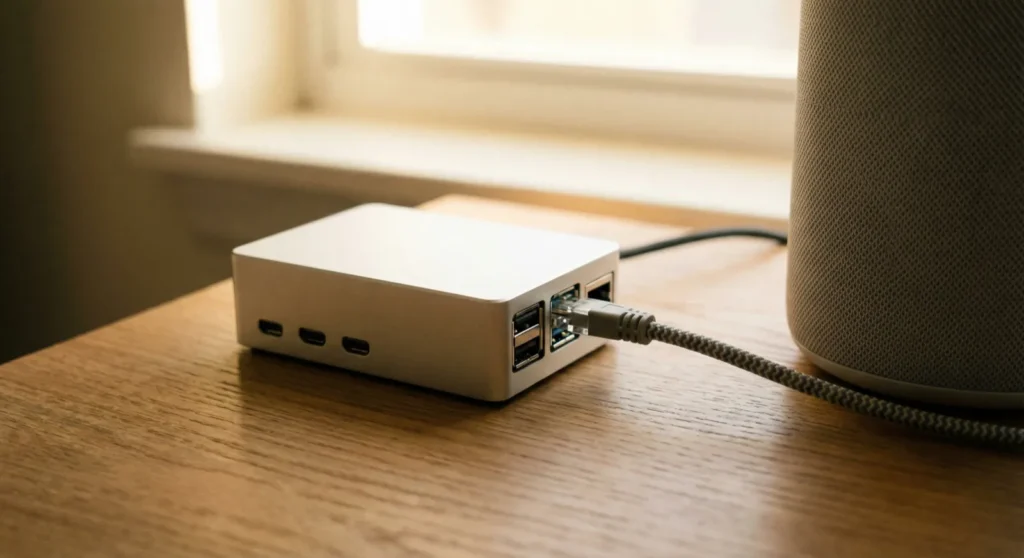
You know that feeling when you’re trying to read an article and the page is 60% ads? Pop-ups, auto-playing videos, banners tracking you across every site you visit? Now imagine all of that just… gone. Not just on your laptop — on every device in your house. Your phone, your smart TV, your kid’s tablet, your guest’s phone when they connect to your Wi-Fi. That’s what Pi-hole does. And setting it up on a Raspberry Pi 5 takes about 30 minutes. Pi-hole is a free, open-source network-level ad blocker that runs on a Raspberry Pi. Instead of installing ad blockers on every browser and every device, Pi-hole blocks ads and trackers at the DNS level — meaning anything connected to your network gets protection automatically. No apps to install, no browser extensions to manage. We’ve been running Pi-hole on our network for a while now, and honestly, it’s one of the best Raspberry Pi projects we’ve ever done. Here’s the full step-by-step setup guide.
What You’ll Need (Hardware + Software Checklist)
The good news: you don’t need much. If you already have a Raspberry Pi 5, you might have everything you need sitting in a drawer.Hardware
- Raspberry Pi 5 (4GB or 8GB) — The 8GB model is overkill for Pi-hole, but if you plan to run other services alongside it, grab the 8GB. Check price on Amazon
- MicroSD card (32GB+) — Any Class 10 card works. We recommend 64GB so you have room to grow.
- USB-C power supply (27W) — The official Raspberry Pi 5 power supply is ideal. Most Pi 5 starter kits include one.
- Ethernet cable — You can use Wi-Fi, but Ethernet is more reliable for a DNS server that your whole network depends on.
- Case with cooling — The Pi 5 runs warm. A case with a fan or heatsink keeps things stable. The GeeekPi case with active cooling is a solid budget pick, or go with the Argon Flirc passive case if you want silent operation.
Software
- Raspberry Pi Imager — Free download from raspberrypi.com
- Raspberry Pi OS Lite (64-bit) — The headless version without a desktop. Pi-hole doesn’t need a monitor.
- Pi-hole — Installed via a single command (we’ll get there)
Step 1 — Flash Raspberry Pi OS Lite
Download and install Raspberry Pi Imager on your computer. Plug in your microSD card and:- Open Raspberry Pi Imager
- Click Choose OS → Raspberry Pi OS (other) → Raspberry Pi OS Lite (64-bit)
- Click Choose Storage → select your microSD card
- Click the gear icon (or press Ctrl+Shift+X) to open Advanced Options:
- Enable SSH (password authentication)
- Set a username and password (write these down — you’ll need them)
- Optionally configure Wi-Fi (but again, Ethernet is better)
- Click Write and wait for it to finish
Step 2 — SSH In and Update
Find your Pi’s IP address. The easiest way is to check your router’s admin page for connected devices — look for “raspberrypi.” Or if you set a hostname in the Imager settings, try:ssh yourusername@raspberrypi.local
sudo apt update && sudo apt full-upgrade -y
sudo reboot

Step 3 — Set a Static IP
Your Pi-hole needs a consistent IP address so your router always knows where to send DNS requests. The easiest approach: set a DHCP reservation in your router.- Log into your router’s admin page (usually 192.168.1.1 or 192.168.0.1)
- Find the DHCP or LAN settings
- Look for your Pi’s current IP and MAC address
- Create a reservation that always assigns that same IP to your Pi
/etc/dhcpcd.conf, but the router reservation method is simpler and survives OS reinstalls.
Write down your Pi’s IP address — you’ll need it for the next step and for configuring your router later.
Step 4 — Install Pi-hole
Here’s the fun part. One command:curl -sSL https://install.pi-hole.net | bash
- Upstream DNS provider — Pick Google (8.8.8.8), Cloudflare (1.1.1.1), or whatever you prefer. (If you add Unbound later, you’ll change this.)
- Blocklists — Accept the default. You can add more later.
- Admin web interface — Yes, install it. This is how you’ll monitor and manage Pi-hole.
- Query logging — Enable it. Useful for troubleshooting.
pihole -a -p
http://YOUR-PI-IP/admin
Step 5 — Configure Your Router
This is where Pi-hole goes from “running on a Pi” to “blocking ads on every device in your house.” You need to tell your router to use Pi-hole as the DNS server for your entire network:- Log into your router’s admin page
- Find the DNS settings (usually under LAN, DHCP, or Network settings)
- Replace whatever DNS servers are there with your Pi’s IP address
- Save and reboot the router
Optional: Add Unbound for Recursive DNS
By default, Pi-hole forwards your DNS queries to an upstream provider like Google or Cloudflare. That means they can see every domain you visit. If privacy matters to you (and it should), you can run your own recursive DNS resolver with Unbound. Install it:sudo apt install -y unbound
sudo nano /etc/unbound/unbound.conf.d/pi-hole.conf
sudo systemctl restart unbound
dig example.com @127.0.0.1 -p 5335
127.0.0.1#5335 as a custom upstream. Now your DNS queries go directly to the root servers — no middleman.
Testing and Troubleshooting
Verify Pi-hole Is Working
- Open the Pi-hole dashboard (http://YOUR-PI-IP/admin)
- Browse a few websites on any device connected to your network
- Check the dashboard — you should see queries being blocked in real-time
Common Issues
“Some websites are broken” — Pi-hole might block a domain that a site needs to function. Check the Query Log in your dashboard, find the blocked domain, and whitelist it. “Pi-hole isn’t blocking anything” — Make sure your router’s DNS is pointing to the Pi’s IP. On your computer, runnslookup google.com — the server should show your Pi’s IP address.
“I can’t access the internet at all” — The Pi might be off or unreachable. As a quick fix, manually set your device’s DNS to 8.8.8.8 to bypass Pi-hole while you troubleshoot. Check that the Pi is powered on, connected via Ethernet, and running (pihole status).
“YouTube ads still show” — This is a common complaint. YouTube serves ads from the same domains as video content, making them difficult to block at the DNS level. Pi-hole catches most web ads, but YouTube and a few other platforms are the exception.