Dexter GoPiGo3 Raspberry Pi Robot Kit for STEM Learning
Many Elementary Schools are introducing STEM (Science, Technology, Engineering, and Math) programs.
In our son’s elementary school they teach robotics using Lego education (WeDo & EV3 MindStorm). This is great, but I wanted my son to learn even more than what Lego offered, which lead me to the GoPiGo by Dexter Industries.
If your camp or school does not have a similar STEM program, you can still get started with your child at home using the newest GoPiGo kit. Dexter Industries recommends this kit for age 7 years or older (I’m sure you can use this for younger children who love building robots).
Recently, I received the GoPiGo kit to evaluate for STEM robotics summer camps in my neighborhood. I will walk you through what it includes and how to sort it out.
The kit contains everything you need to ignite a child’s desire to learn while enhancing their skills in engineering, science, coding, and technology. The curriculum facilitates and supports a clear, easy-to-follow journey through subjects, including: life, physical, earth and space sciences, and engineering. Even if your kids are not familiar with building and coding, these kits are a great way to get them started in STEM.
GoPiGo Works with the Following Systems:
- Mac/Windows
- Chromebook
- iOS Tablet
- Android tablet
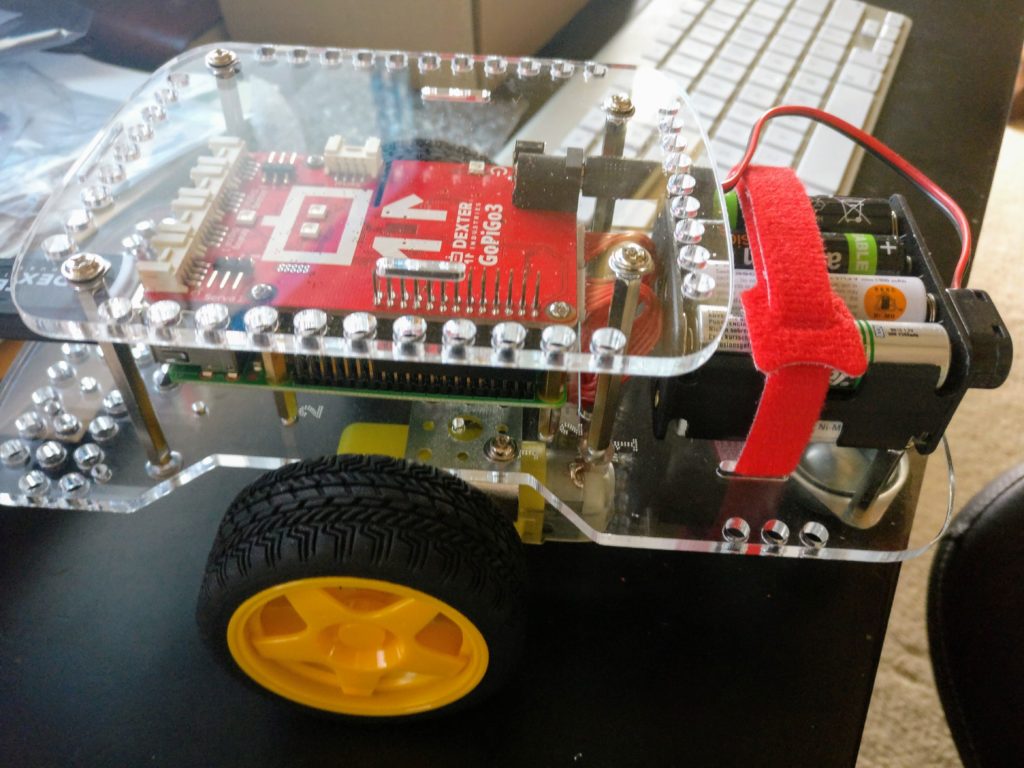
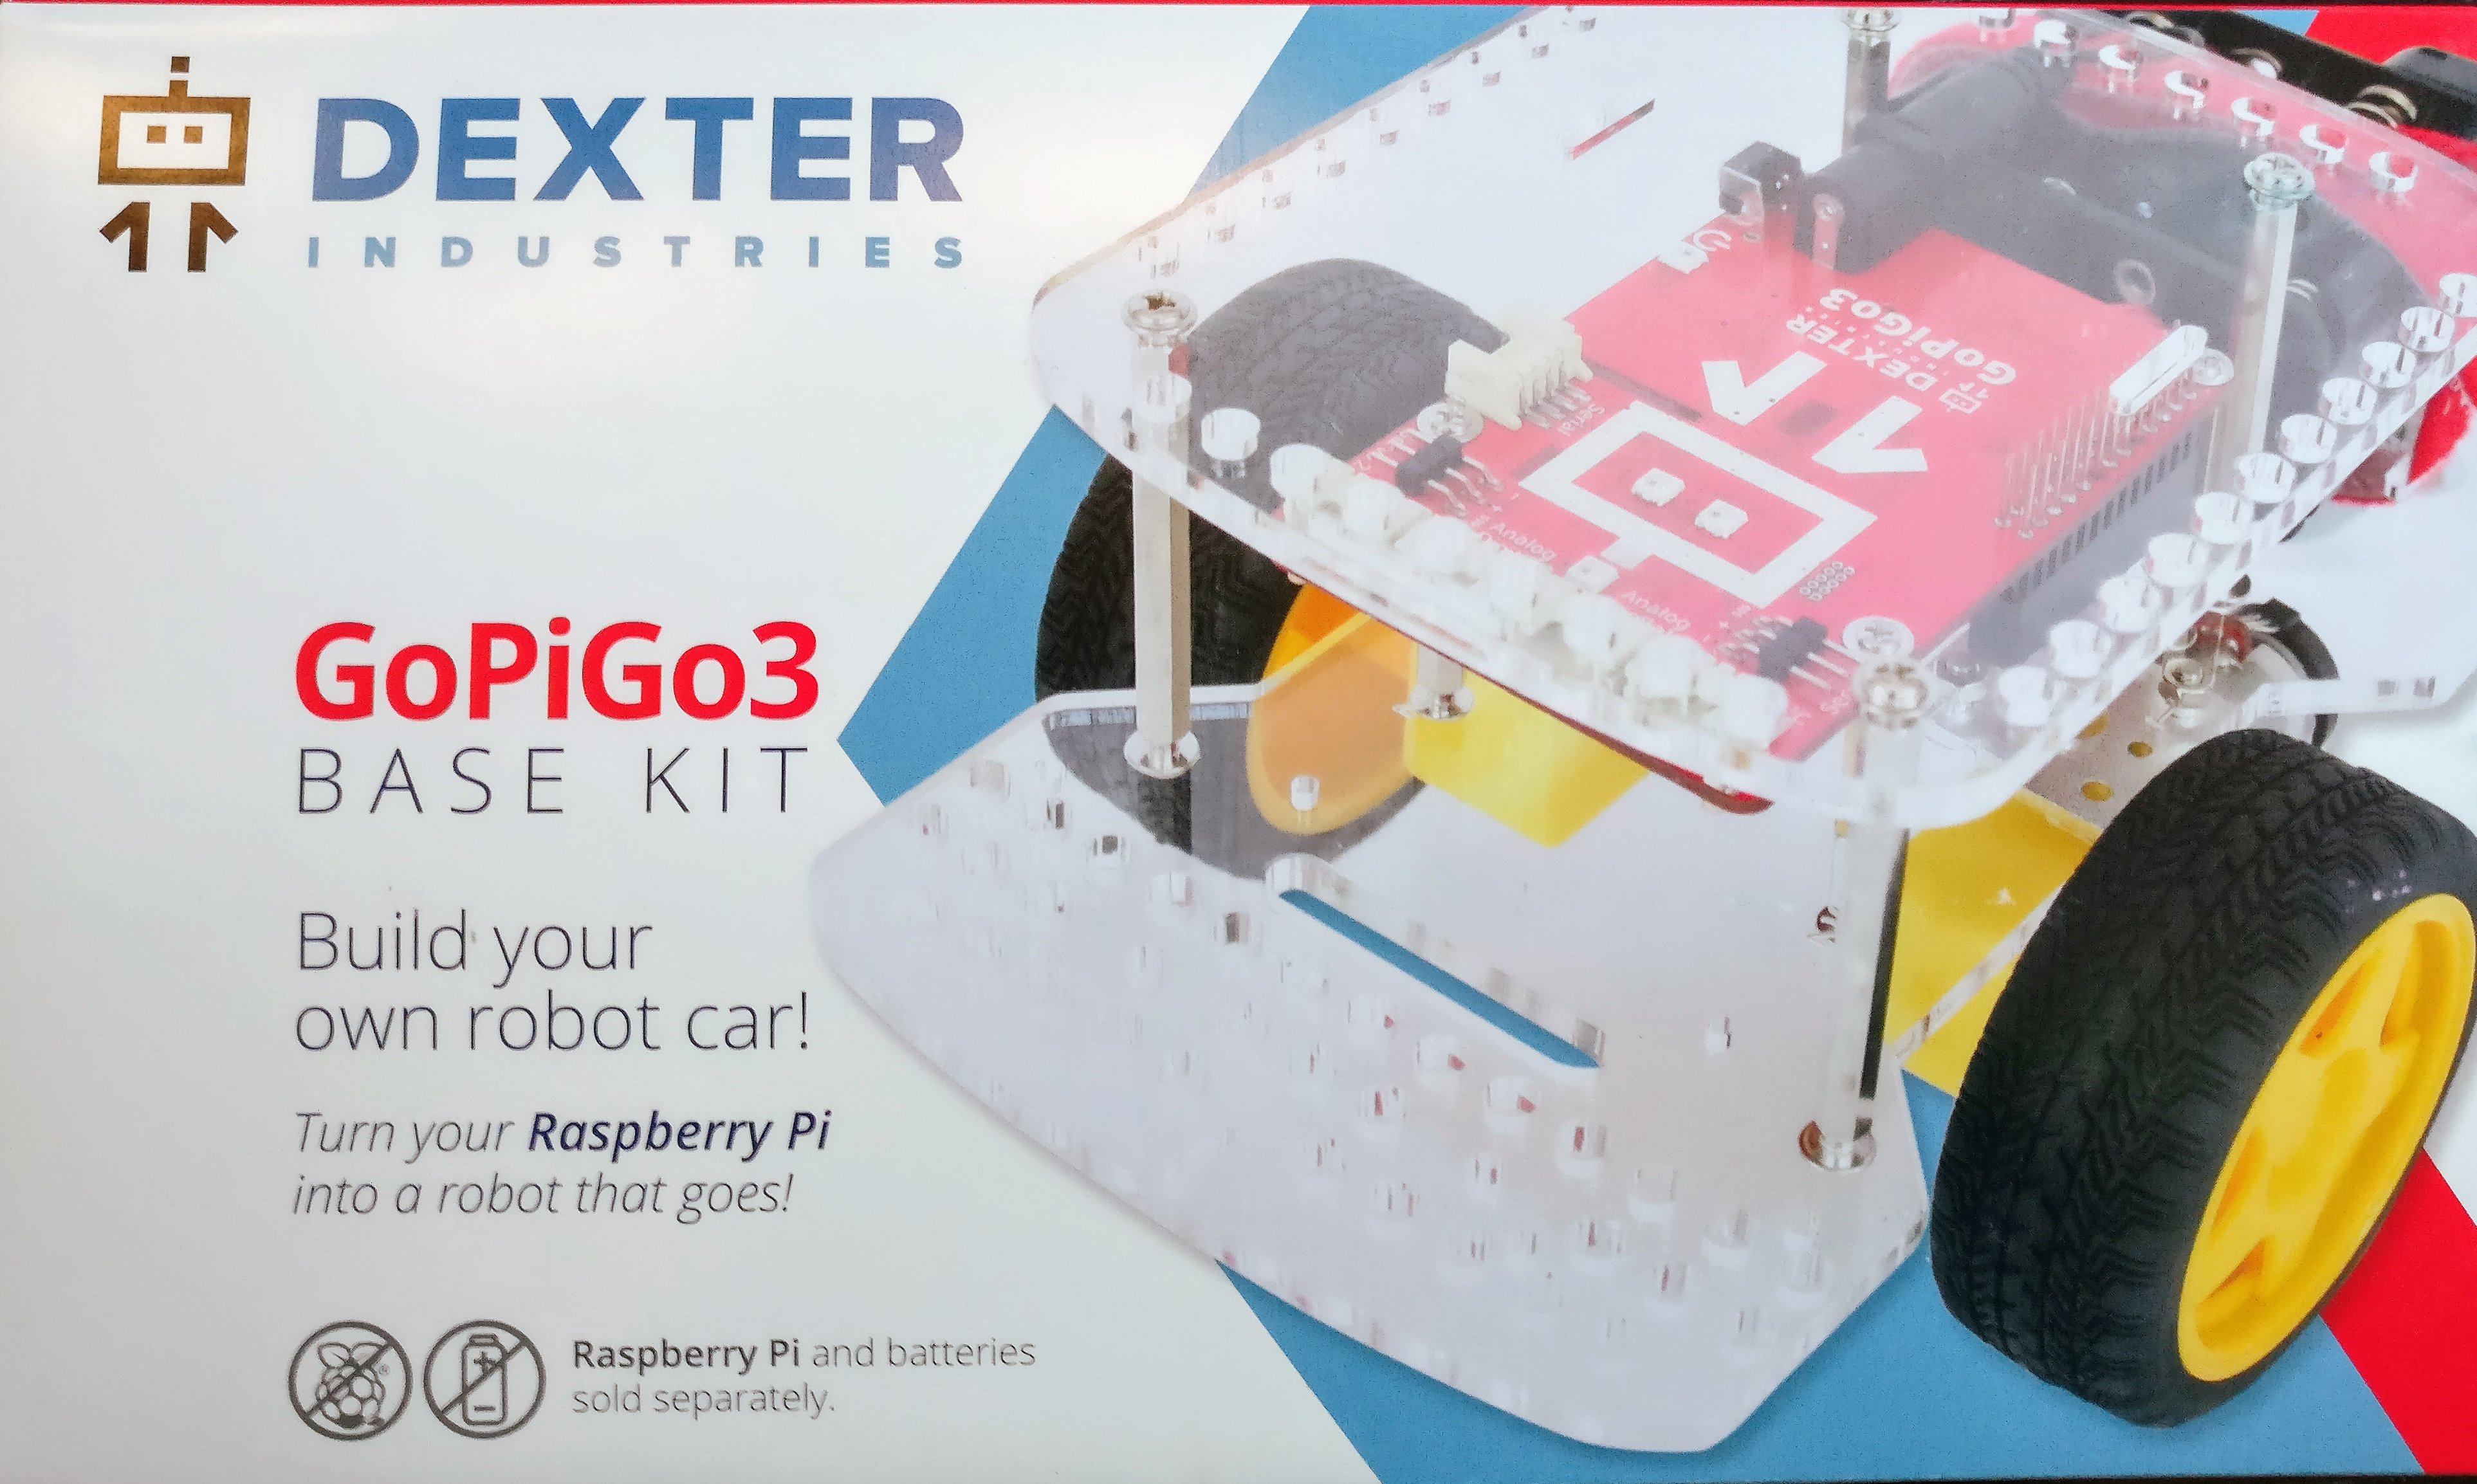
Here is the picture of the GoPiGo Kit.
Kit Includes:
-GoPiGo3 Base Kit
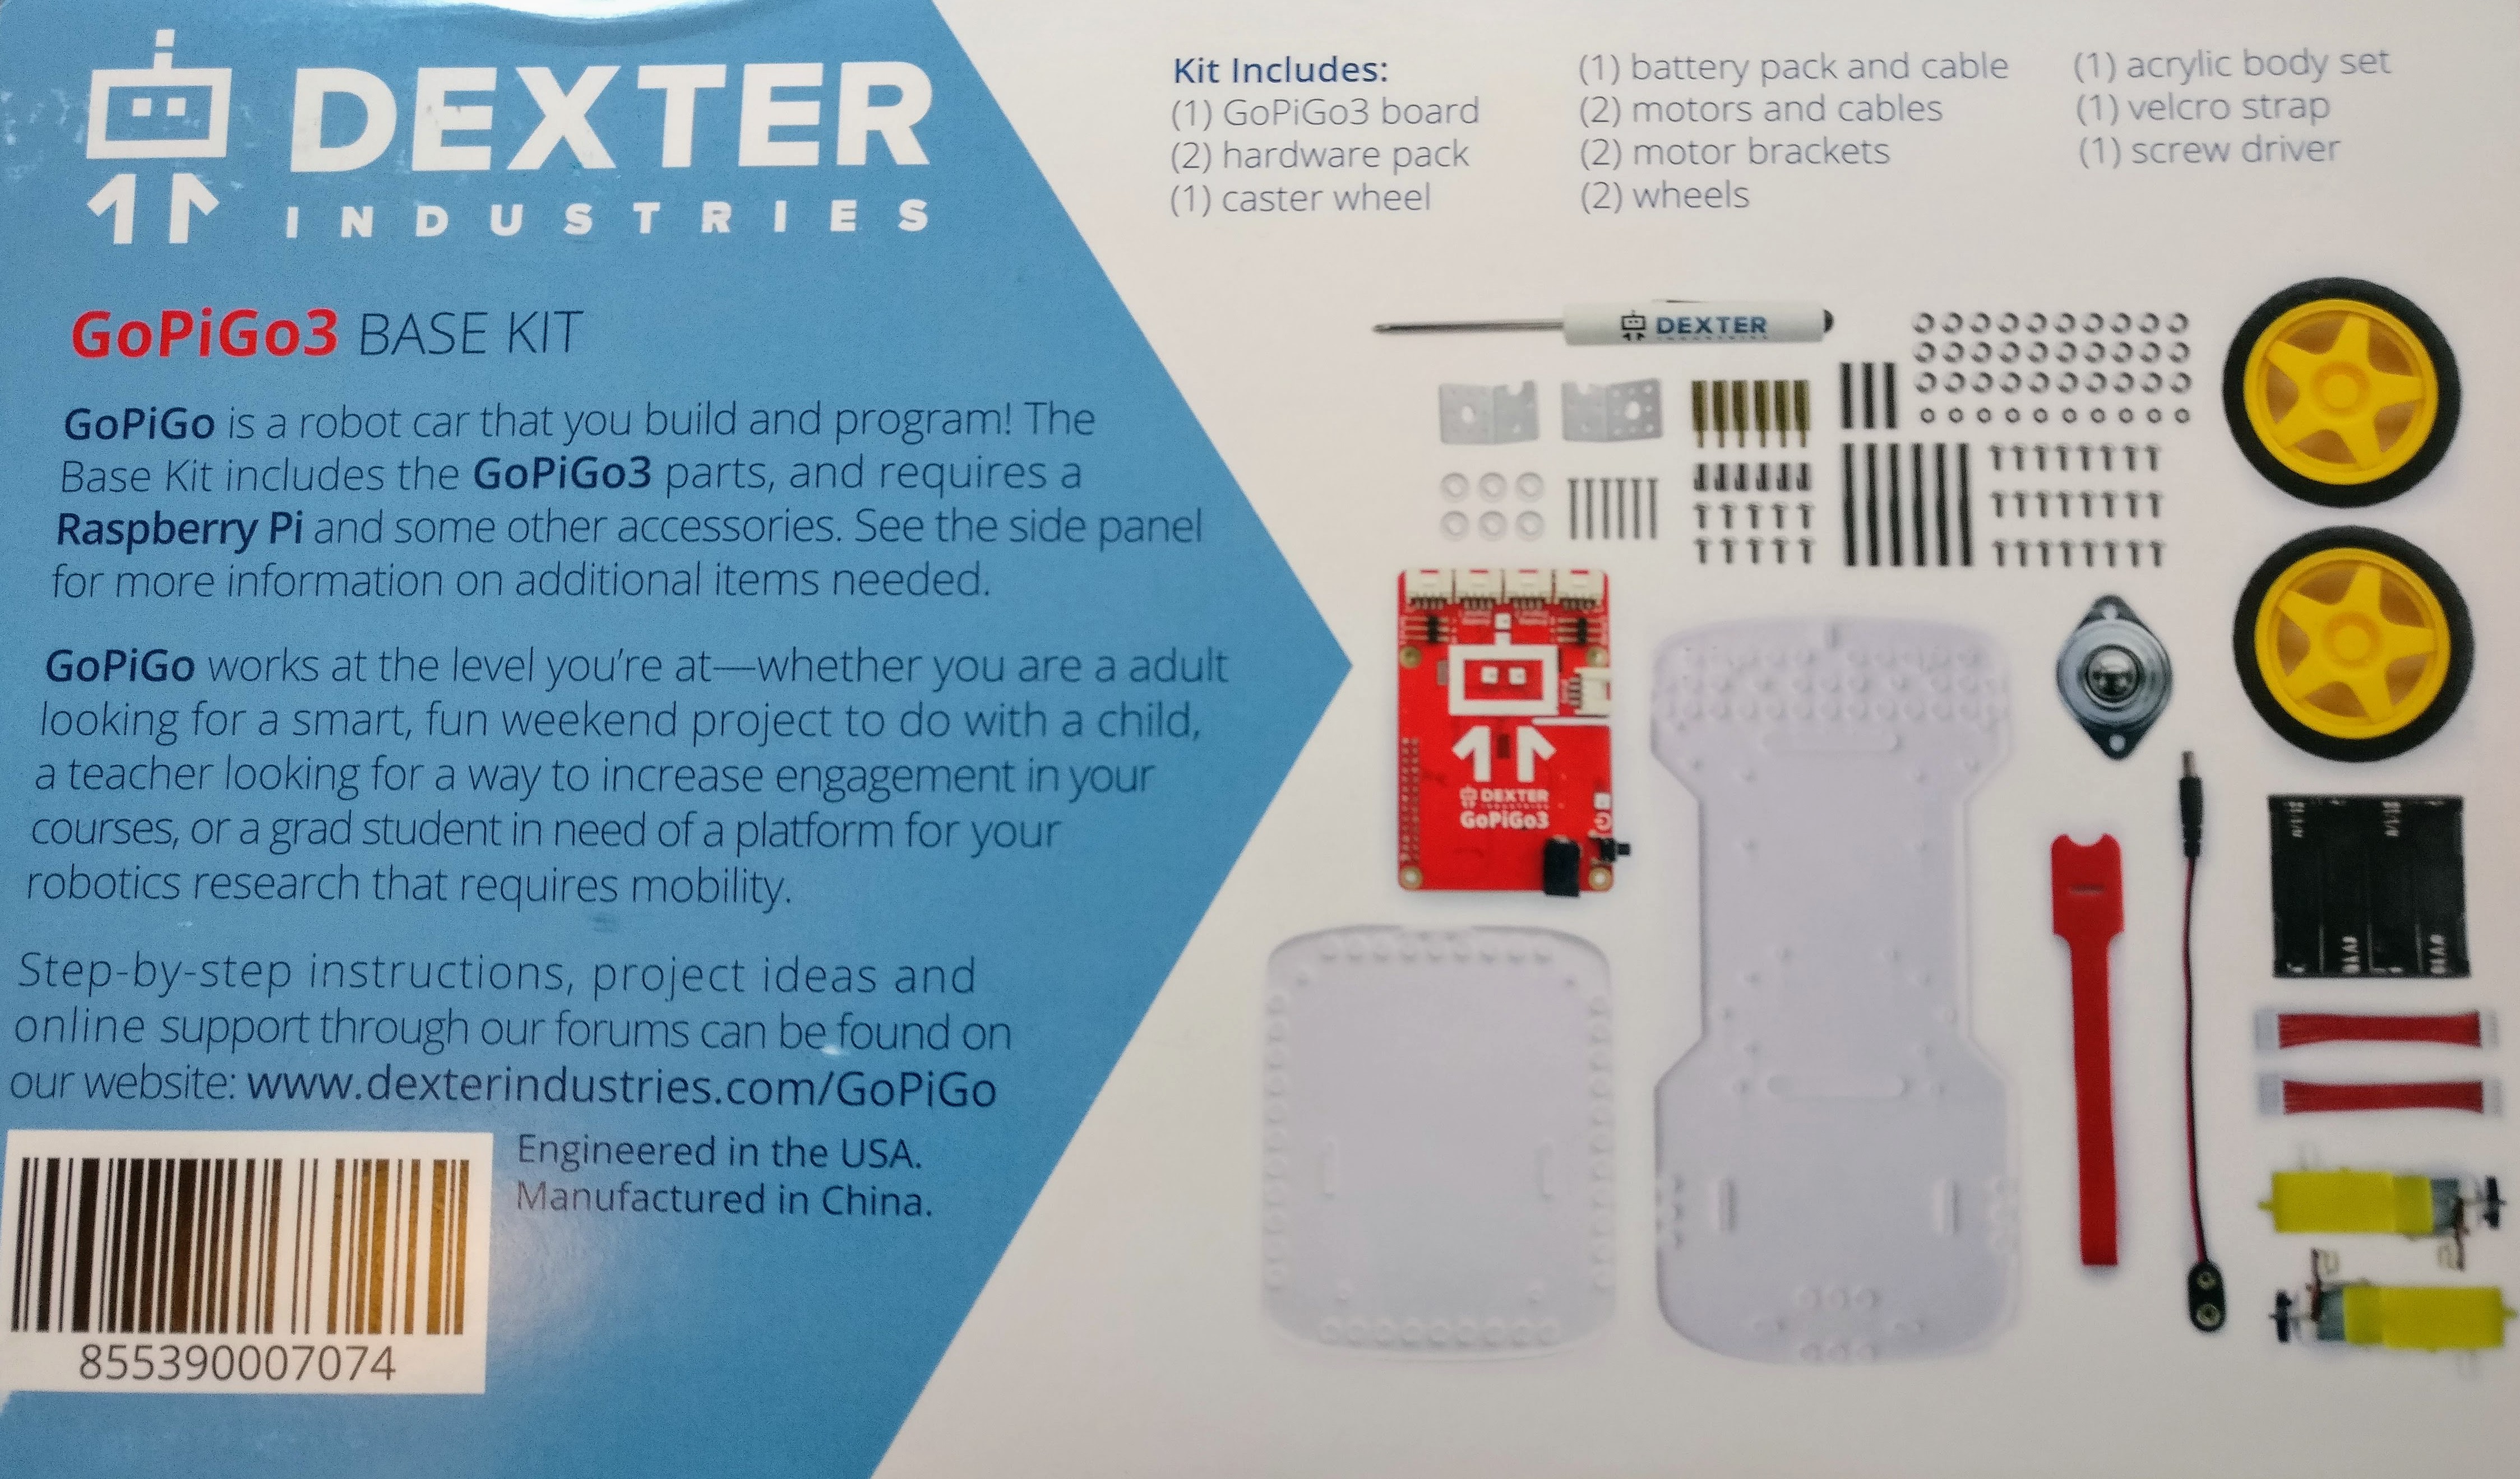
What is not included or Optional:
-Raspberry Pi – this is a single board computer that connects to the GoPiGo3 board.
-MicroSD card with Dexter custom software.
-Ethernet cable to connect it to your computer for setup and programming.
-Power wall adapter for the Raspberry Pi.
-8 AA batteries or a rechargeable battery pack.
-mini USB wifi dongle (recommended to turn into a remote control car).
-different types of sensors (distance sensor, loudness sensor, moisture sensor, motion sensor, light & color sensor, temperature, humidity & pressure sensor, IMU sensor).
-Raspberry Pi Camera.
-Other accessories.
Building GoPiGo3 Robot Car
Unboxing & Sorting:
First, you open the kit.
Second, sort the hardware and the contents of the kit.
It would be helpful if there was a printed key guide for the hardware included along with the online guide for reference (only online is available). You can print your own for your child to use as a guide.
Stage 1
It took me about 1.5 hours to build the GoPiGo3 robot car. Here are some of my notes with pictures from the build.
You can follow the directions on the Dexter Industries website for building the GoPiGo3 car. I have made notes to steps below only that I found a little confusing.
Step #10 Do one side at a time.
Step #11 The screws go in from the bottom, the brackets go on the top of the acrylic body and then the washers on top of the screws.
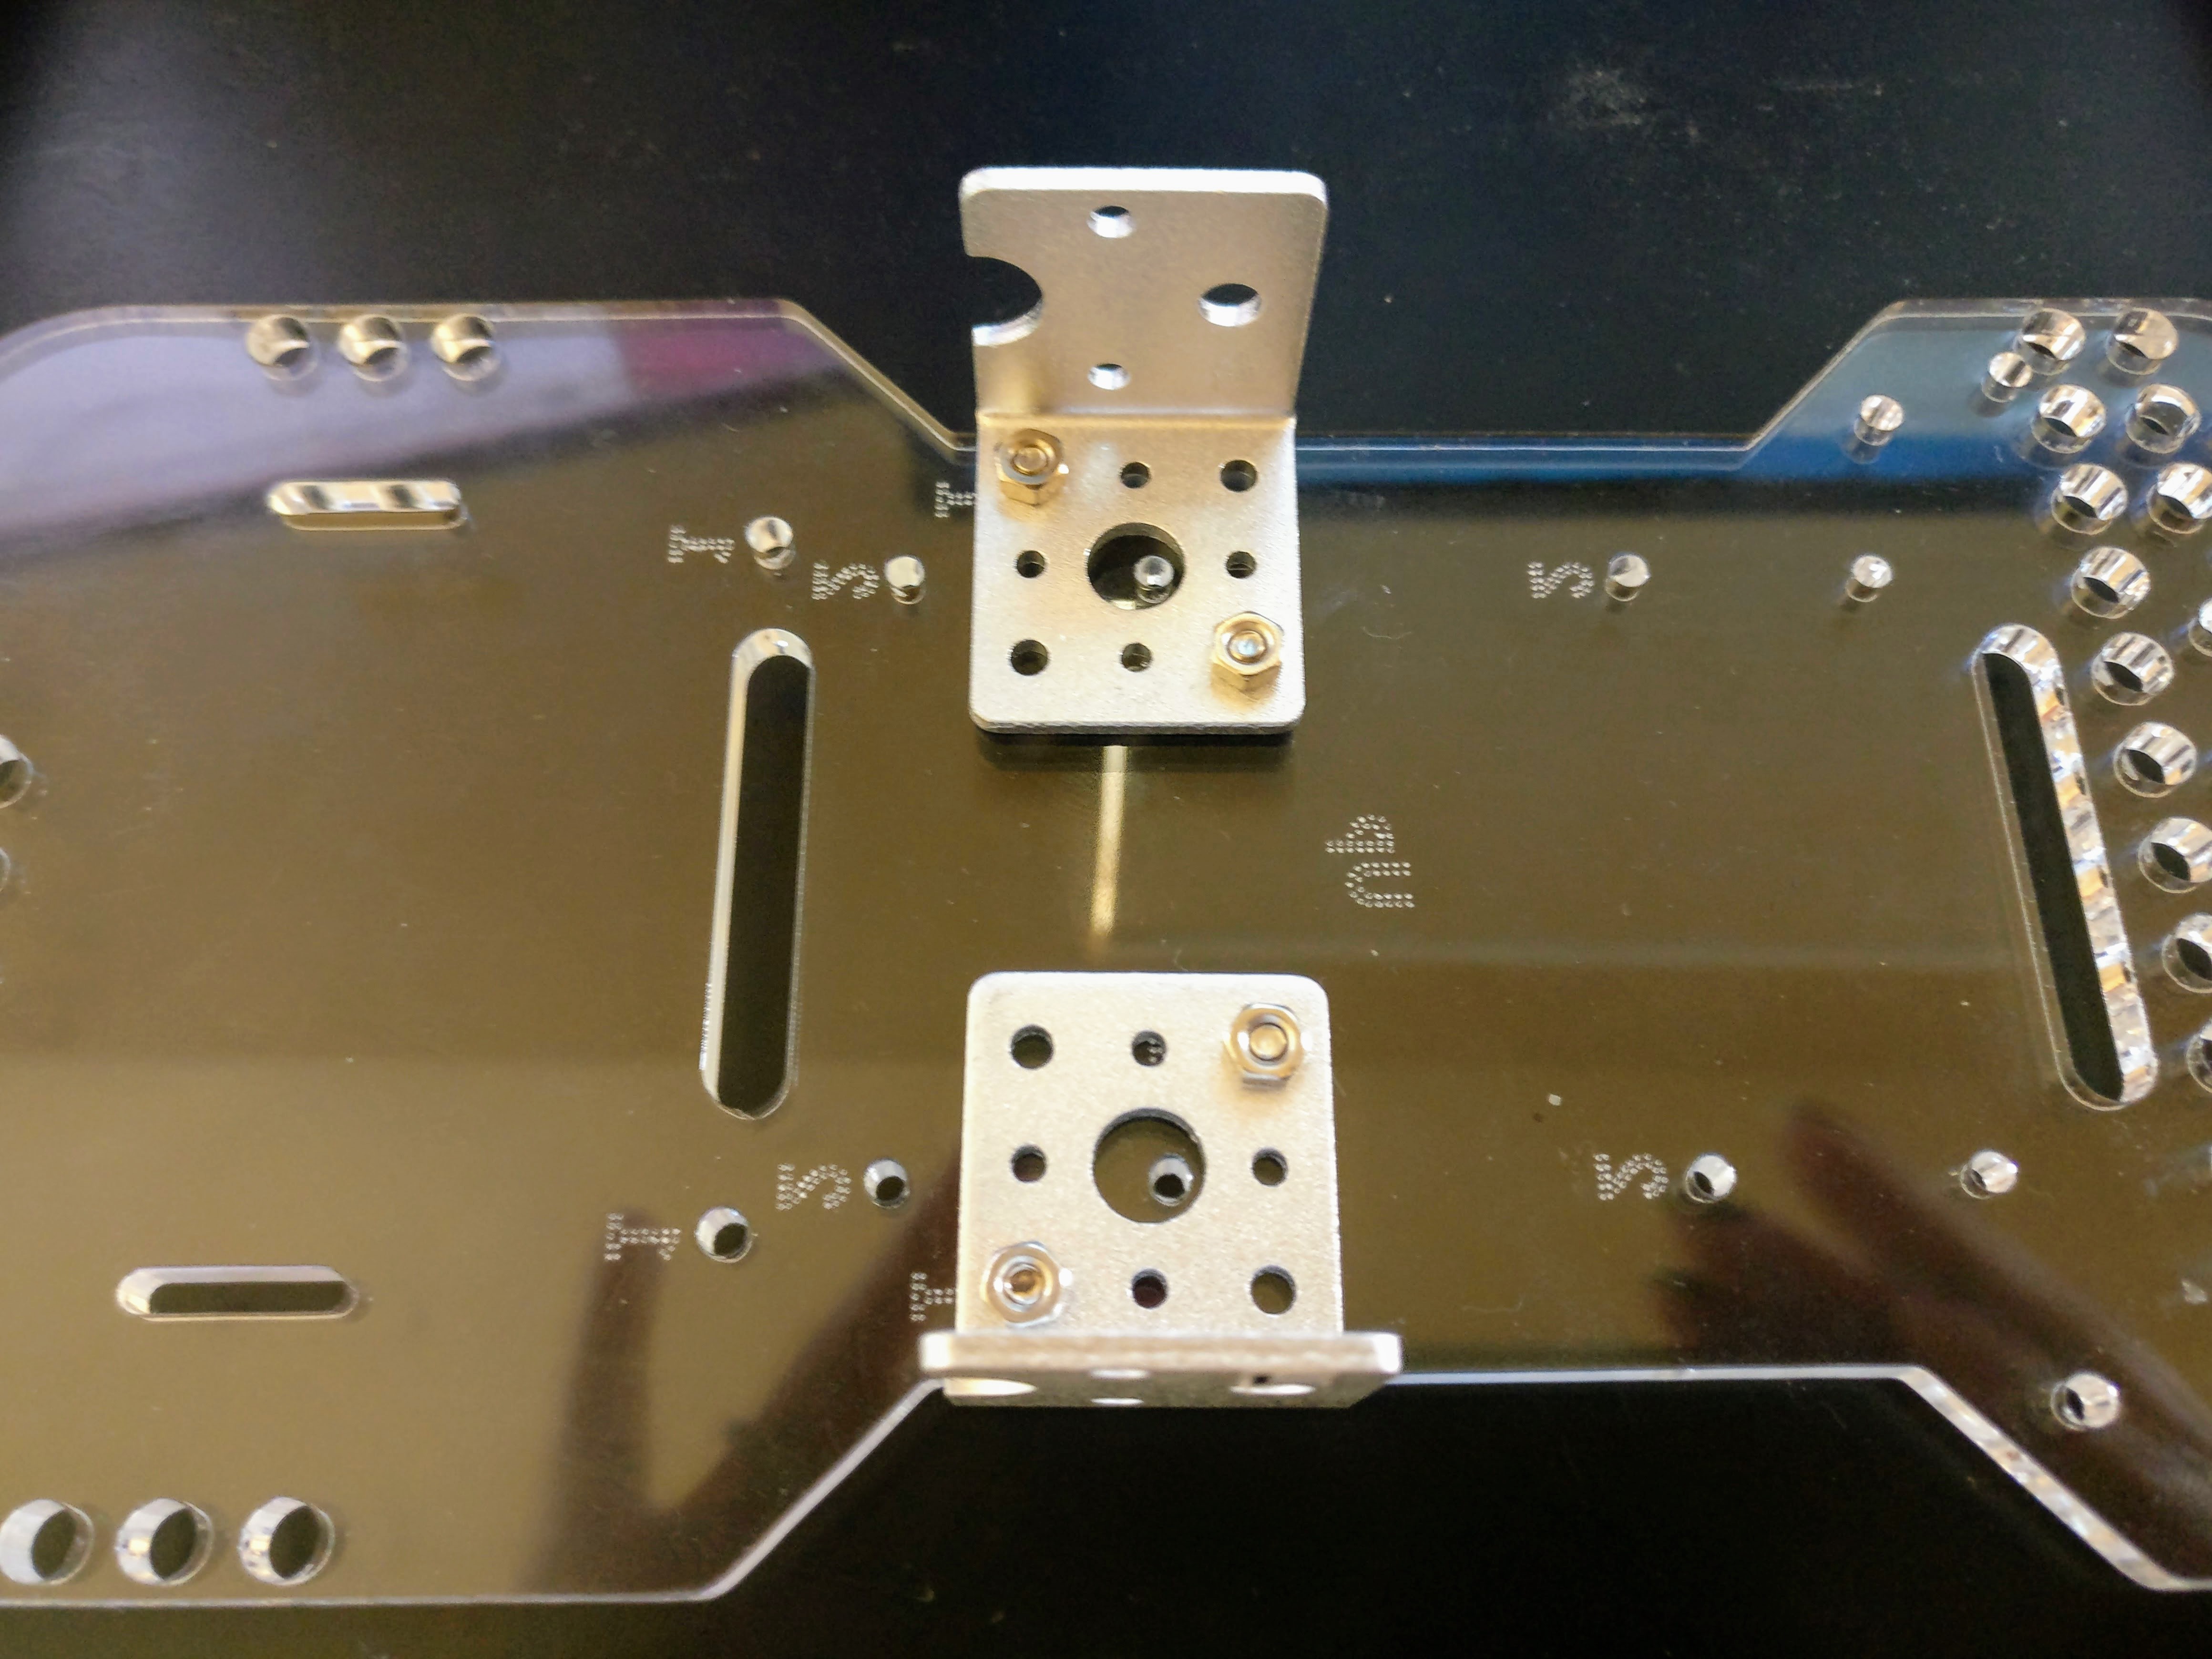
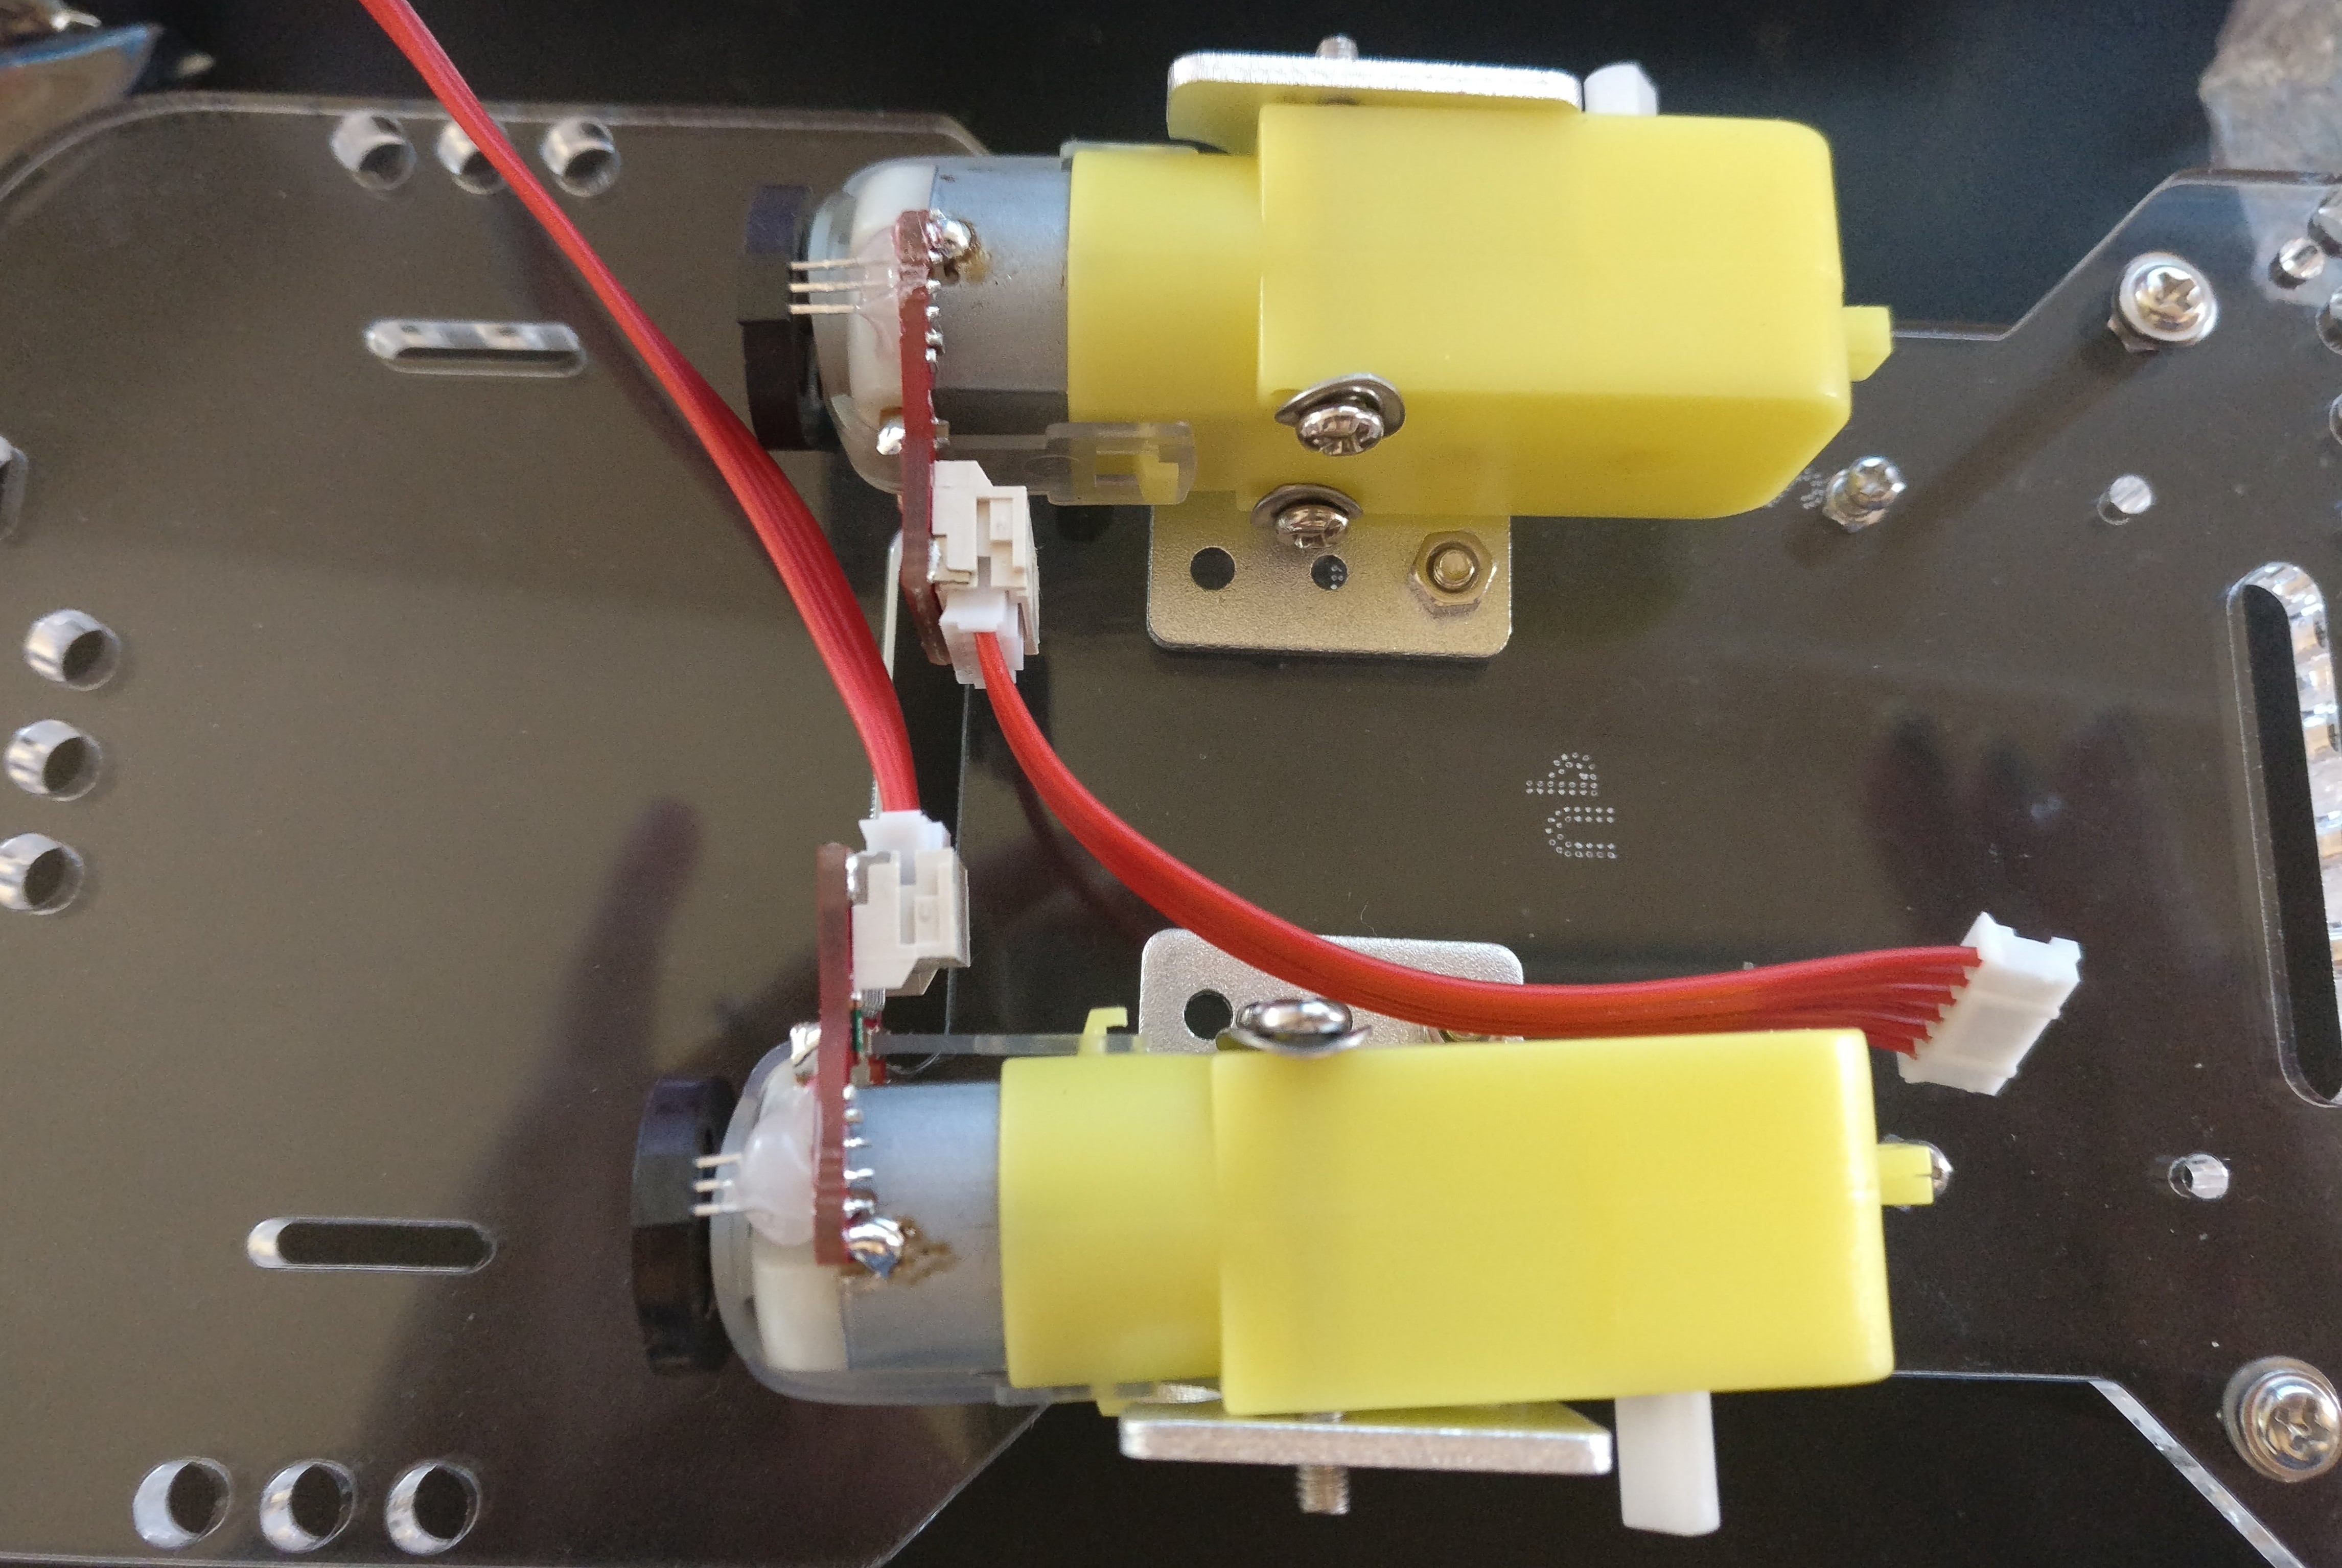
Step #19 To insert the motor cable into the white female port on the motor, the two lines should match the indentation (they go upwards). Once they are in then push in with your thumbs on the sides.
Stage 2
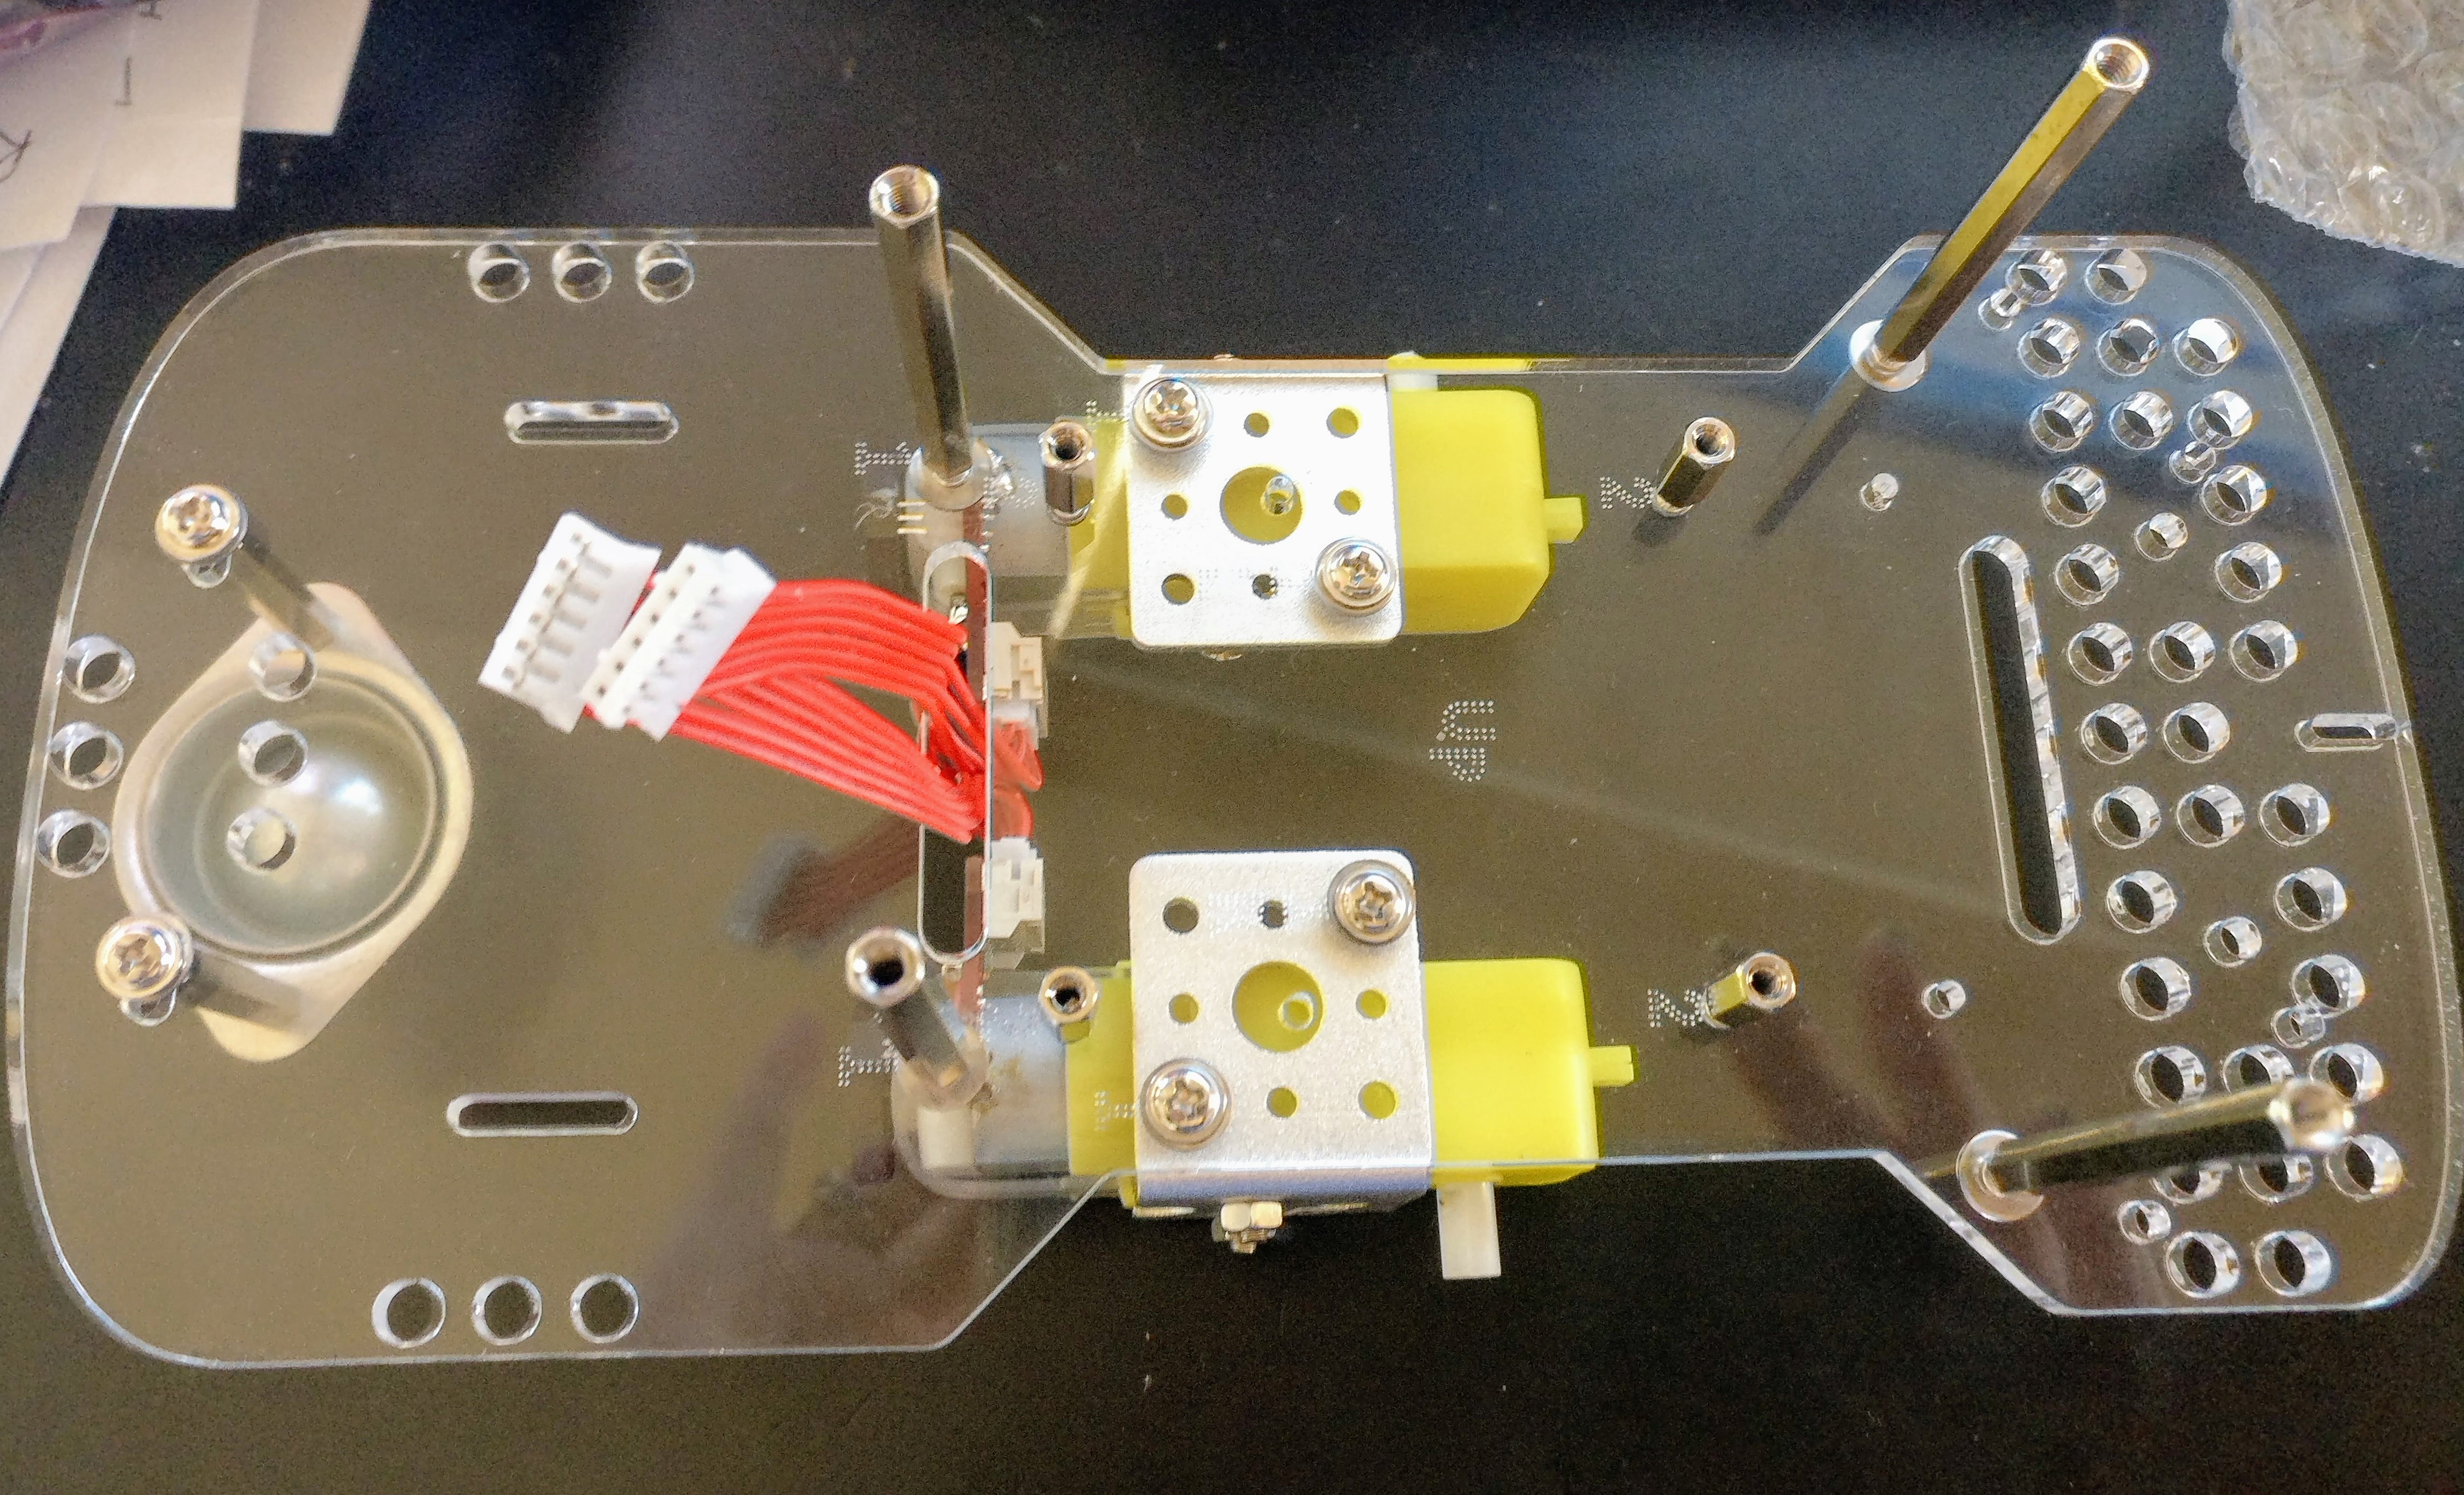
Step #7 Flip the GoPiGo3 over, a little tricky to align, align first then screw in until the washers are flat.
Step #10 Prepare Your Pi is a little confusing. You may not have all the parts for this (I don’t have the WiFi Dongle from step 4).
Step #14 The motor cables only fit one-way match the indentation with the motor female connector.
Stage 3
Connecting the GoPiGo3 to your tablet or Chromebook (takes a few minutes).
Make sure the batteries or the battery pack is fully charged.
- Turn on the power button on the side of the GoPiGo, hold it down until it turns green.
- You will see the WiFi network called GoPiGo. Once you select this network you are no longer connected to the internet. I recommend having printing instruction for projects handy.
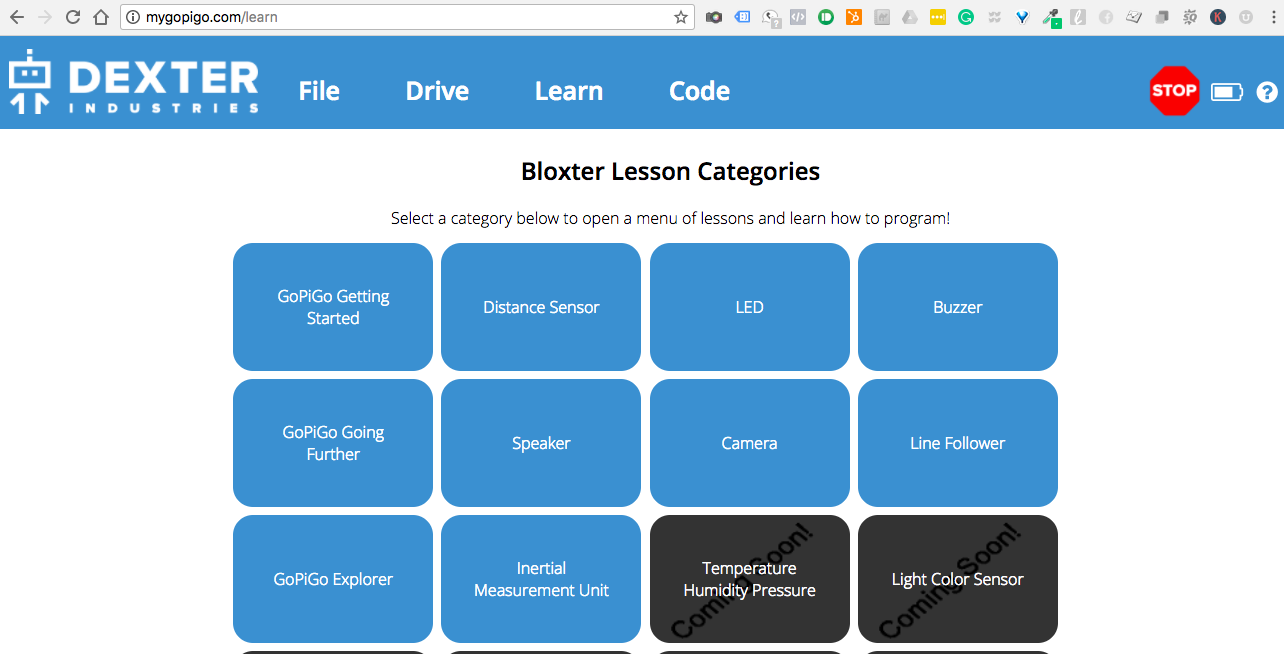
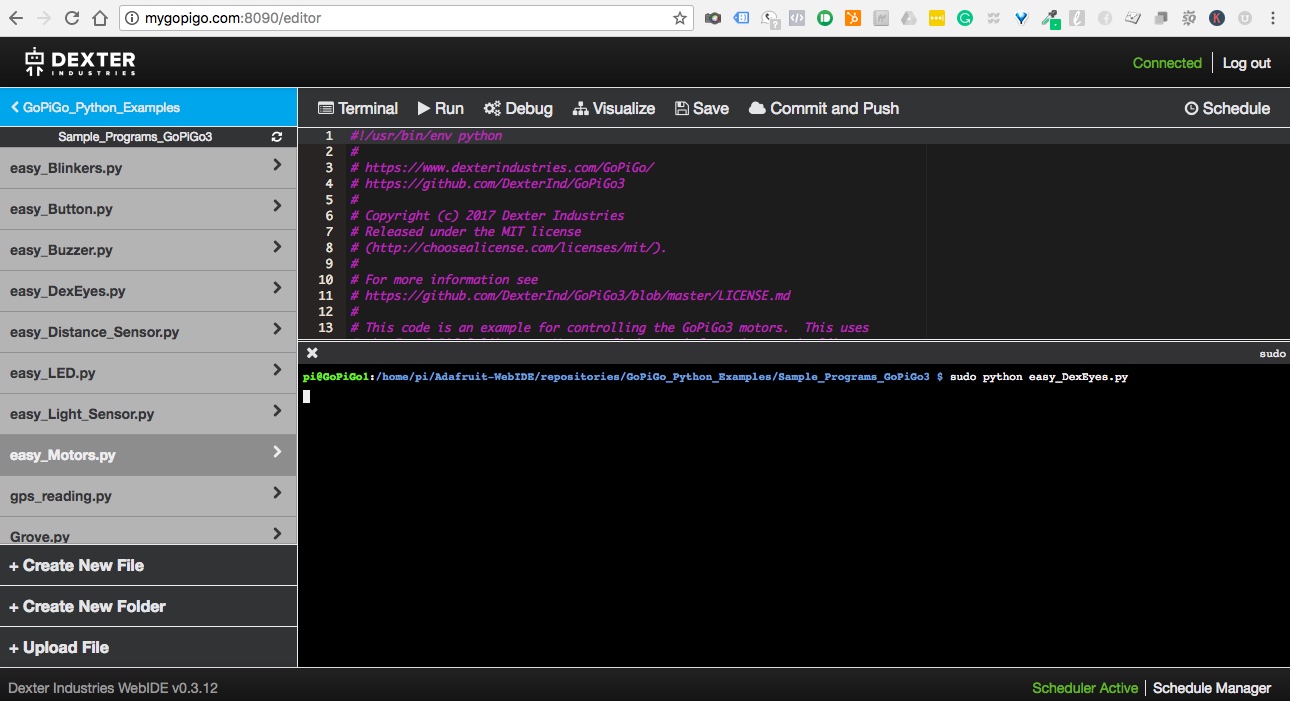
- Go to mygopigo.com in a web browser where you will be able to learn to code and drive the robot.
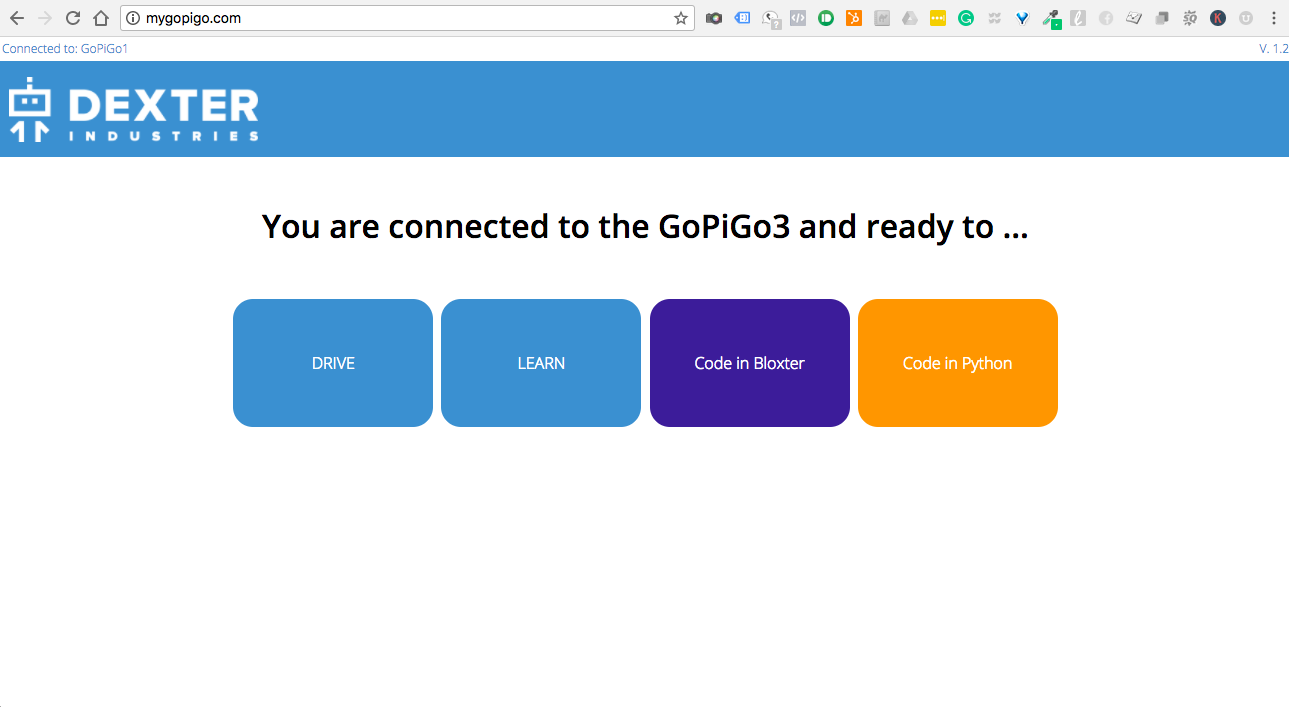
4. This is where you will do all your coding.
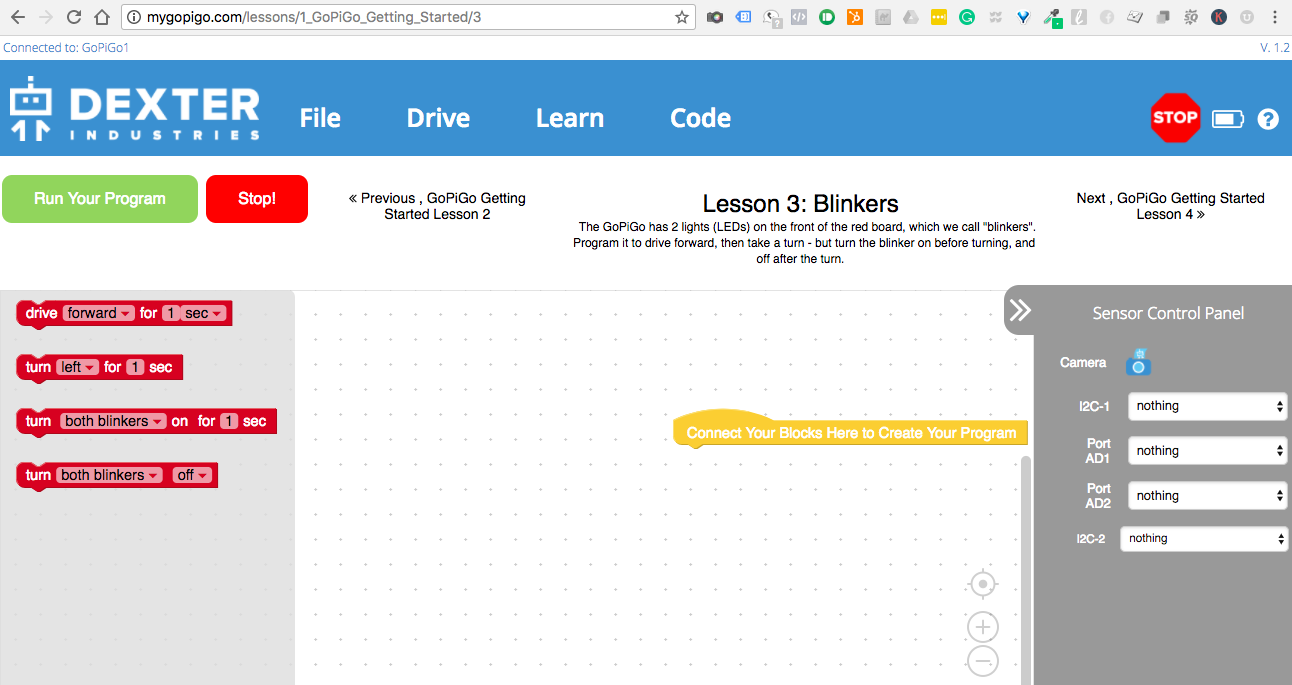
5. I followed all the instructions and everything worked well with my robot. However, I don’t have any sensors so I was not able to run programs that included any sensors.
The GoPiGo beginner starter kit comes with a distance sensor. I will be ordering this kit and a few other sensors like the color sensor and maybe a Raspberry Pi Camera.
No products found.
Disclaimer: Most, if not all, the product links on this page will be Affiliate Links. Purchasing through these links doesn’t cost you any more money but it does help us pay for things like website hosting along with more bits & gadgets to write about.
[ratings]