
Recently we replaced our aging(ok very old!) Apple Airport router with an Ubiquiti Edgerouter X SFP and a Unifi UAP-AC-LR WiFi Wireless Access Point. Once setup, this ended our WiFi issues such a constant buffering with Netflix and Amazon Prime Video! Yeehaw!
Disclaimer: Product links on this site may be Affiliate Links. Purchasing through these links does not cost you any more money, but it does help us pay for things like website hosting along with more bits & gadgets to write about.

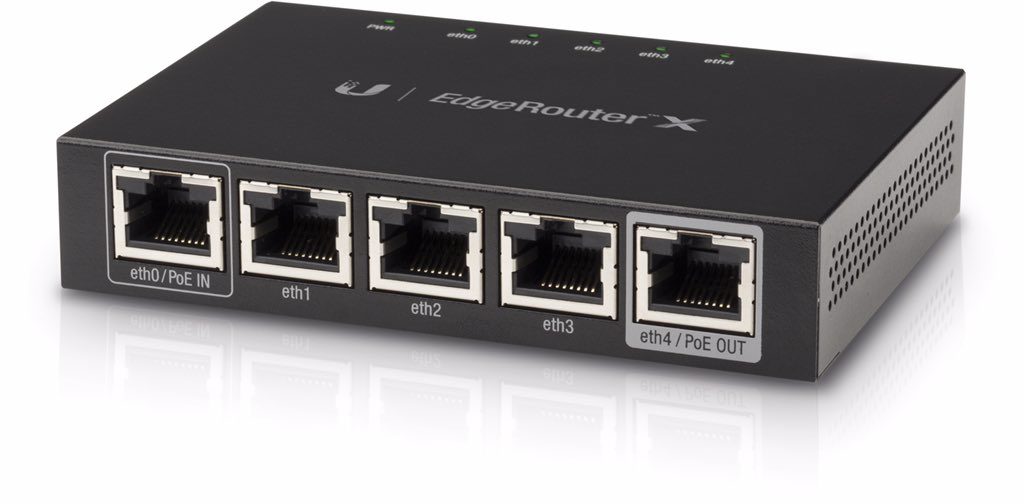
This particular Edgerouter X has Passive PoE built in and can power the Unifi UAP-AC-LR Access Point over Ethernet. We may add a 2nd Unifi LR Access Point to balance out the load a bit, placing one on each floor of our 2 story building. I am impressed that one access point does such a good job of covering our 4000 sq ft building!
Today I decided to setup the WiFi Guest network. This is done to allow Guests internet access but keep them isolated from our main network.
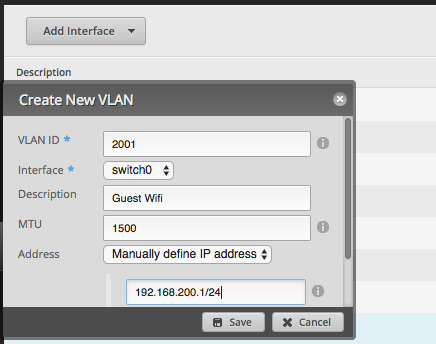
Go to your Edgerouter Dashboard and Click on Add Interface – VLAN
I used a VLAN ID of 2001
For interface I used switch0 (on the Edgerouter Lite this may need to be eth1)
For Address, choose Manually define IP Address and then I used 192.168.200.1/24
*Make sure you don’t use the same IP Subnet as your main LAN!
Next go to the Services Tab and click on Add DHCP Server
DHCP Name: GUEST_WIFI
Subnet: 192.168.200.0/24
Ranger Start: 192.168.200.100
Ranger Stop: 192.168.200.150
DNS1: 208.67.222.222
DNS2: 208.67.220.220
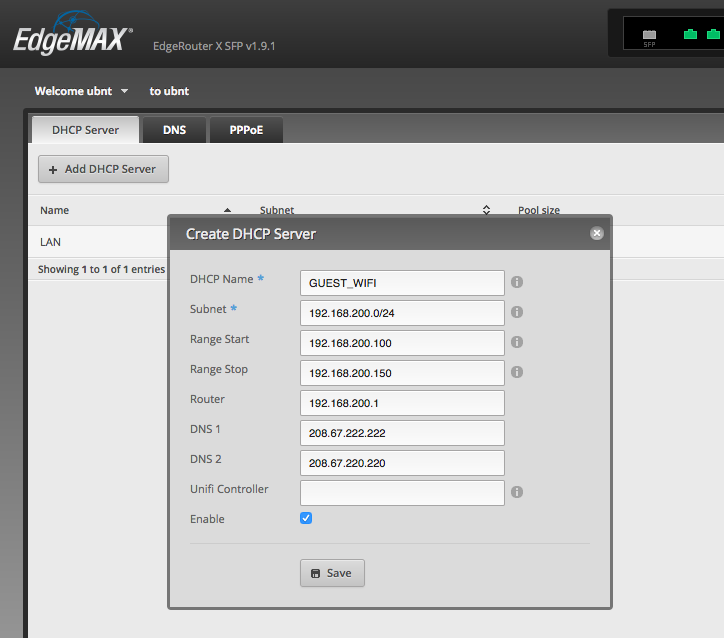
I don’t plan on having more that 51 guest devices, but if you do adjust the range to suit your needs. Also, just to keep things safe and friendly on my networks, I used OpenDNS servers.
That’s it on the Edgerouter side of things, now go to your Unifi Controller
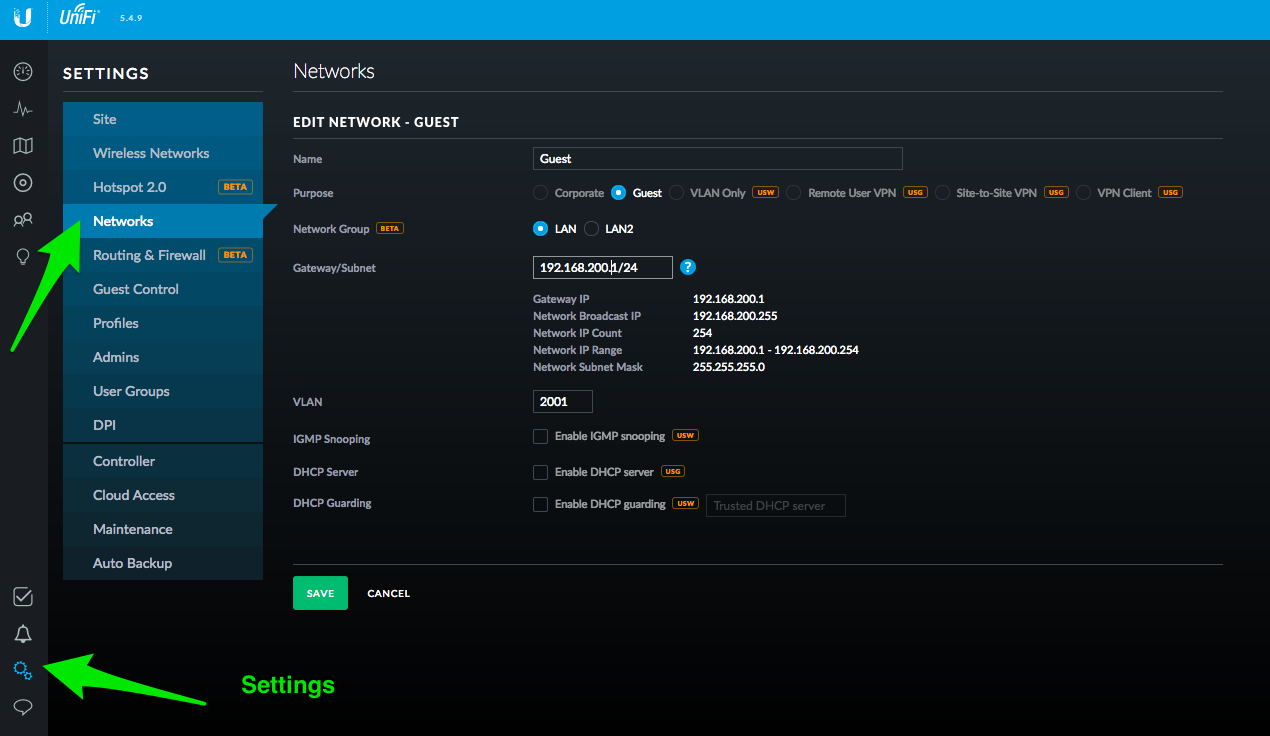
Within Unifi, go to the Settings “Gear” and go to Networks
I used “Guest” for name, chose Guest for Purpose and 192.168.200.1/24 for Gateway/Subnet and 2001 for VLAN. Click on Save when you are done.
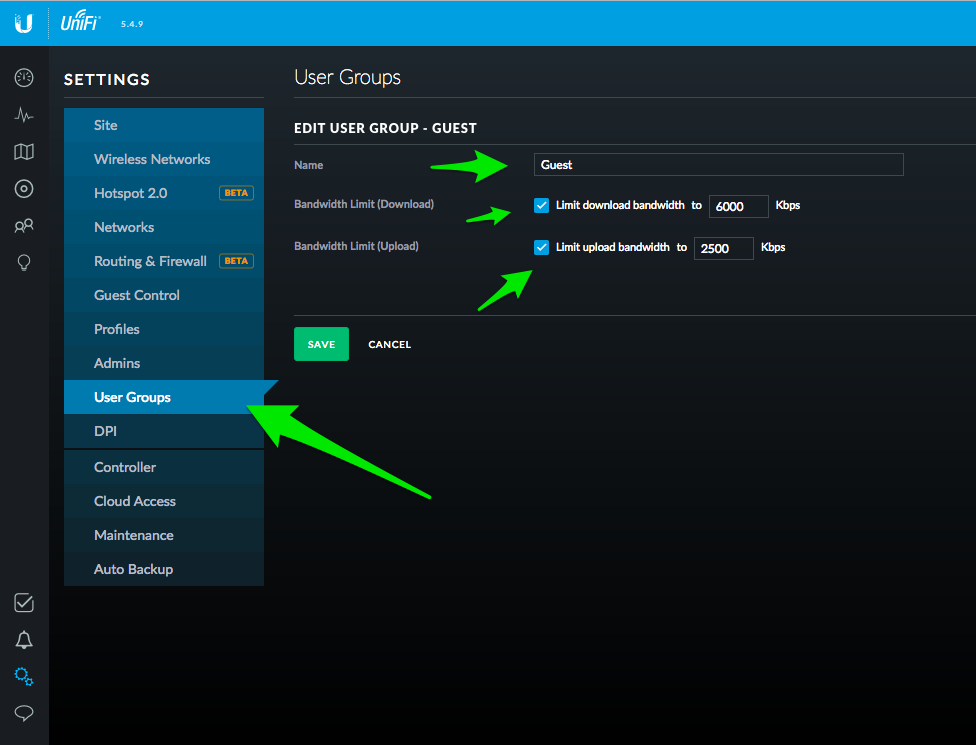
If you want to limit your Guest Users Bandwidth, head over to User Groups and create a new user group called Guest.
Enter bandwidth limits that are appropriate for your Internet Speed. I used 6000 down and 2500 up.
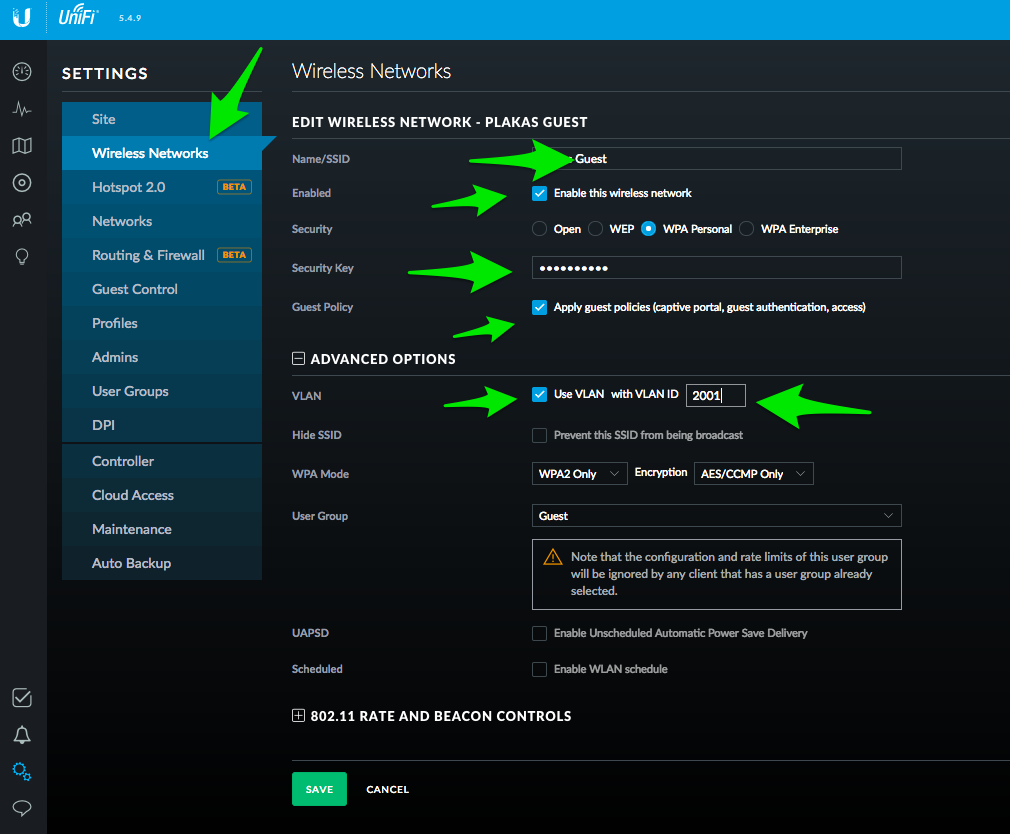
Now go to the Wireless Networks section and create a new network called “Guest” or whatever you want to call it.
Make sure it is enabled, give it WiFi security key, check the “Guest Policy” option, enter the VLAN Id you sued previously(2001 in my case) and choose the Guest User Group. Save!
While you could be done at this point, let’s have some fun and add a little guest portal!
Go to Guest Control, enable the Guest Portal, select AngularJS, enable Welcome Text, click edit and enter some text. Make sure you apply changes when you are done!
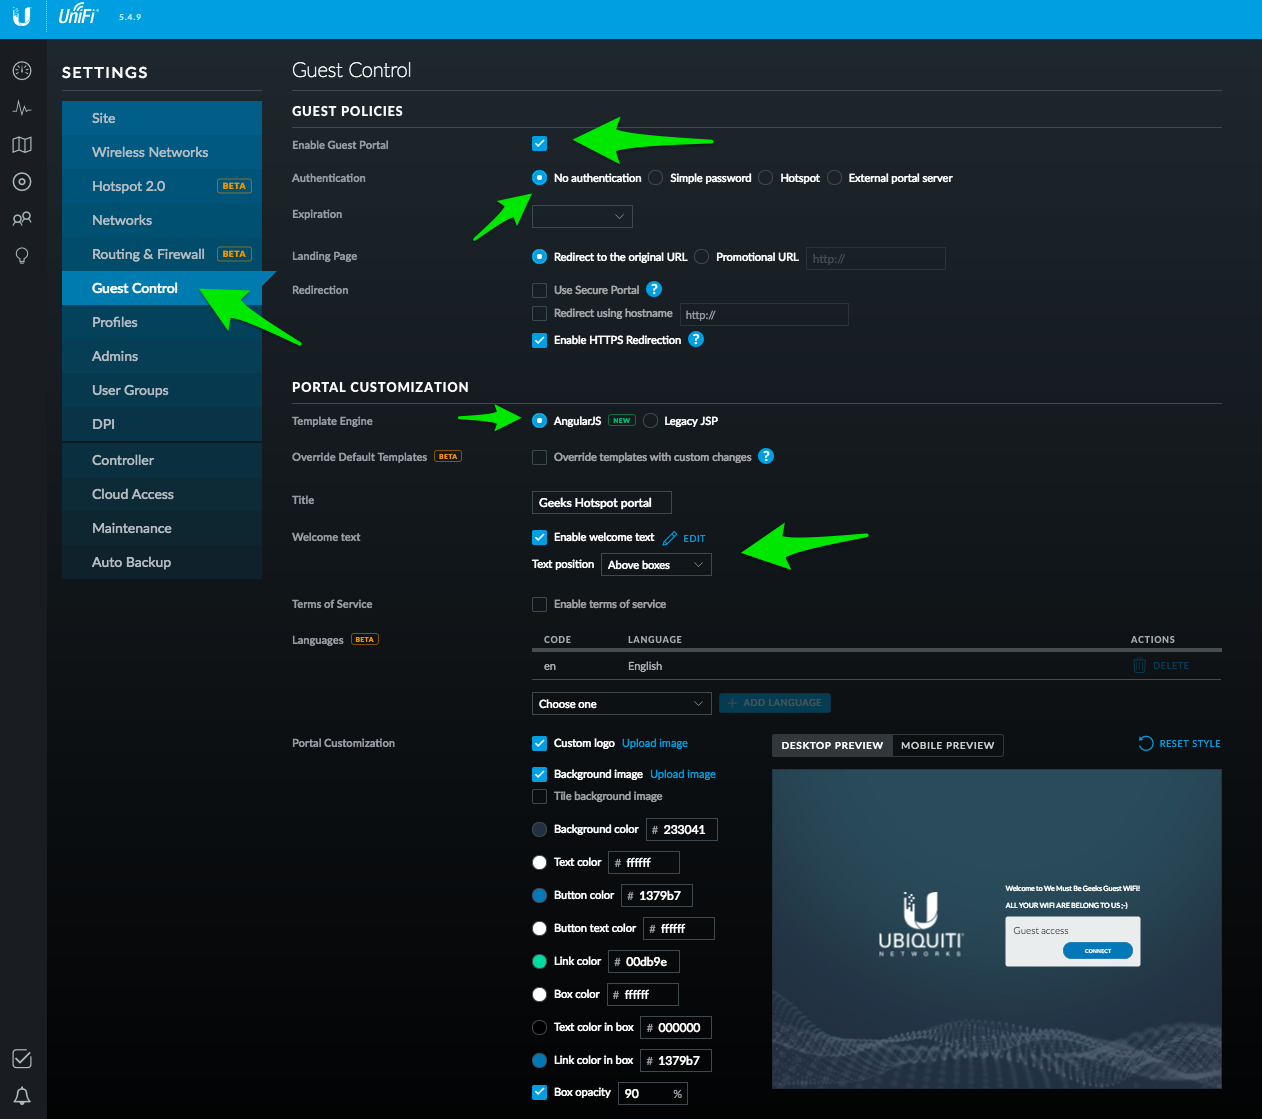
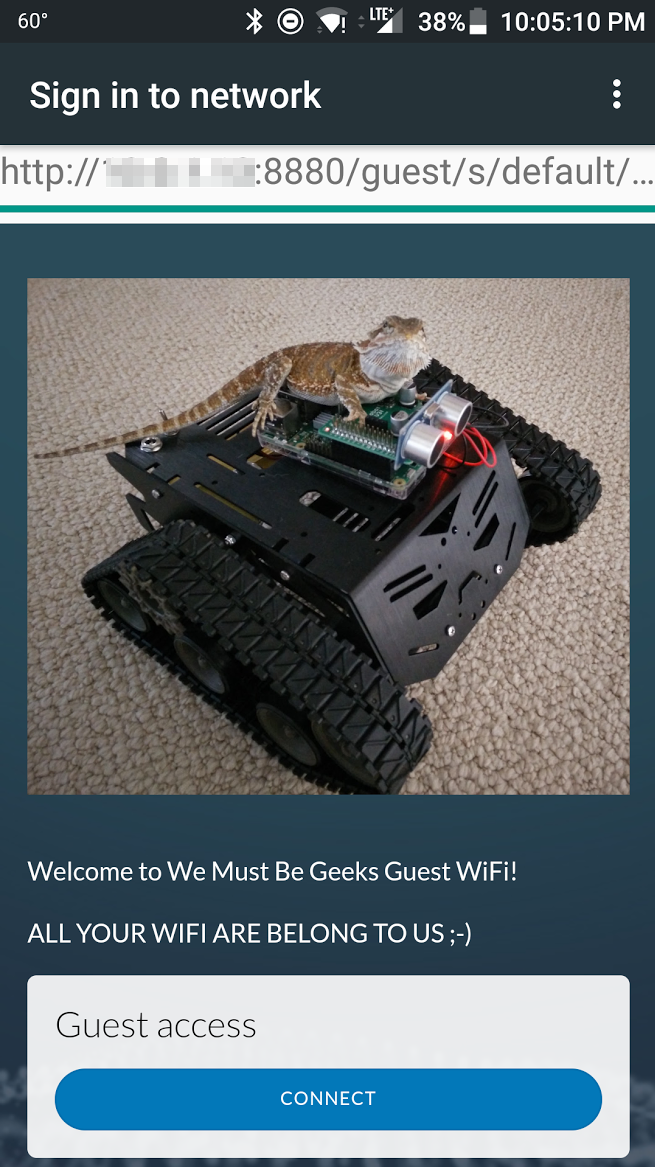
Now, when someone connects to your WiFi, they will be prompted to “Sign In”
They will get a screen similar to this one below. Once they click “Connect” they will have Internet access and be isolated from your main network.
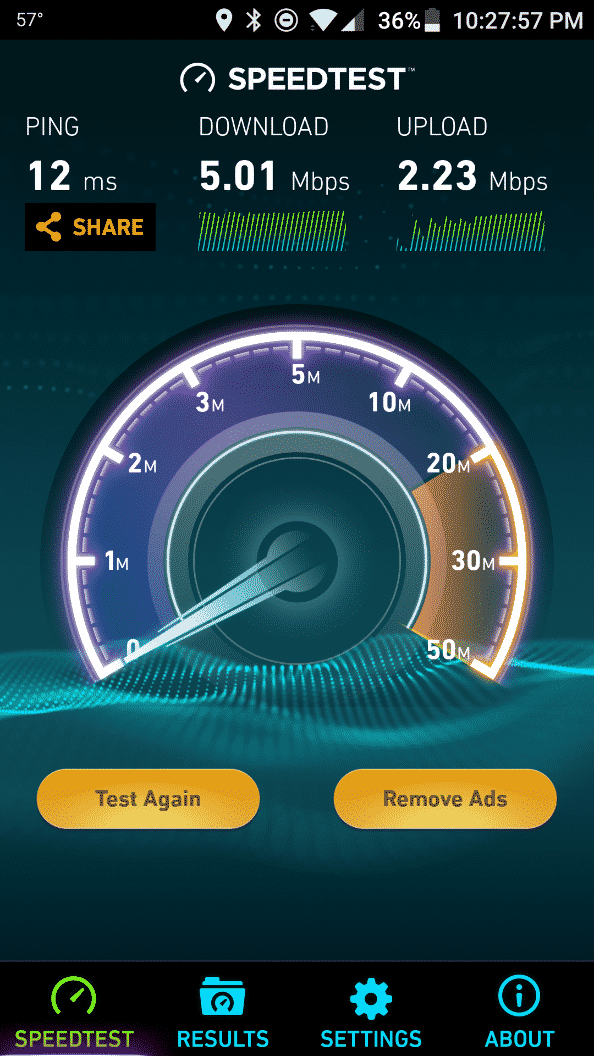
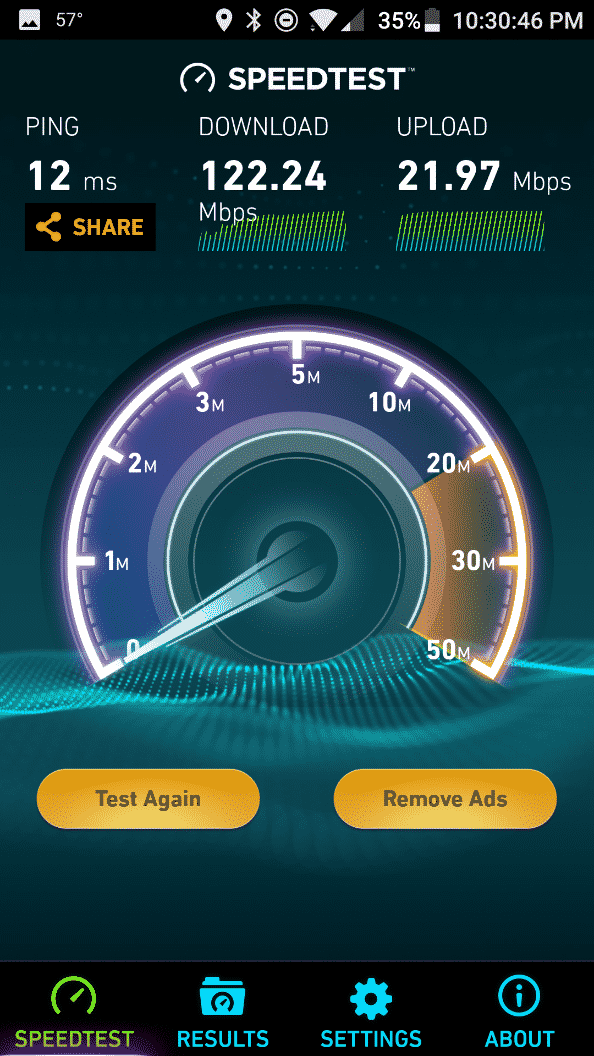
Here is Speed Test on our Bandwidth Restricted Guest WiFi Network vs. the regular WiFi network from my Oneplus 3T Android phone.
If you liked this post or it helped you, please give it a good rating. Thanks!
[ratings]