
Arlo Announced Integration with the New Alexa Show!
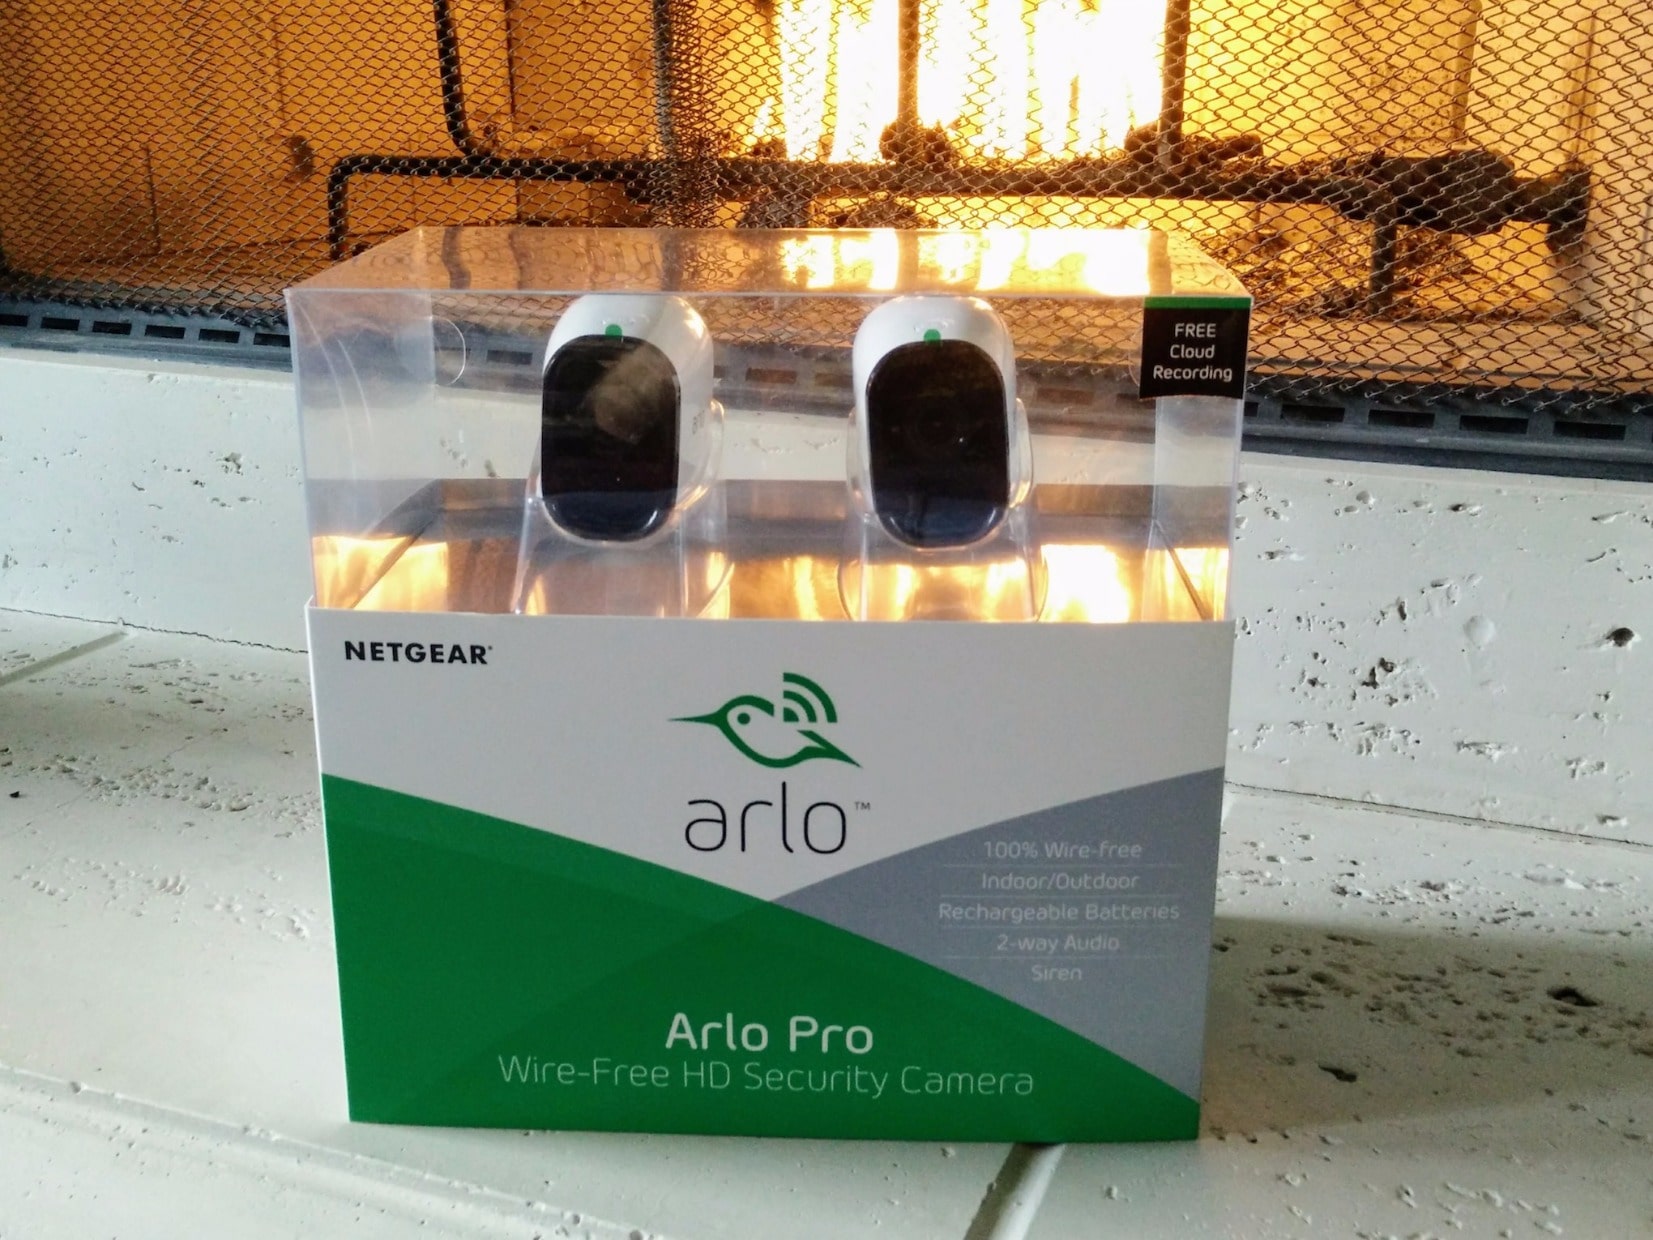
Arlo Pro Wireless Security Camera System Review – Easy Home Setup
In 2016, we installed the Ring Wifi Video Doorbell(full review here: https://www.wemustbegeeks.com/ring-wifi-video-doorbell-review/) and after using for several months we wanted to add more video surveliance to our home security setup.
Today you have several choices such as Nest Cam Outdoor Camera(1080P), Ring Stick-up Outdoor Camera(720p), Canary Flex Indoor/Outdoor Camera(1080p) and Netgear’s Arlo and Arlo Pro Cameras(720p).
Disclaimer: Most, if not all, the product links on this page will be Affiliate Links. Purchasing through these links doesn’t cost you any more money but it does help us pay for things like website hosting along with more bits & gadgets to write about.
We contacted Netgear for a review unit and they were quick to ship us a 2 Camera Arlo Pro system (not to be confused with the older Arlo non-pro system). I received it less than a day before a business trip, but luckily the install was fairly painless and I was able to get everything up in running in about an hour’s time. I was happy that I would be able to keep tabs on my home while away on this trip.
Let’s review some of the features of the Arlo Pro system:
- 100% Wire Free Cameras (there is a wired base station)
- Rated for both Indoor & Outdoor Use(IP65-certified)
- Rechargeable batteries (via micro-usb cable)
- Night Vision
- 130° Viewing Angle
- Camera Operating Temperature: -4° to 113° F (-20° C to 45° C)
- 2-Way Audio
- Siren
- Mobile App
- Easy to Mount
- Includes 7 Days of Recordings for Free(up to 5 cameras)
- Local Backup Storage via USB Drive
- Works with IFTTT, Stringify, SmartThings, Wink
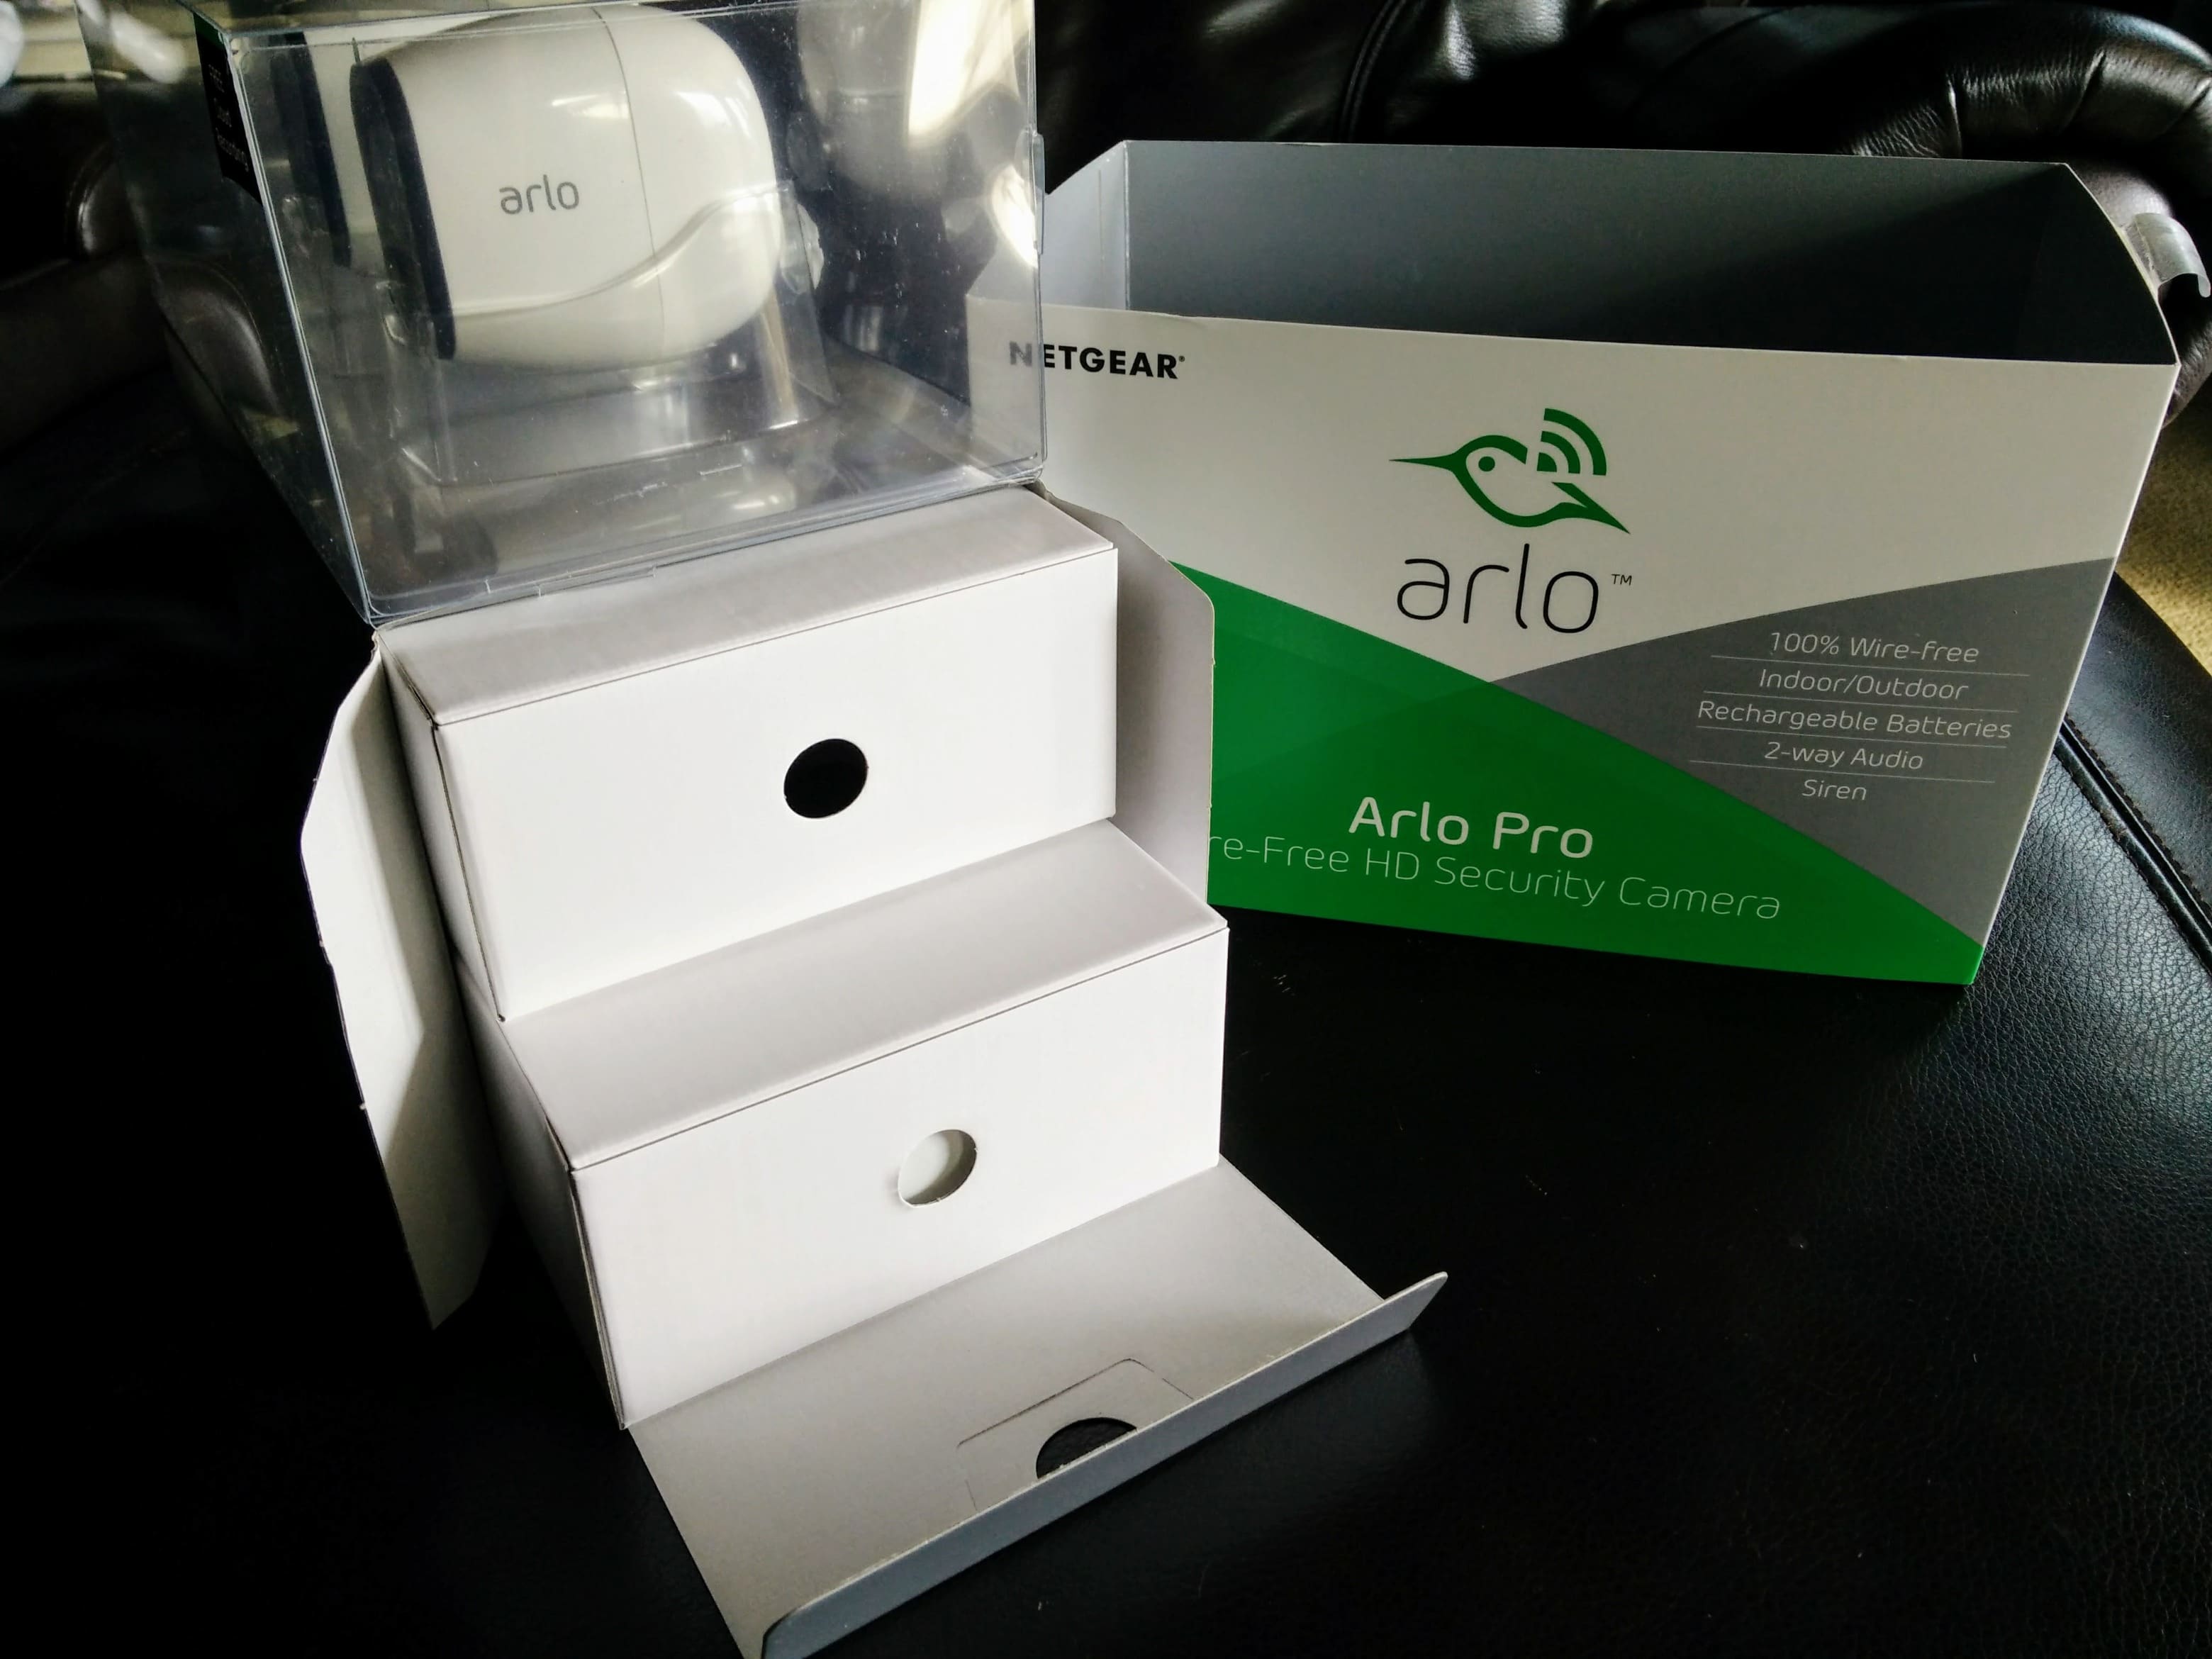
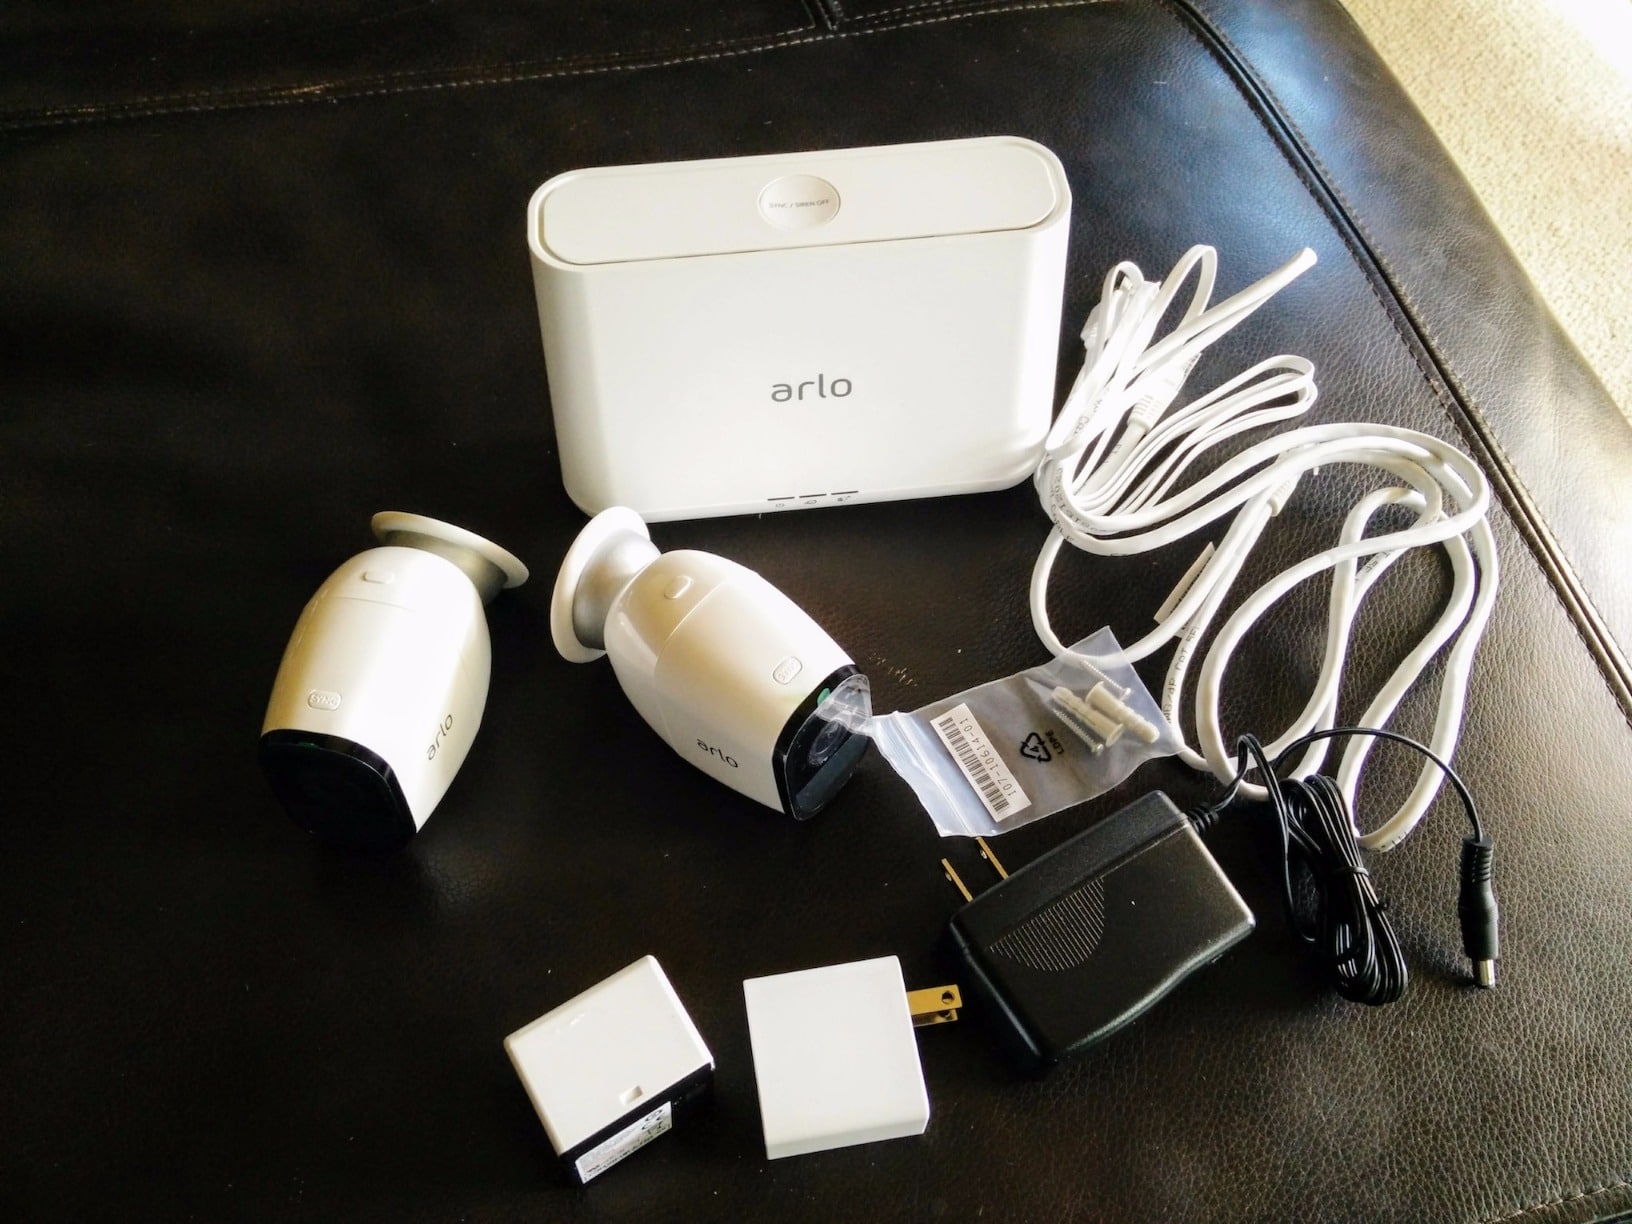
Unboxing
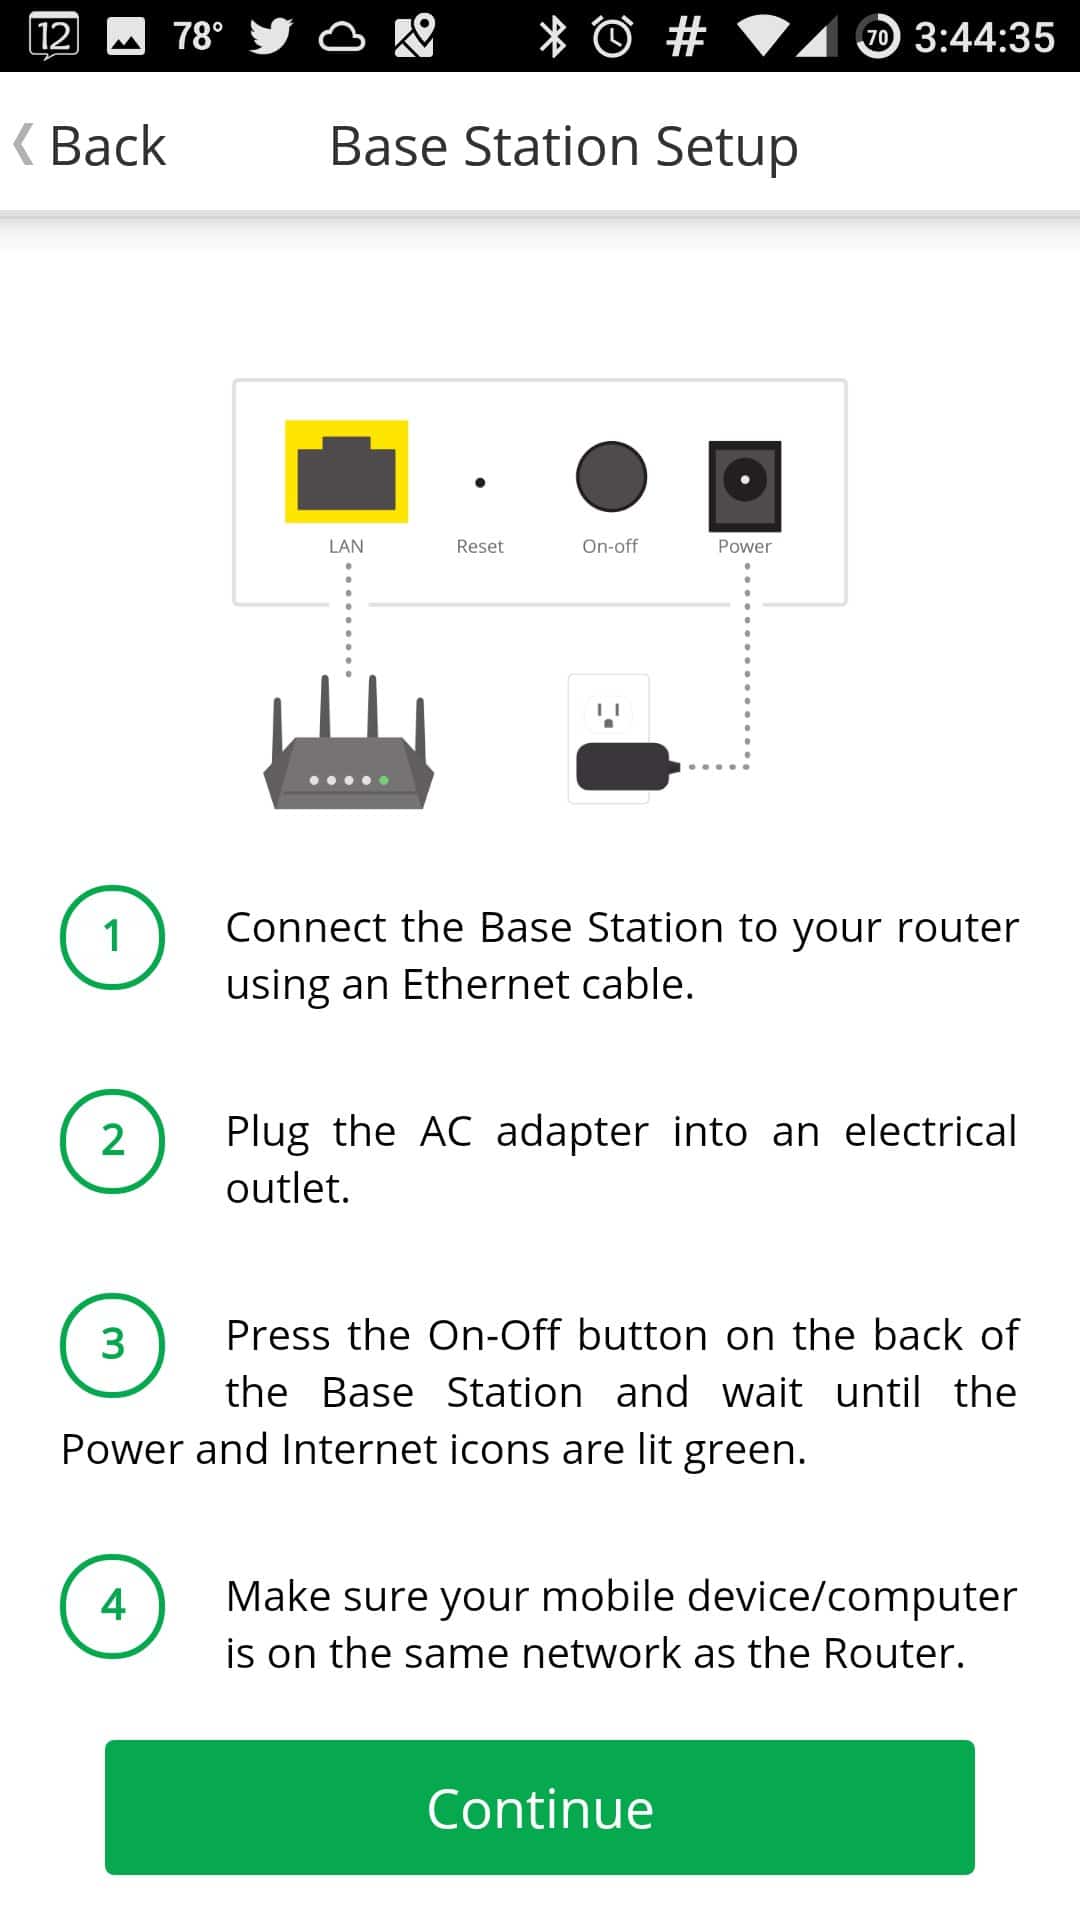
The 2 Camera System came packed nicely and I quickly unboxed it and laid everything out. I inserted the batteries into the cameras and was happy to see they came fully charged! The only part of this install that needs to be wired, is the base station, both power and network cables. You will want to try and centrally located the base station in your house so that all cameras get good reception. The cameras and base station use their own 2.4ghz wireless network and not your existing Wifi.
Setup
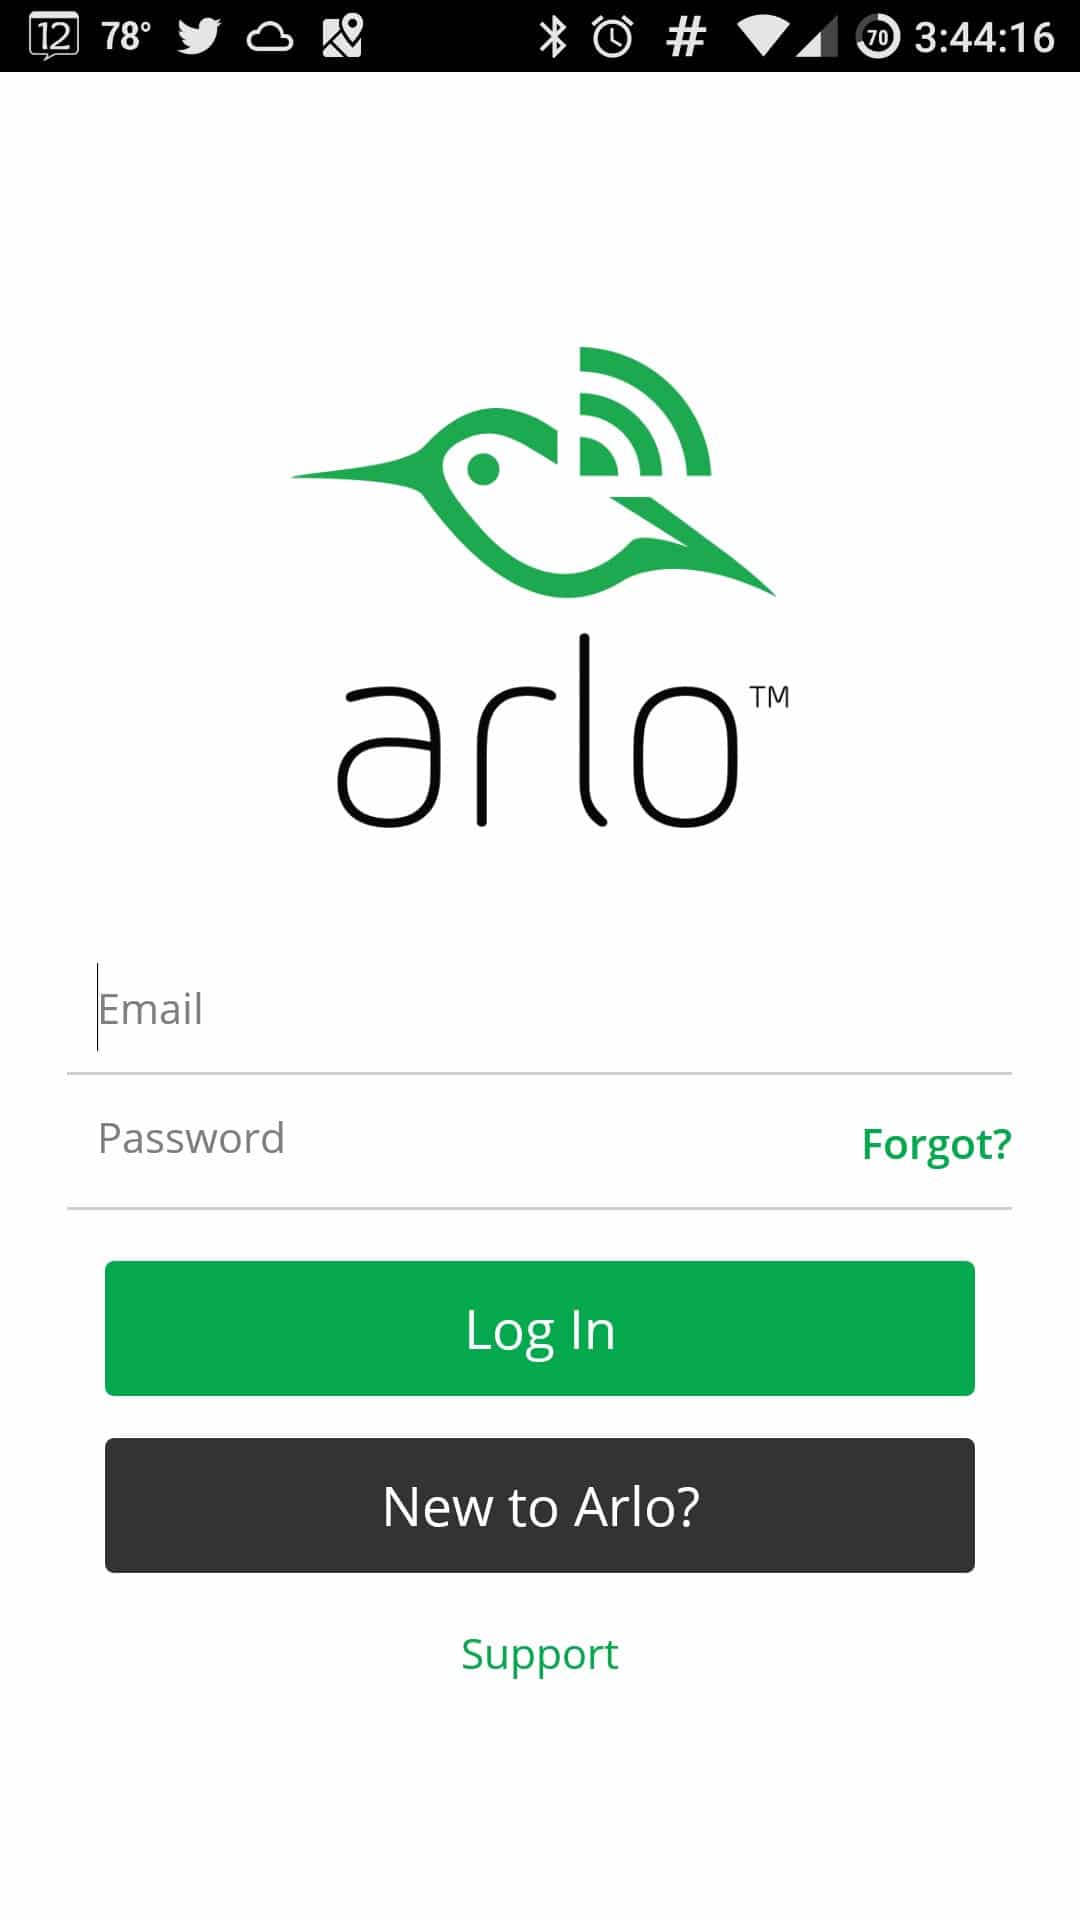
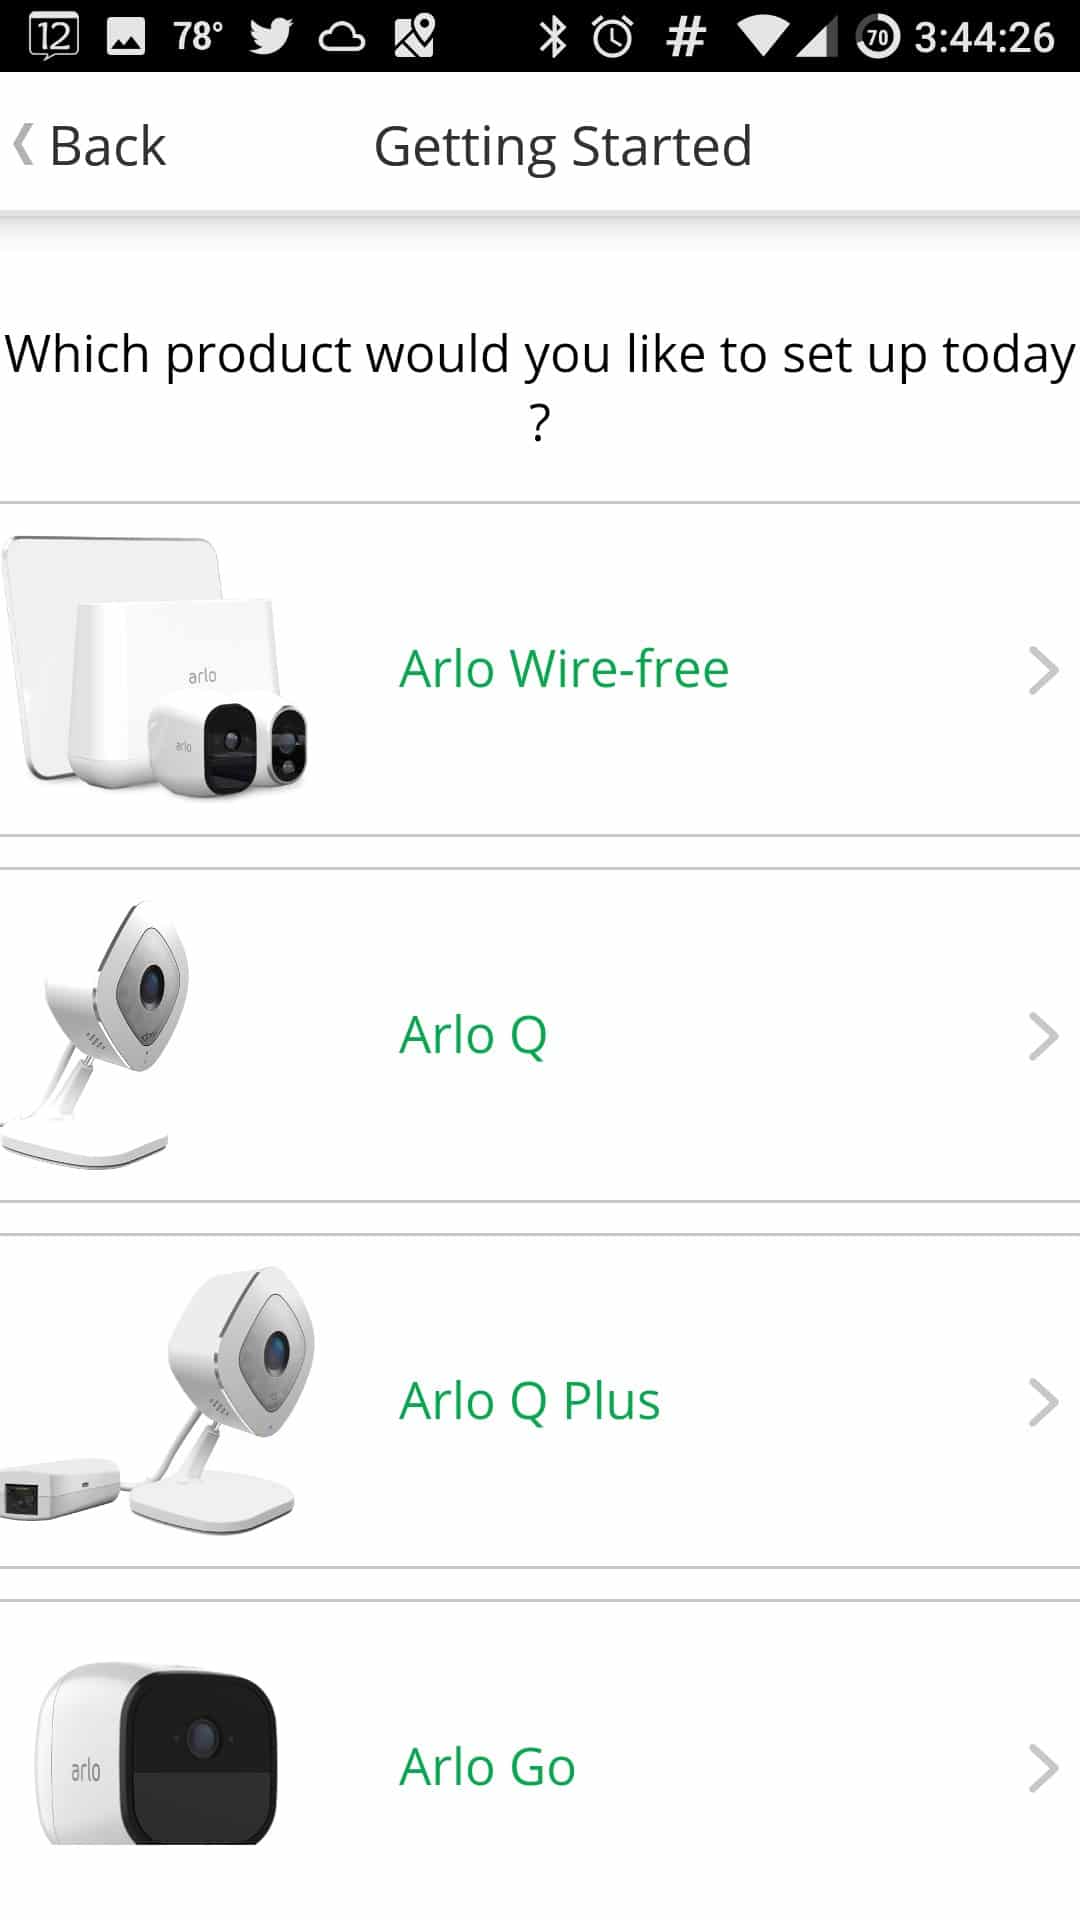
One you have your base station in and the batteries in the cameras, it’s time to install the app on your phone and begin getting everything setup.
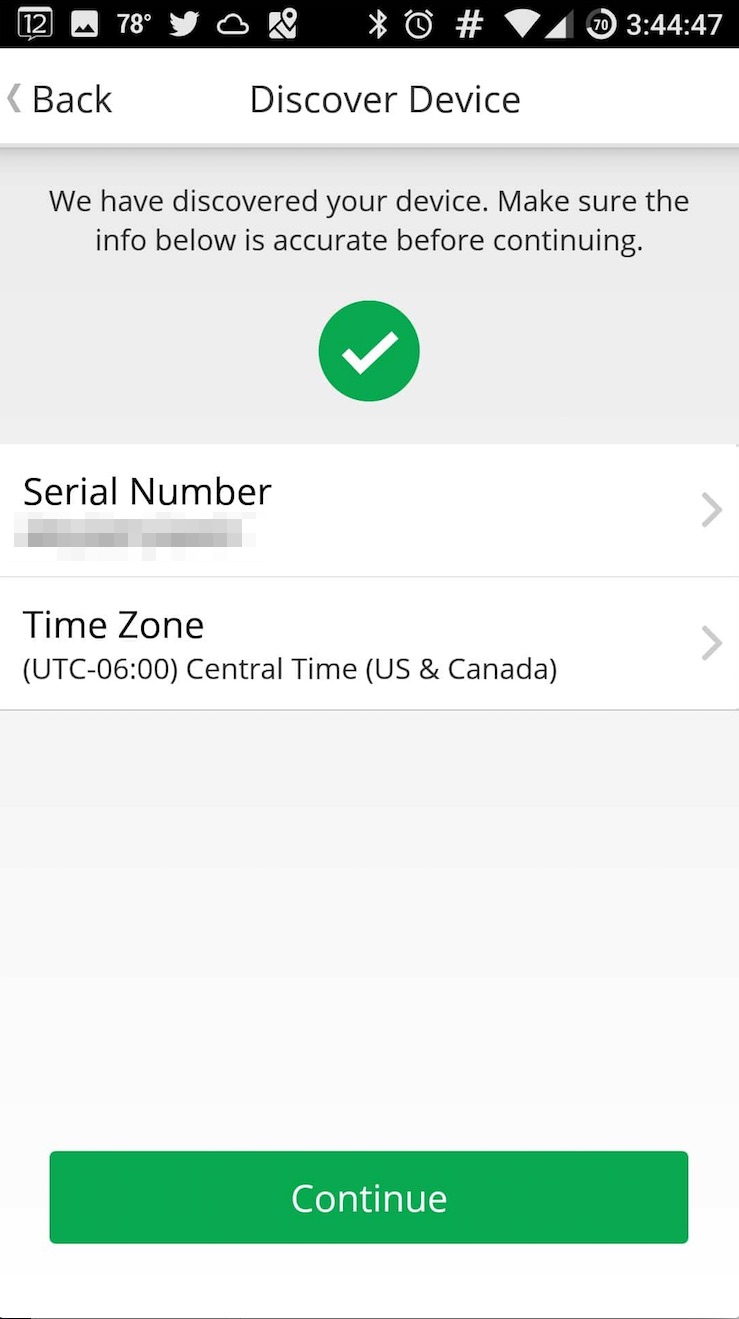
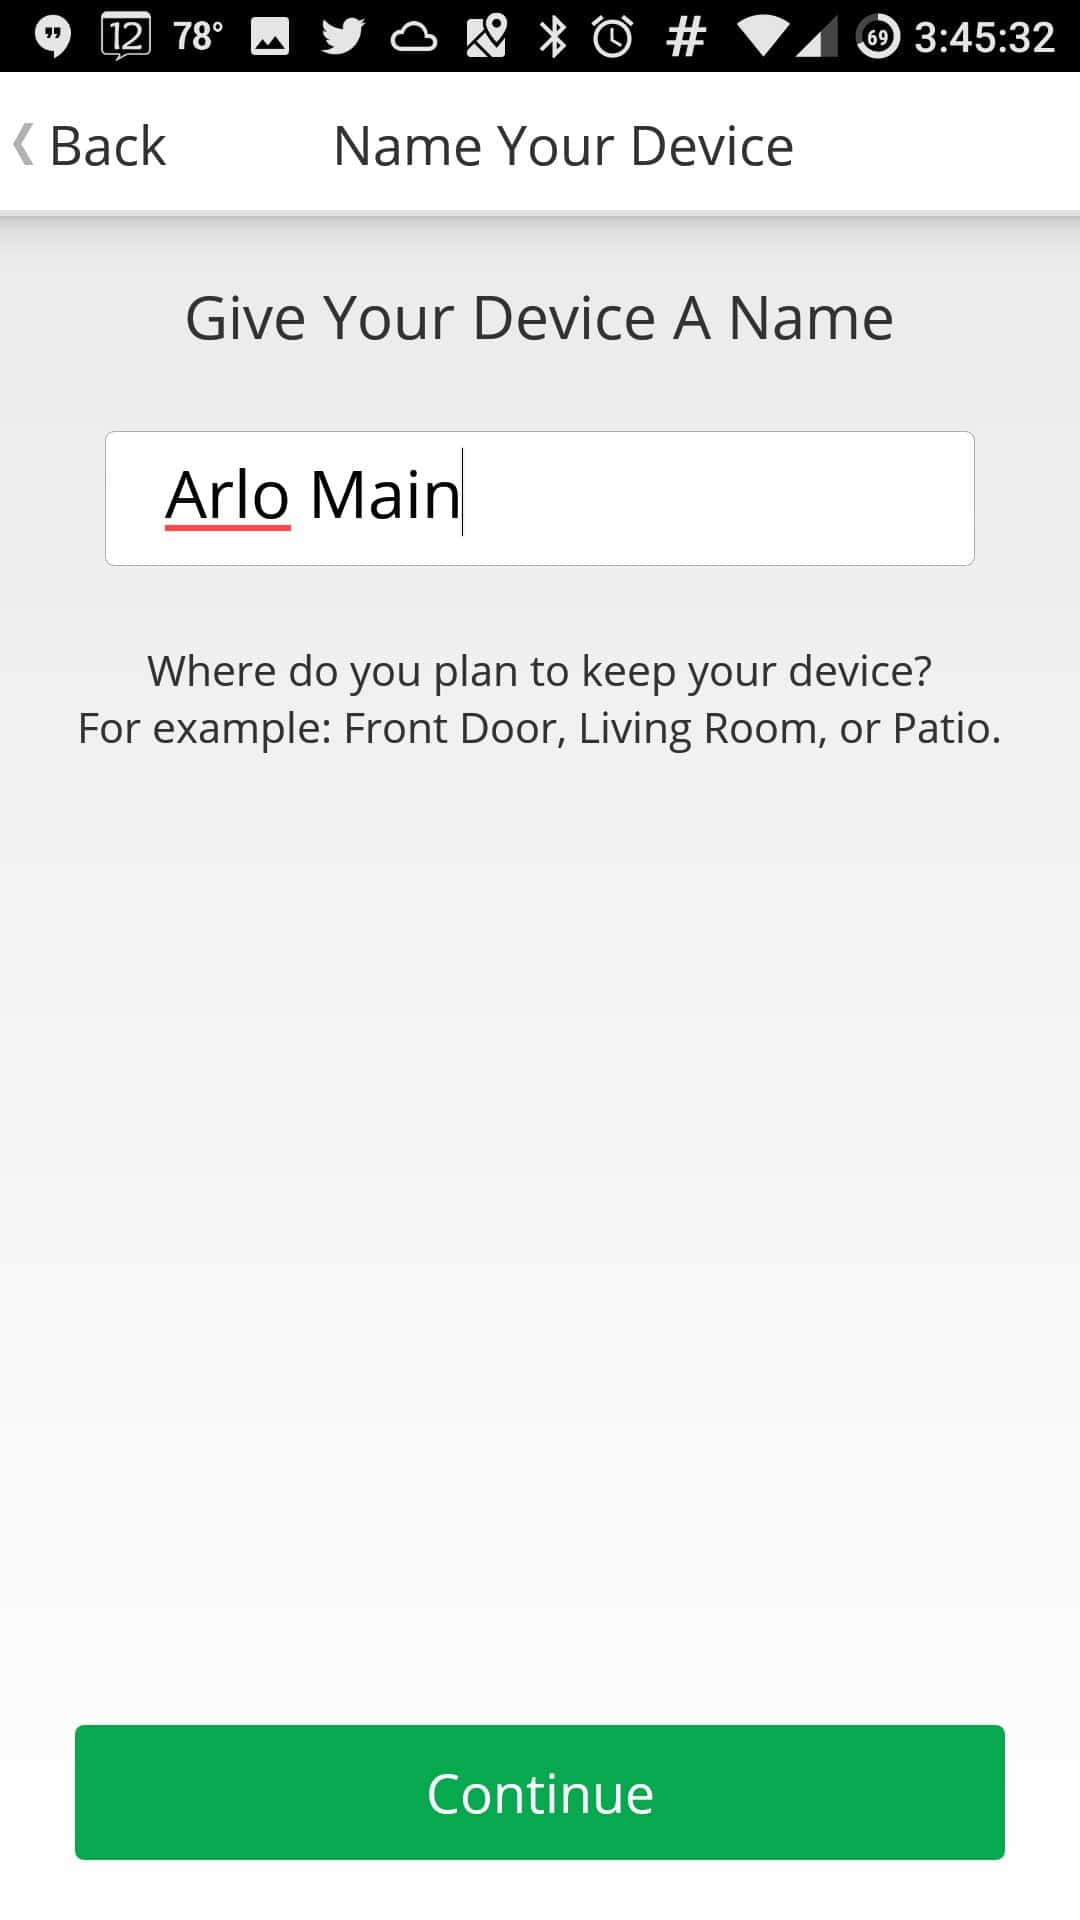
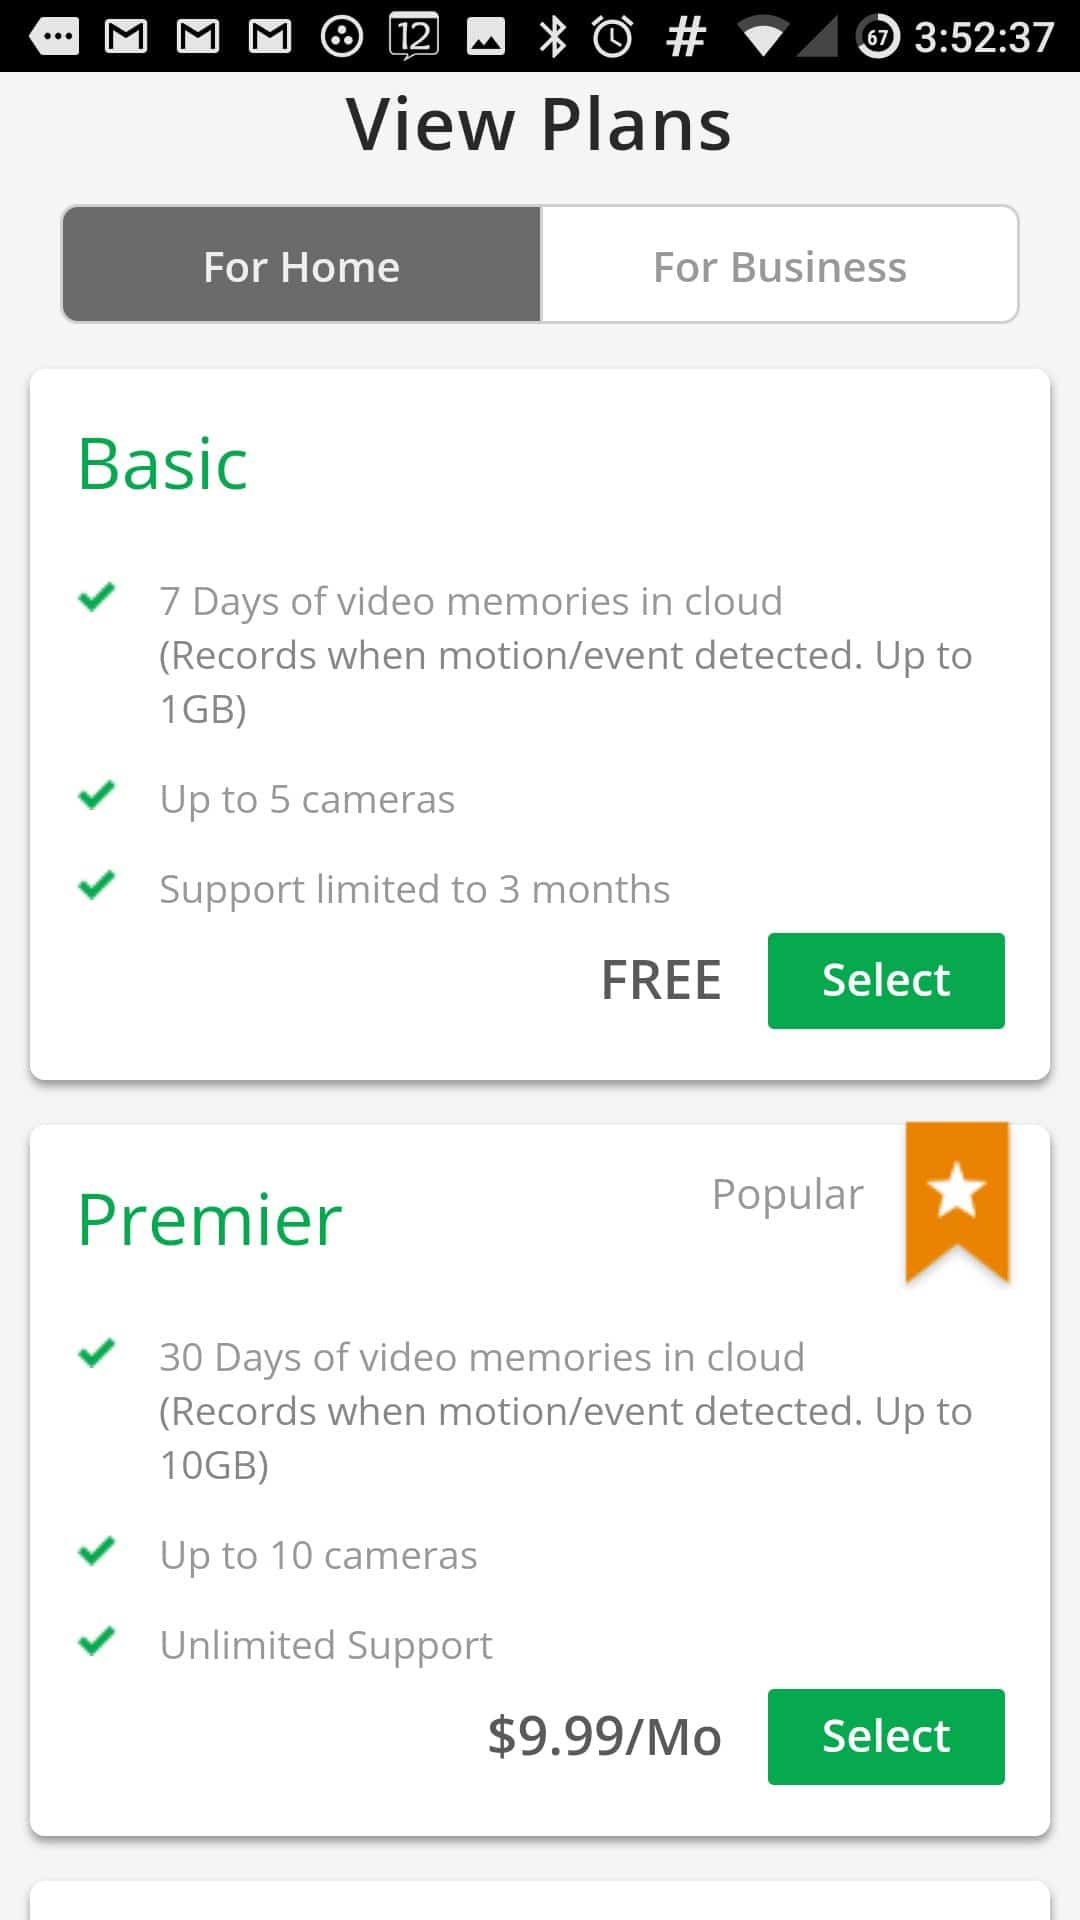
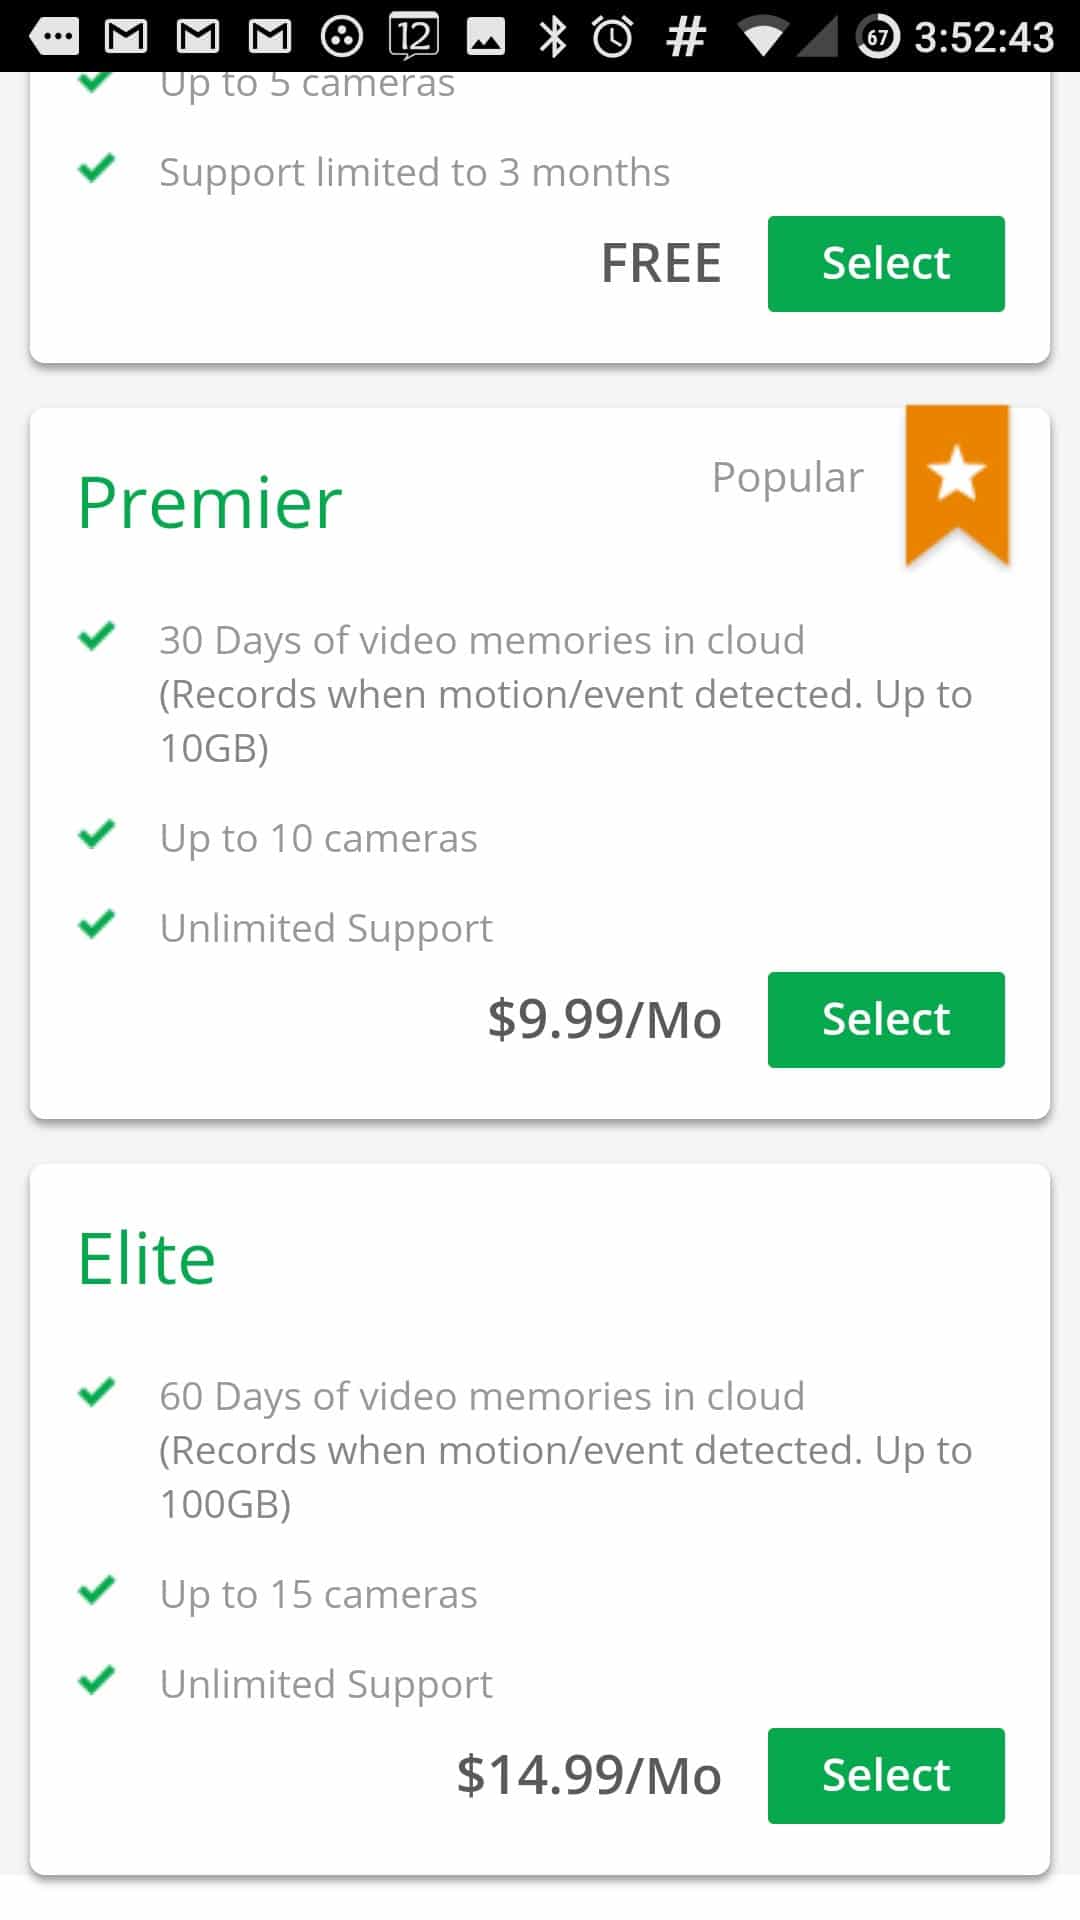
You will need to setup an Arlo account if you do not already have one. The app will walk you through the install and below you will find the screenshots from my setup.
I chose the Basic Free Plan for Home which gives you 7 Days of Video Recording in the cloud for up to 5 Cameras. You also have the option of Premier at $9.99/month(30 days/10 cameras) and Elite at $14.99/month (60 days/up to 15 cameras). When choosing a wifi/cloud connected camera keep these monthly costs in mind. 6 Arlo Cameras would cost you a total of $9.99/month….not bad.

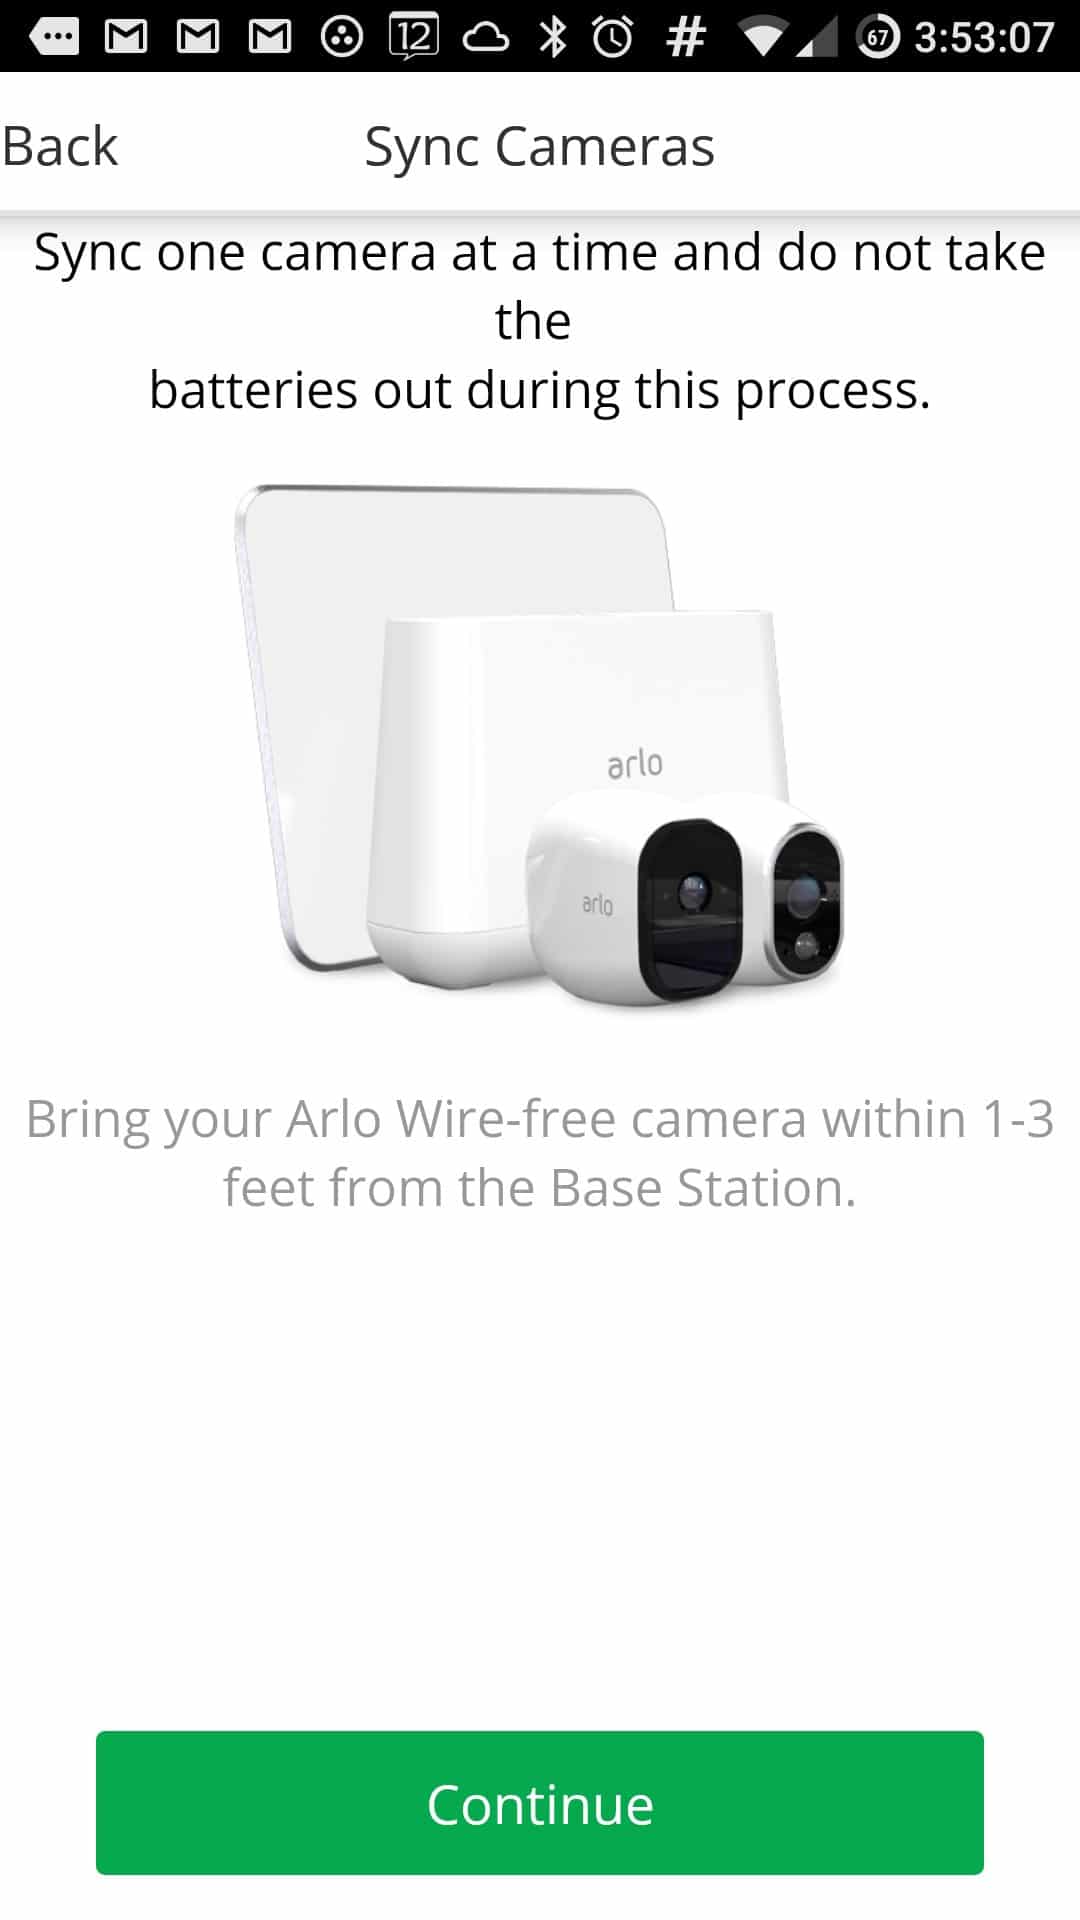
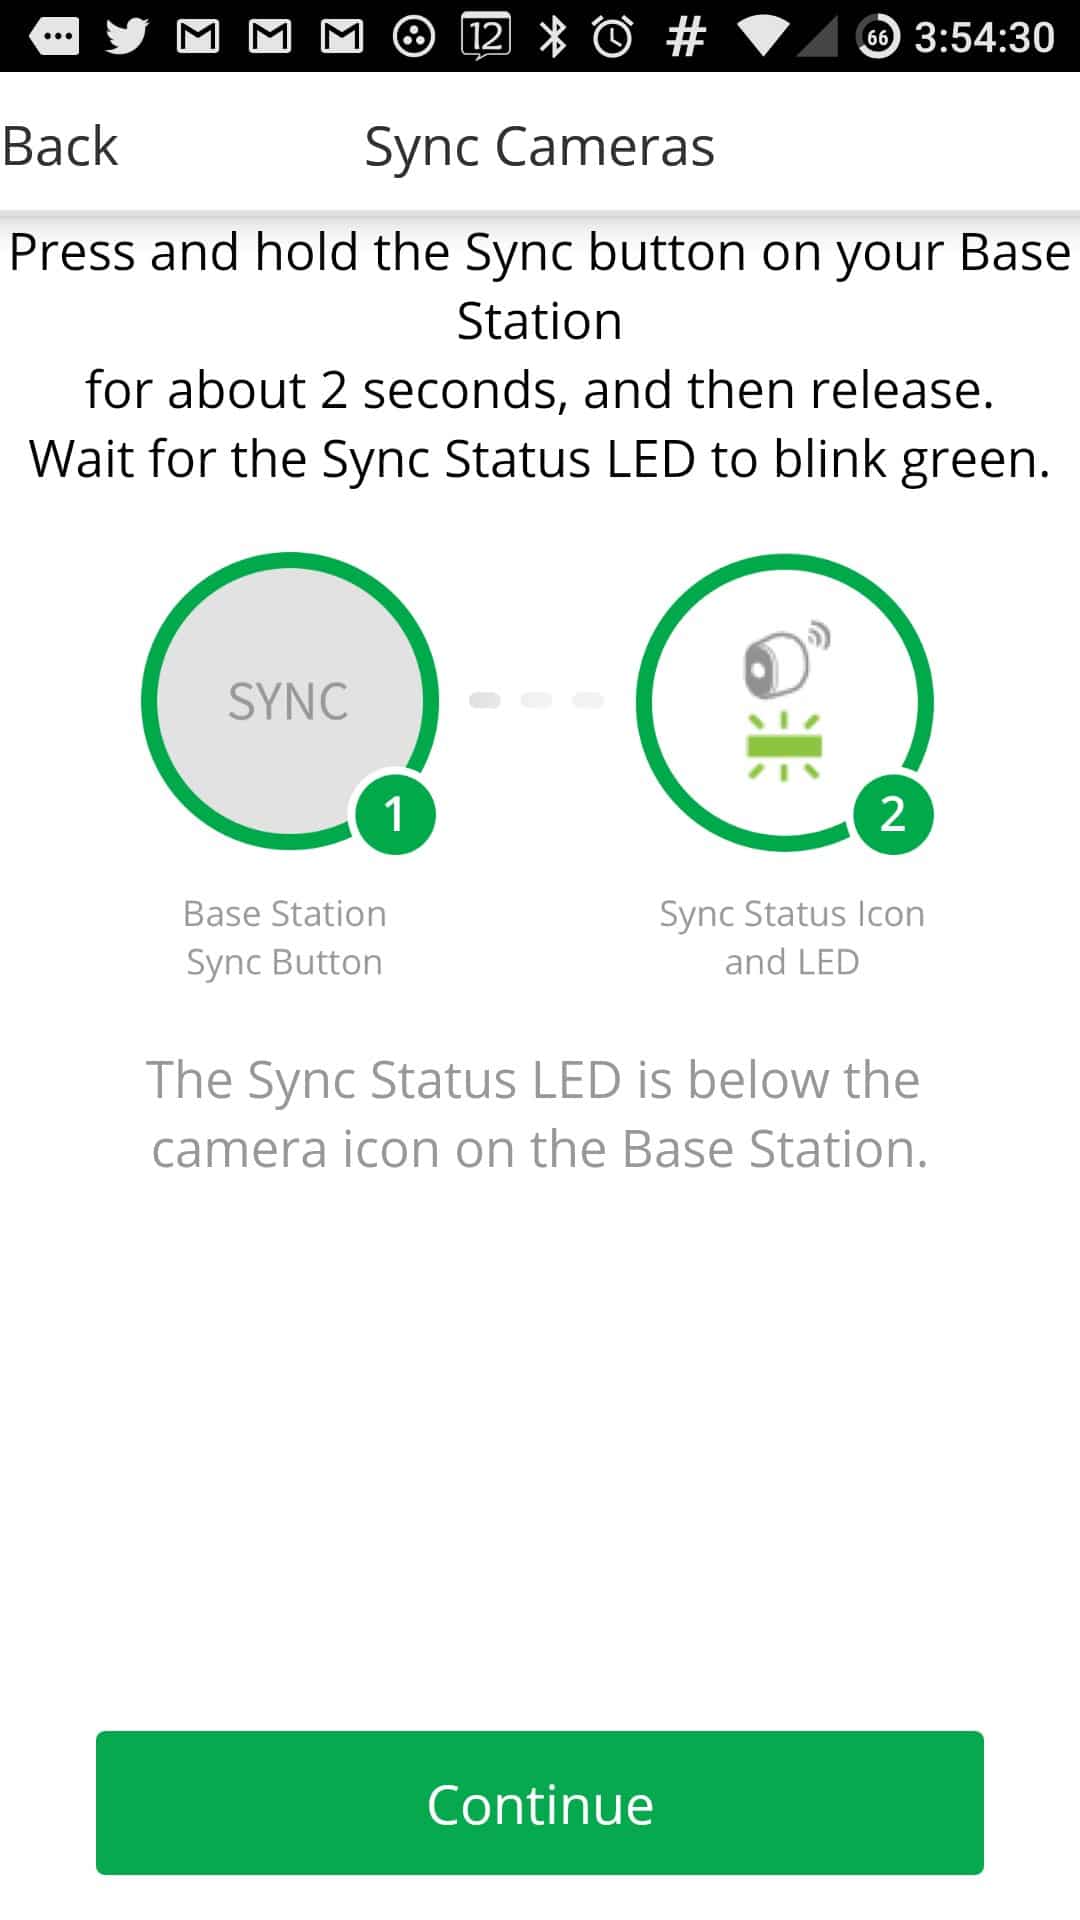
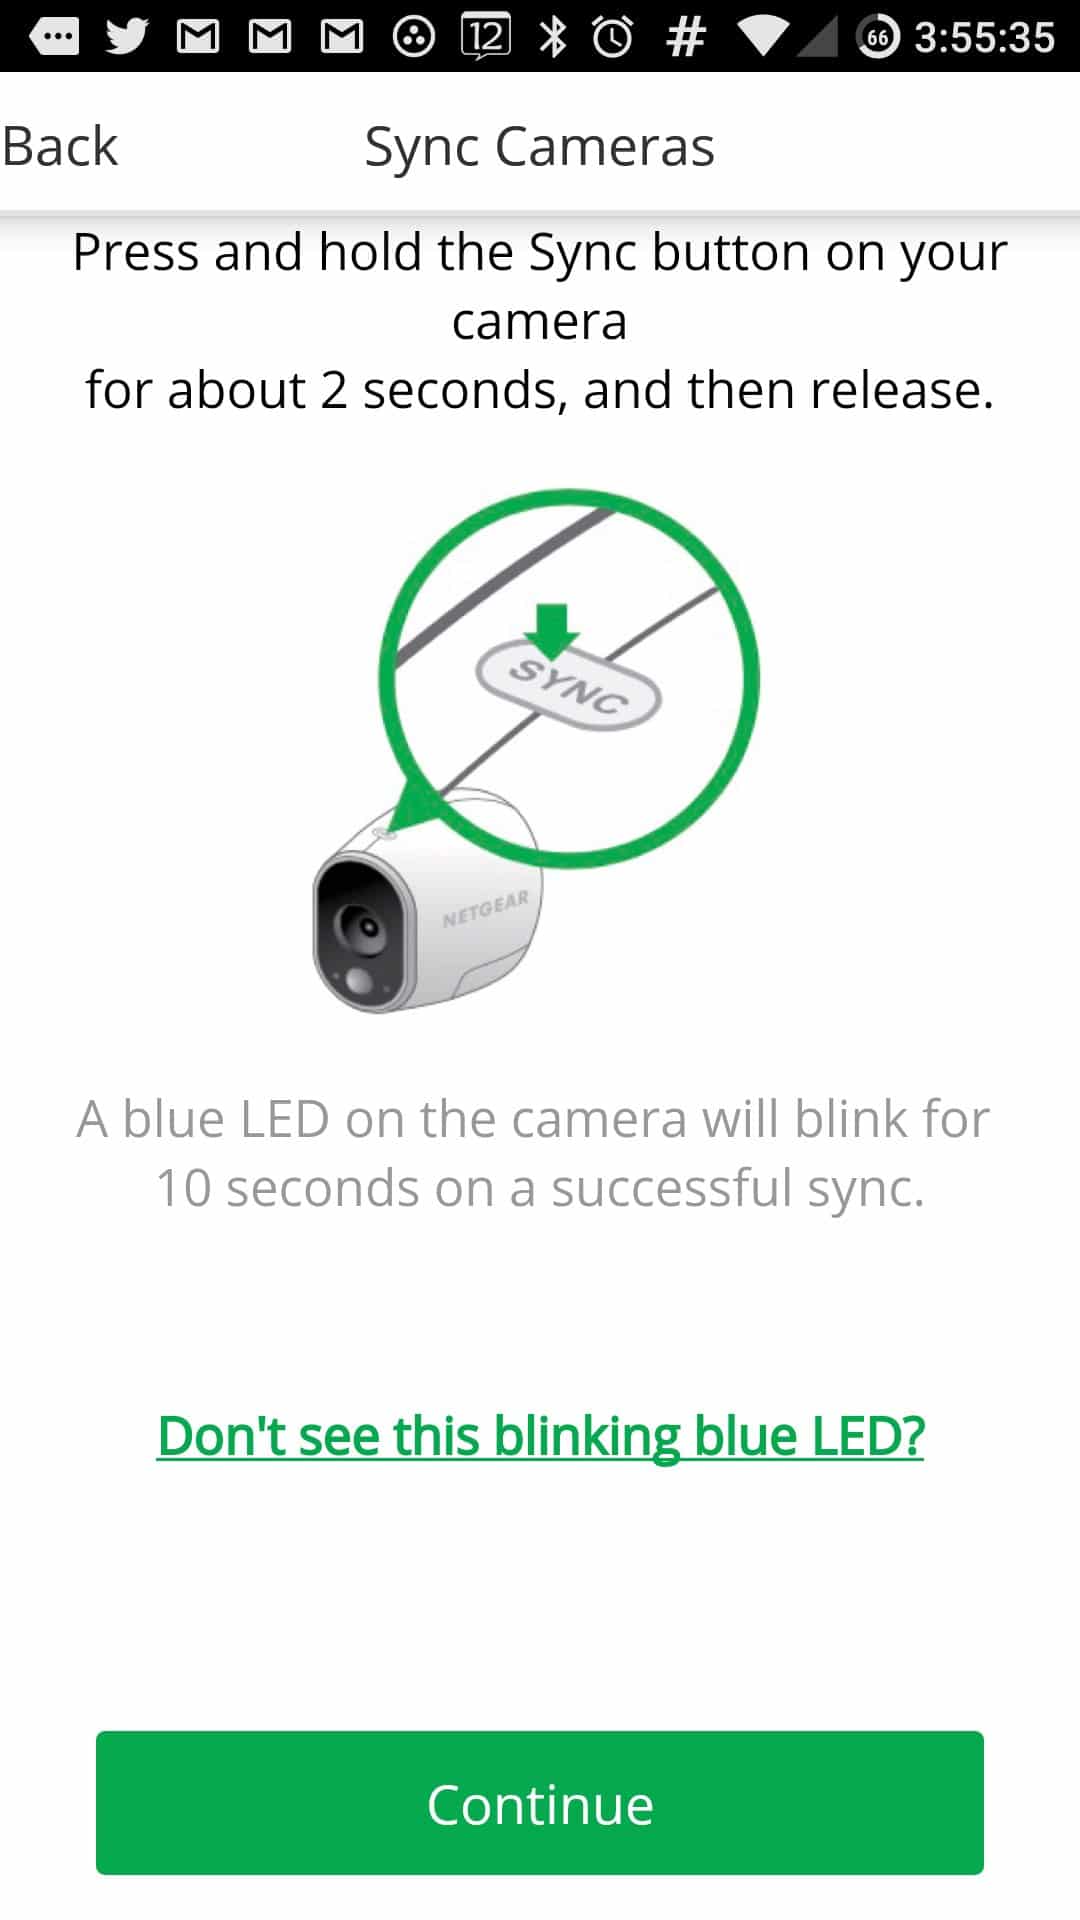
Moving along the install, I had to sync the cameras to the base station. The app also walks you through this and you’ll need to keep the camera close to the base station.
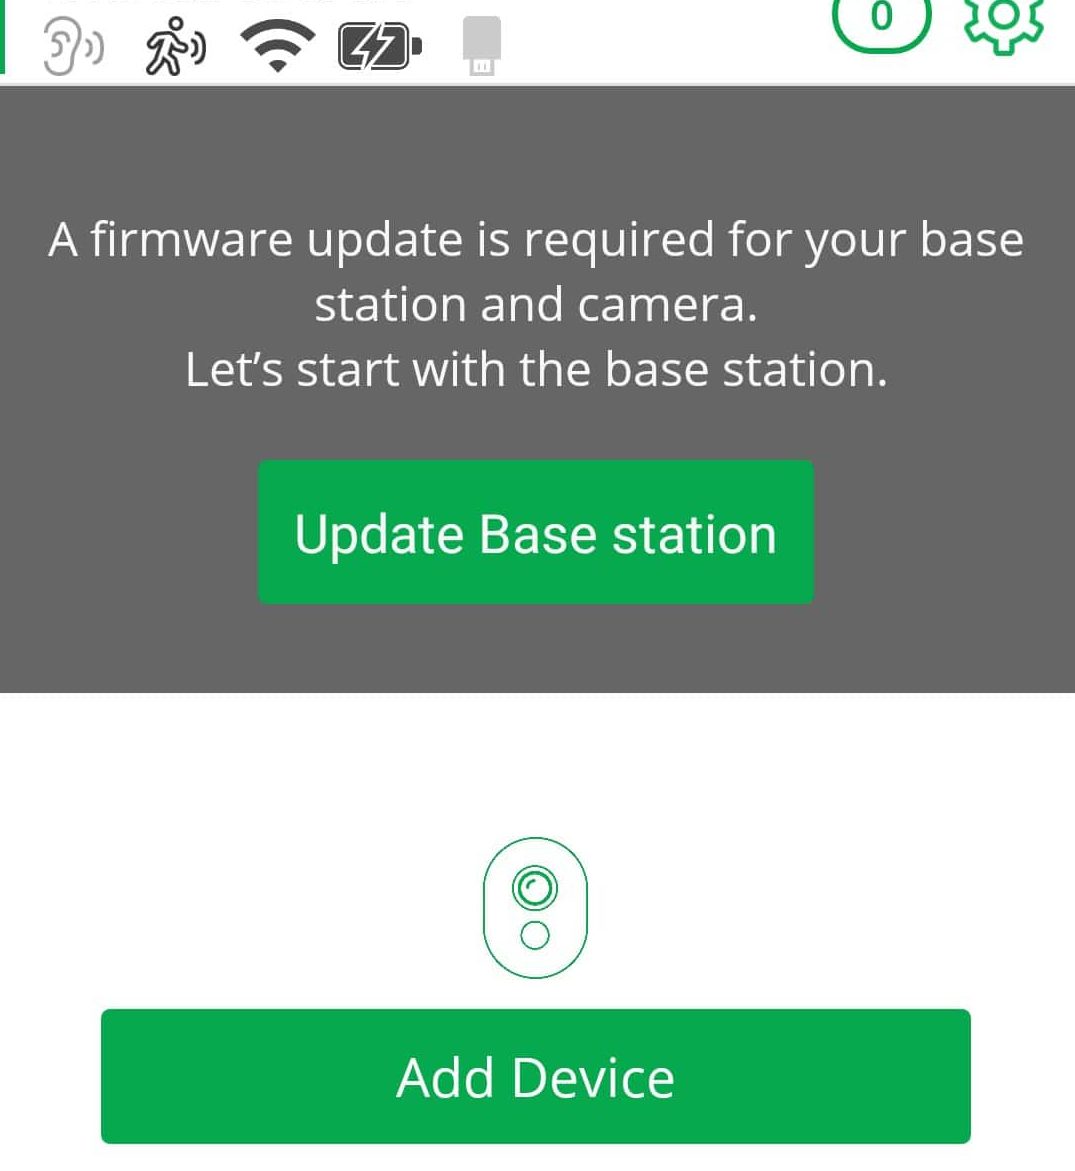
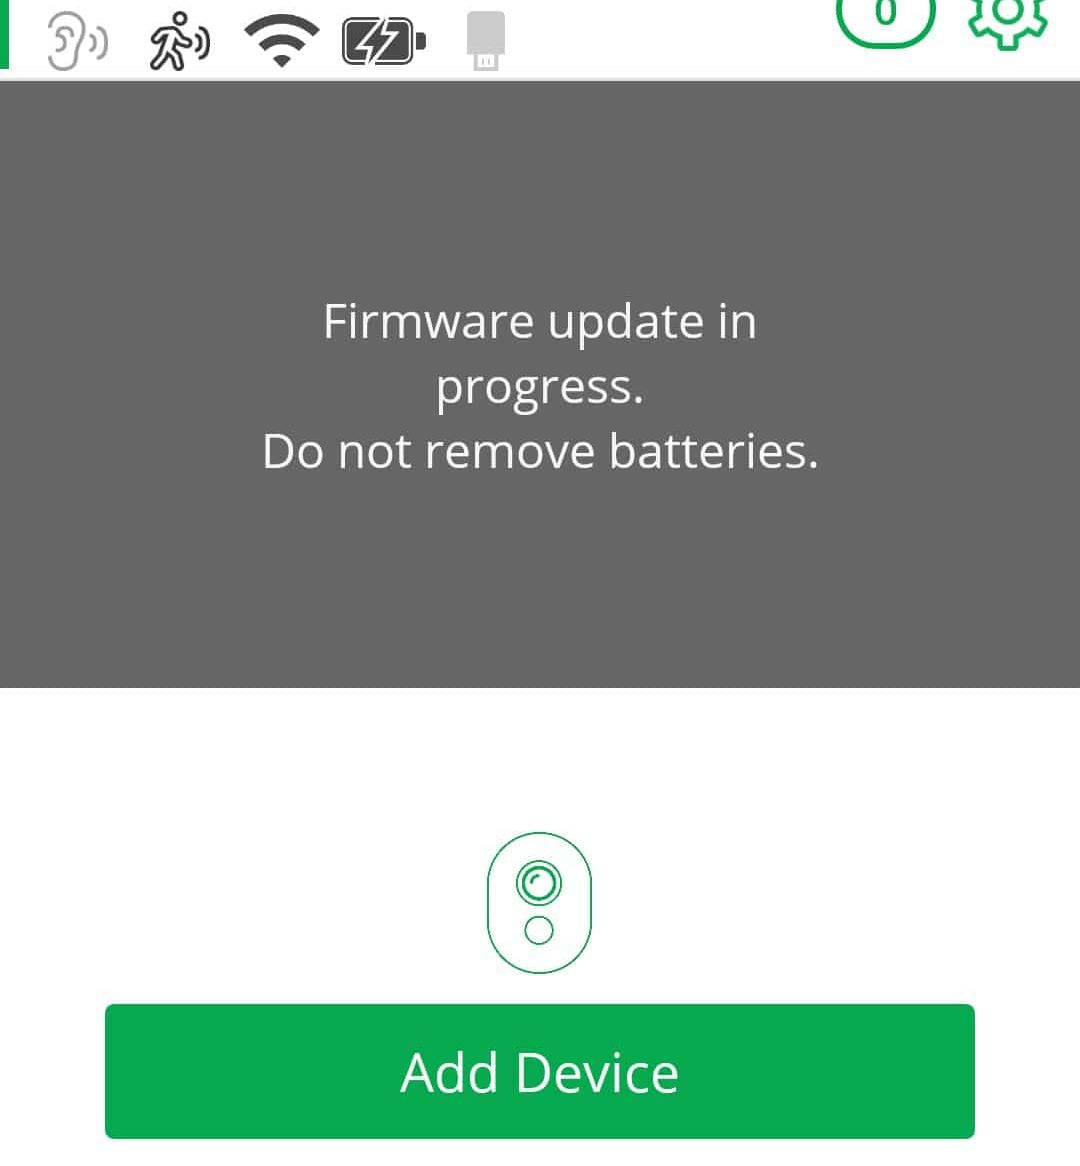
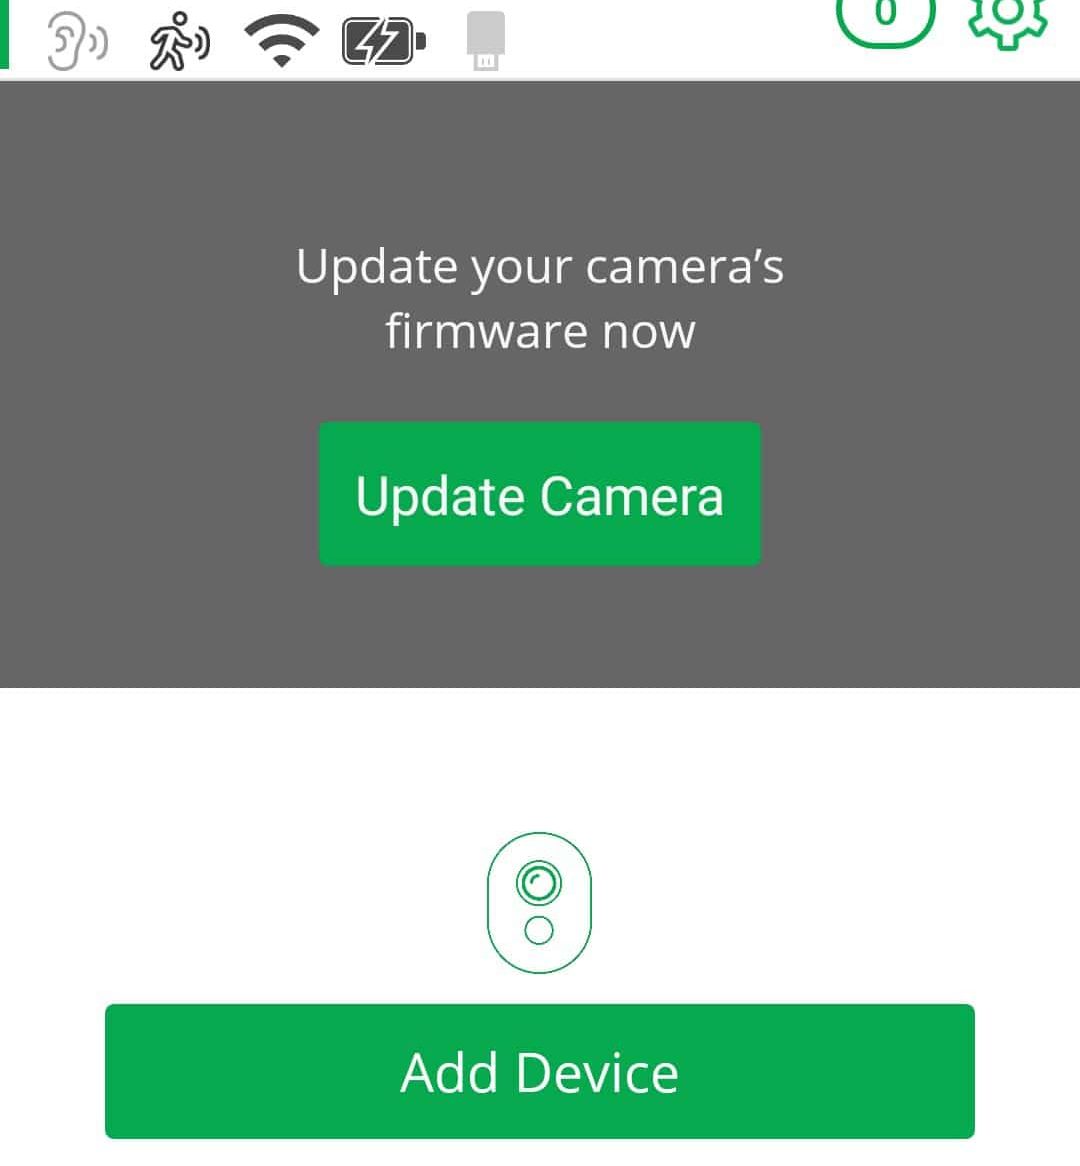
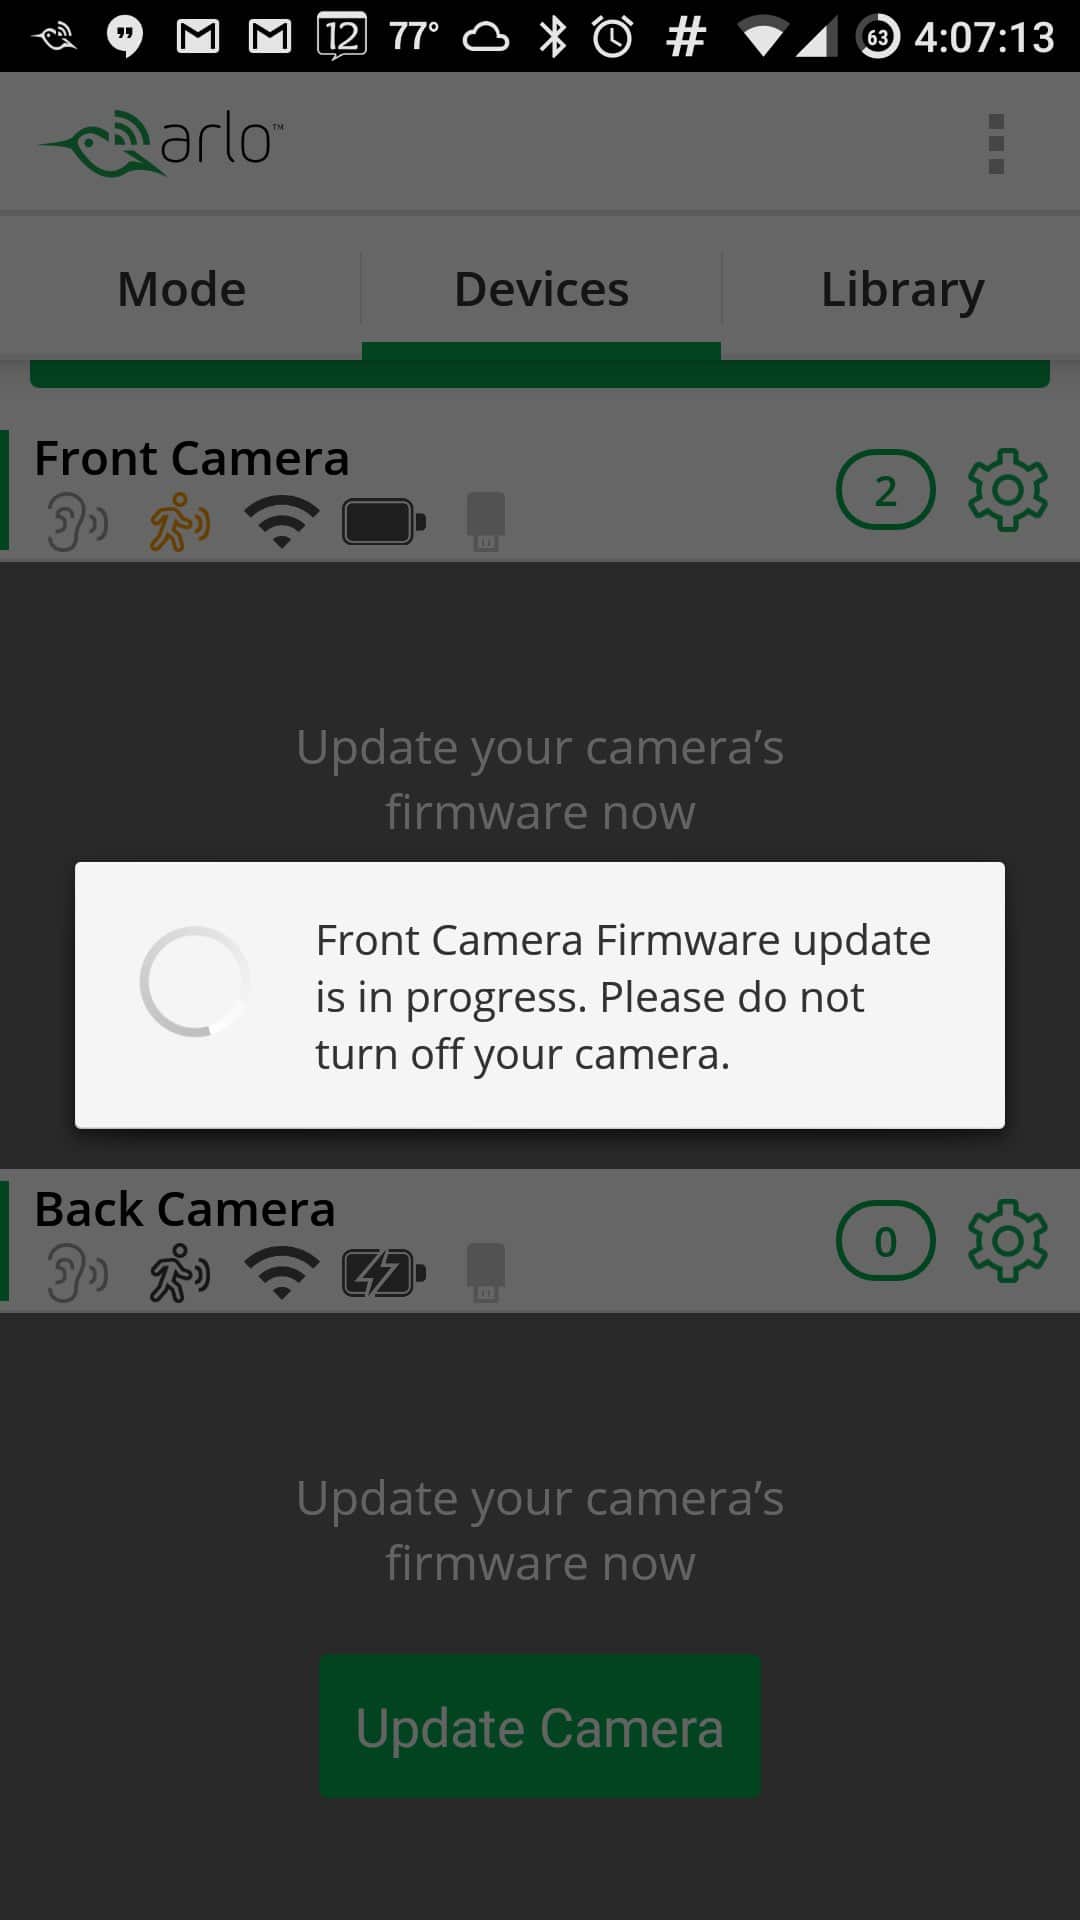
After syncing is complete, you will be prompted for firmware updates. Have some patience during the firmware updates as the base station will need to reboot and reconnect to the Internet/Arlo’s servers. The same applies to the camera firmware updates.
Mounting
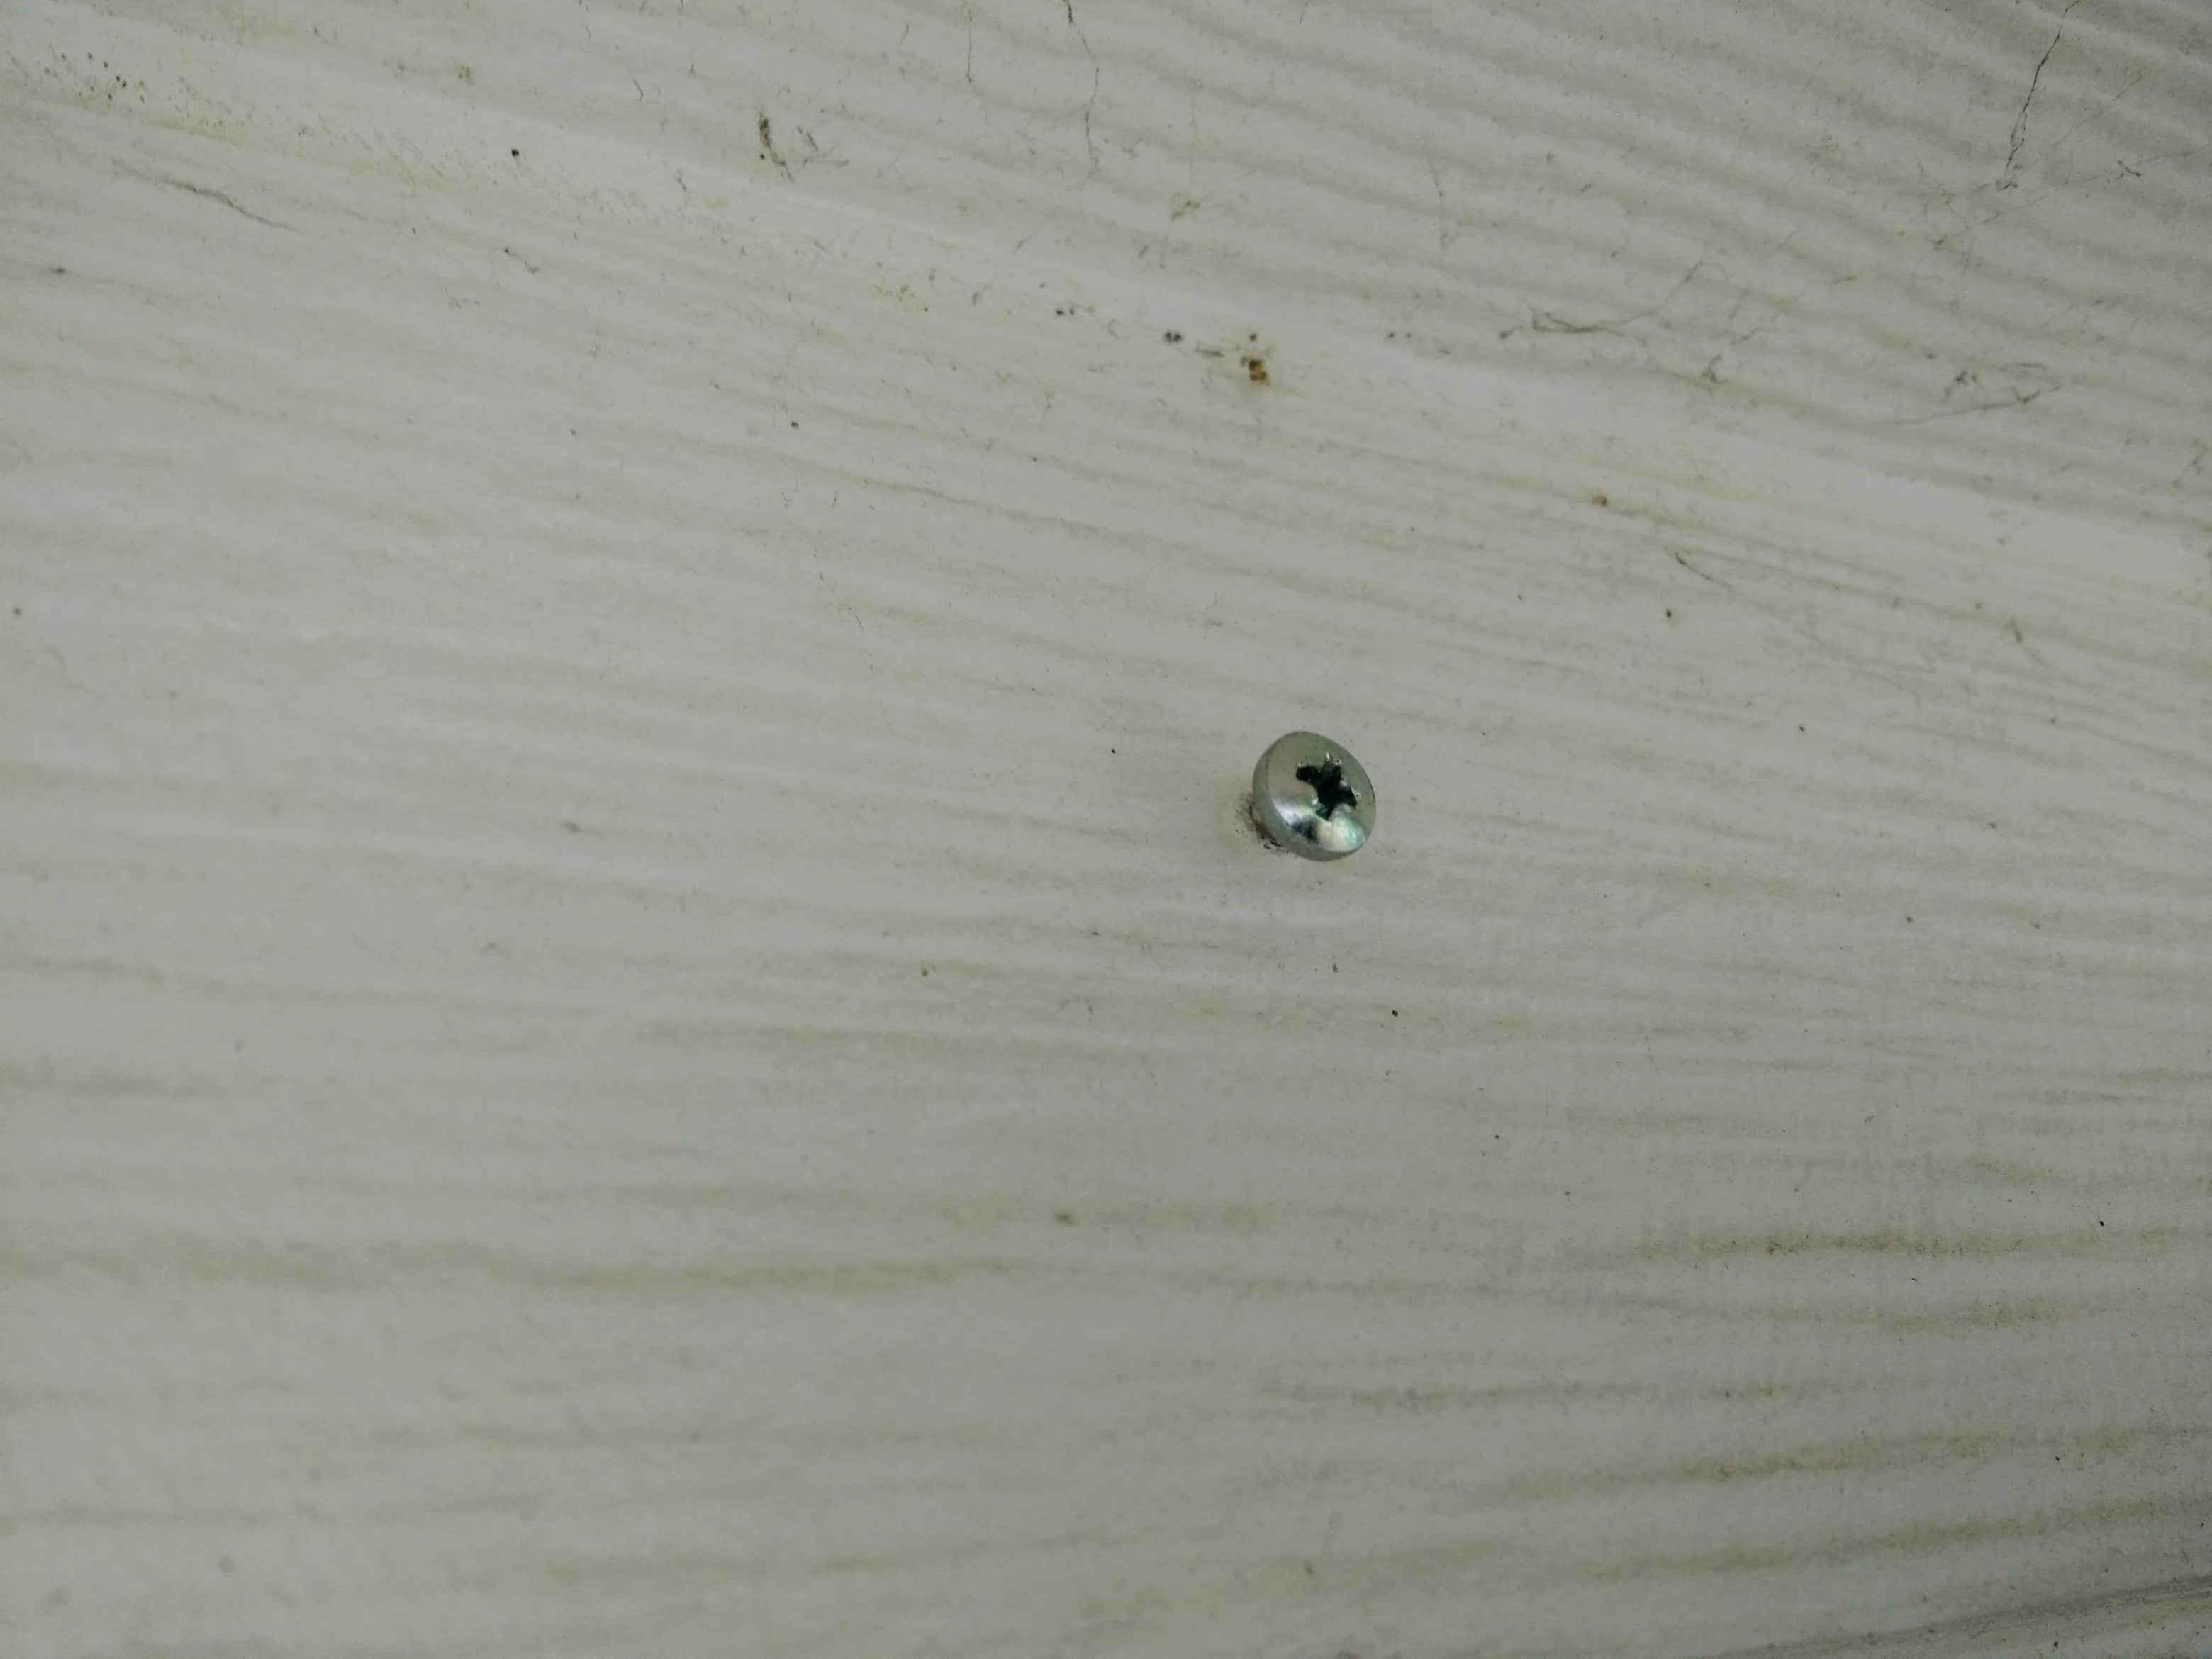
The included mount consists of a magnetic base that you screw into your wall or ceiling. One screw is all that is needed, but I decided to use larger screws than what Arlo has supplied. I mounted my front camera under an eave above my main garage door. This is one of my favorite parts…climbing up a ladder and installing something…no not really as I’m scared of heights! I did it anyway.
Just one screw is all that is needed to secure the mount.
Slide the mount onto the screw and make sure it’s snug.
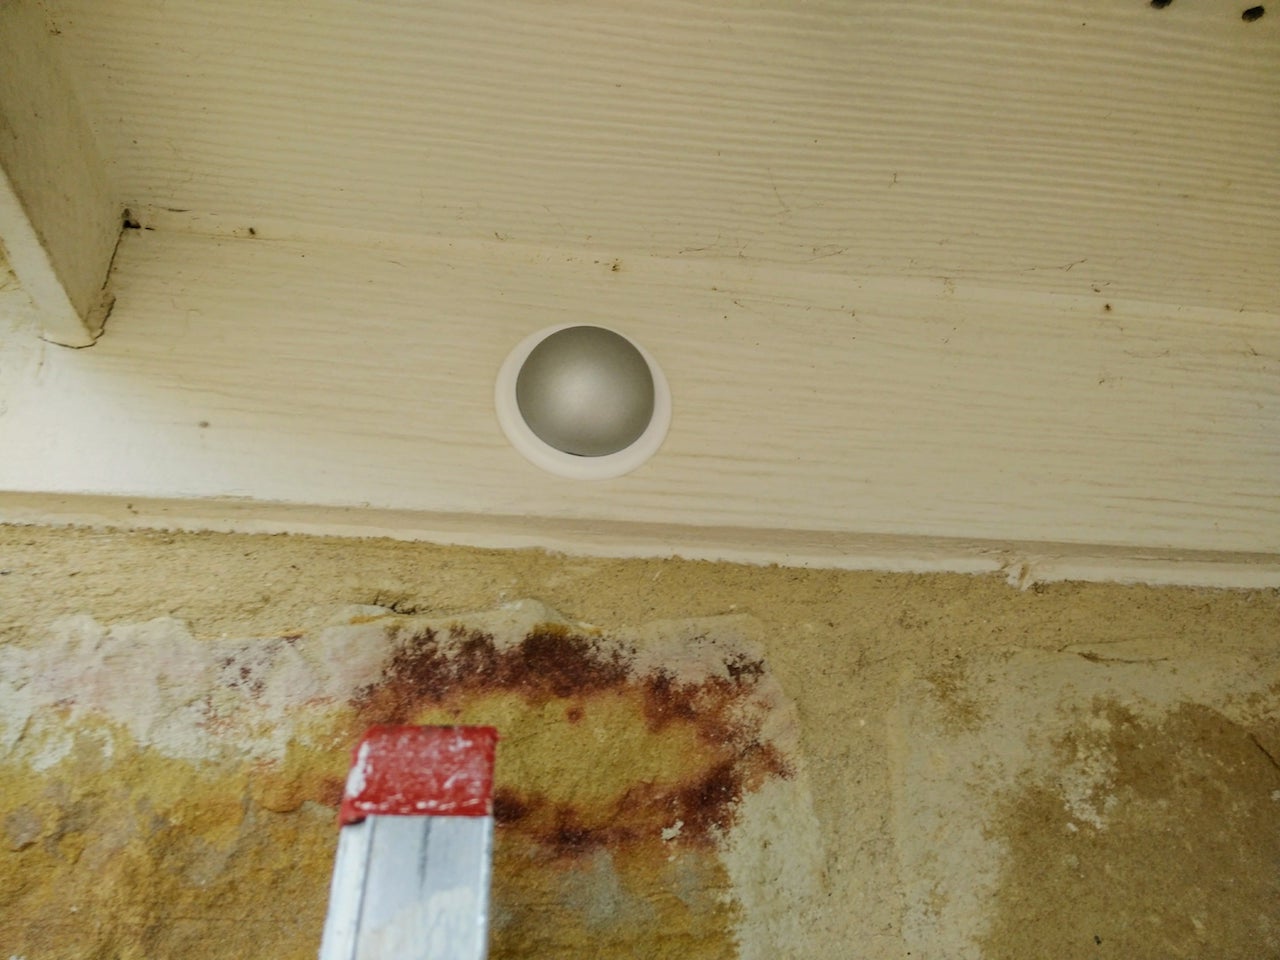
And finally, the camera attaches to the mount magnetically…the magnet is strong and you’ll see later how I mounted the back camera.
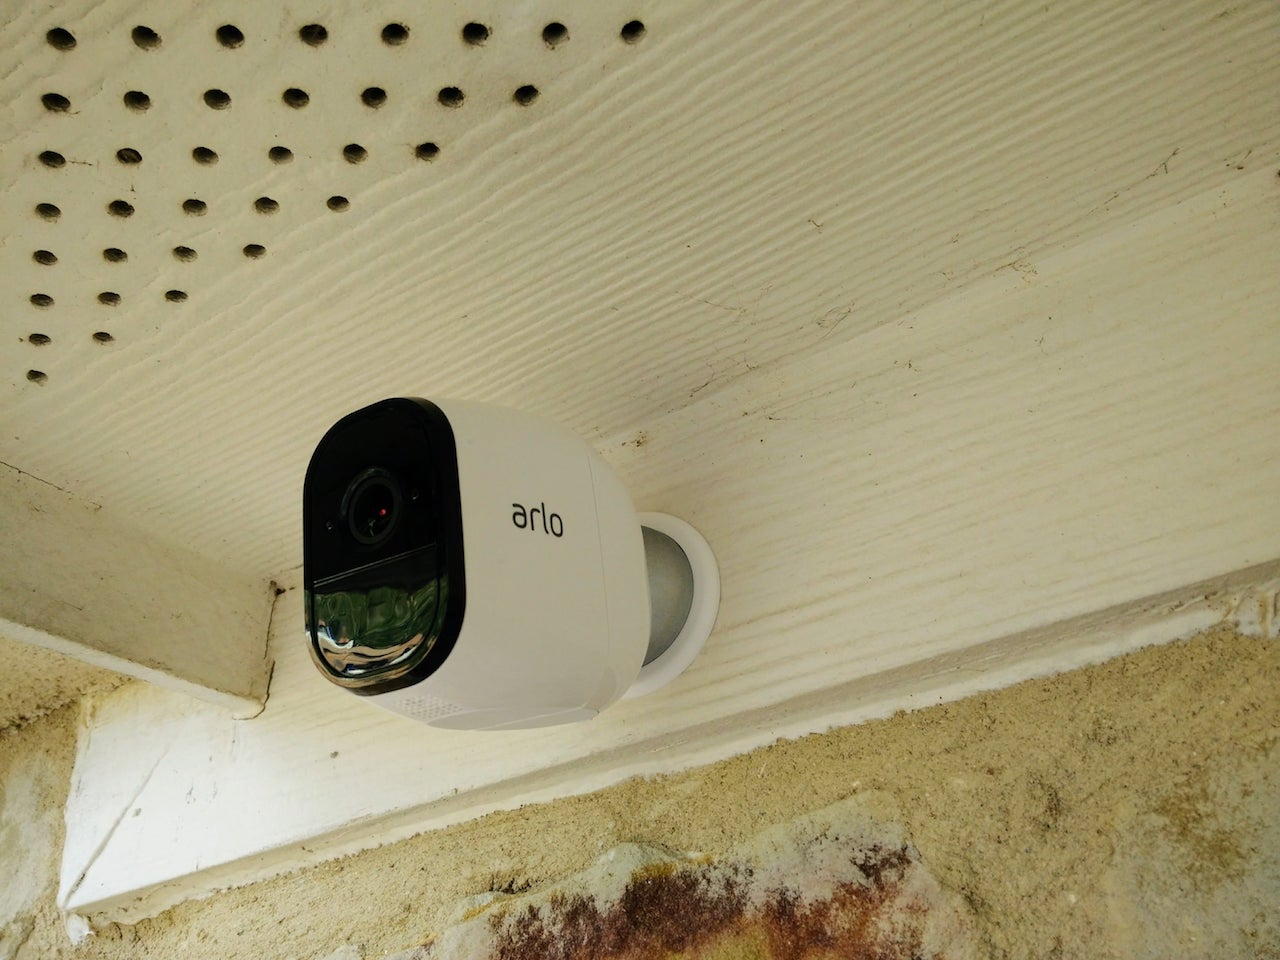
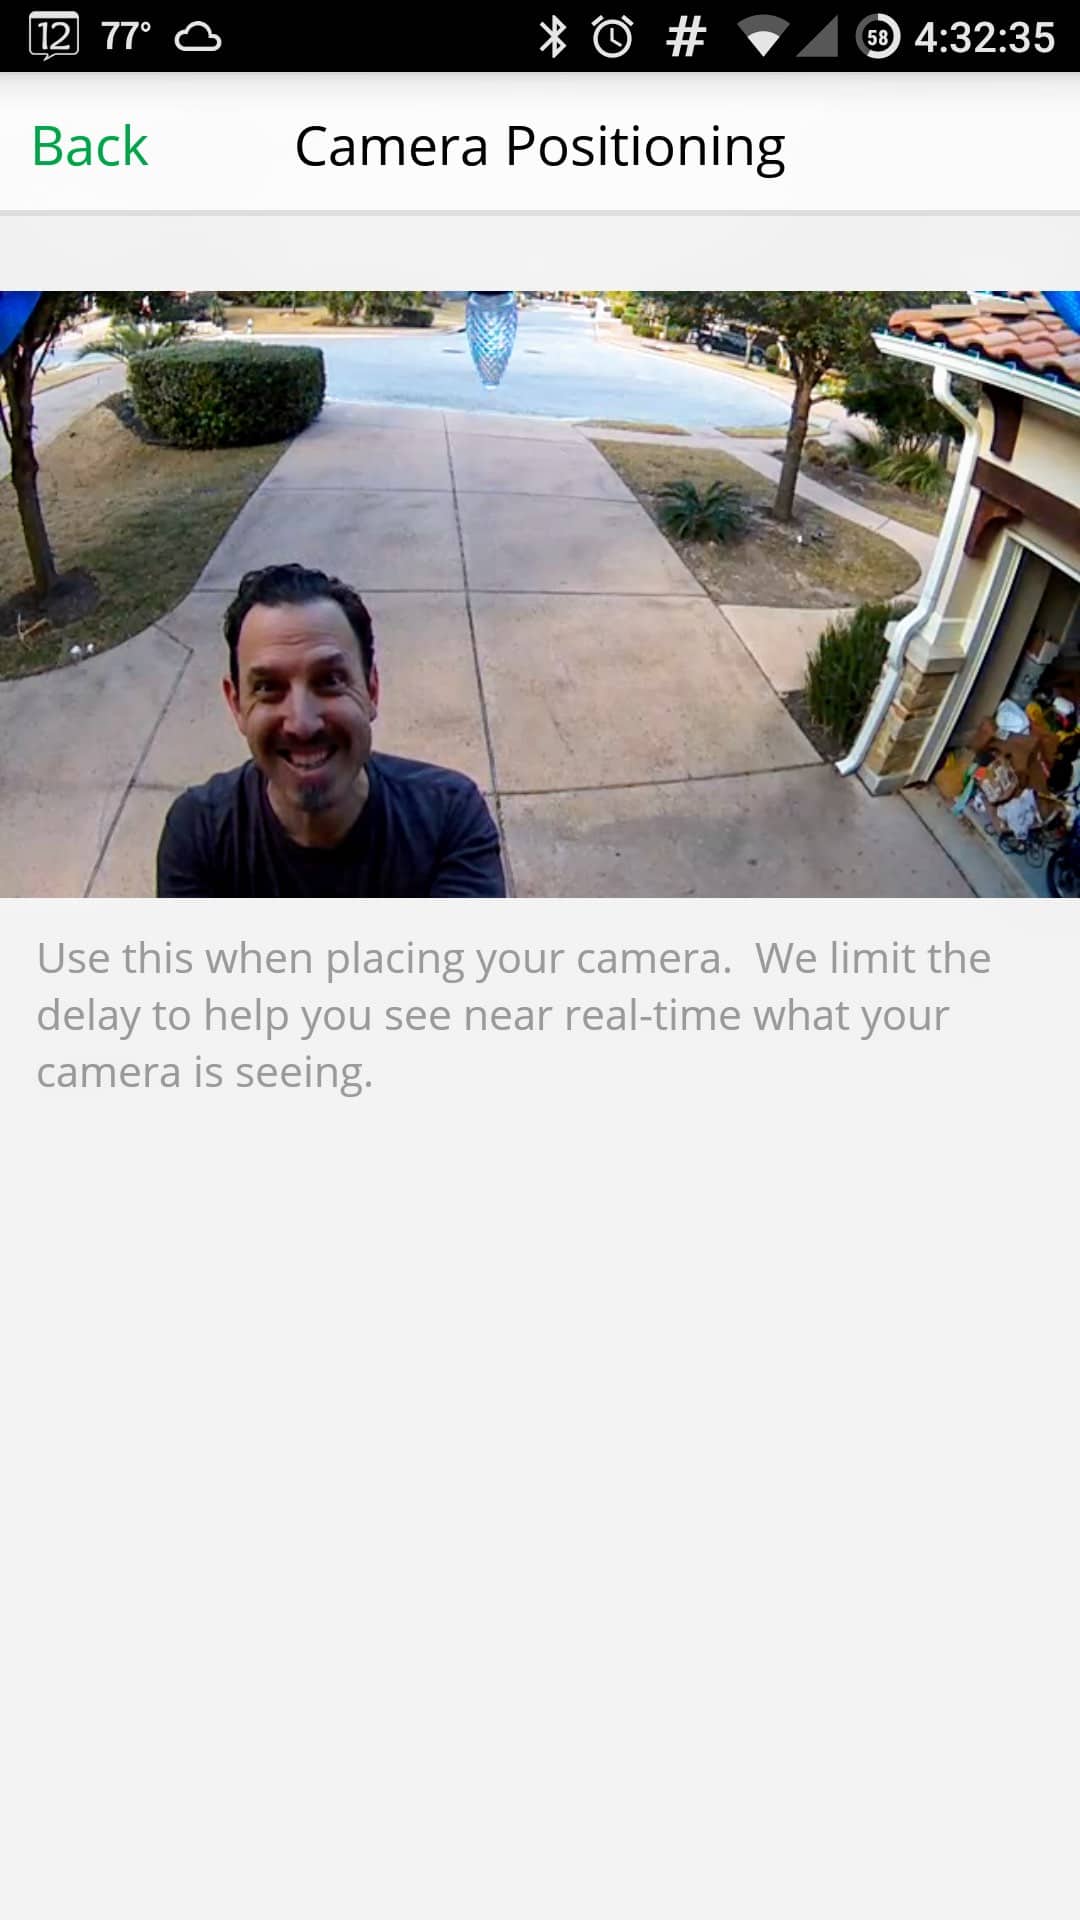
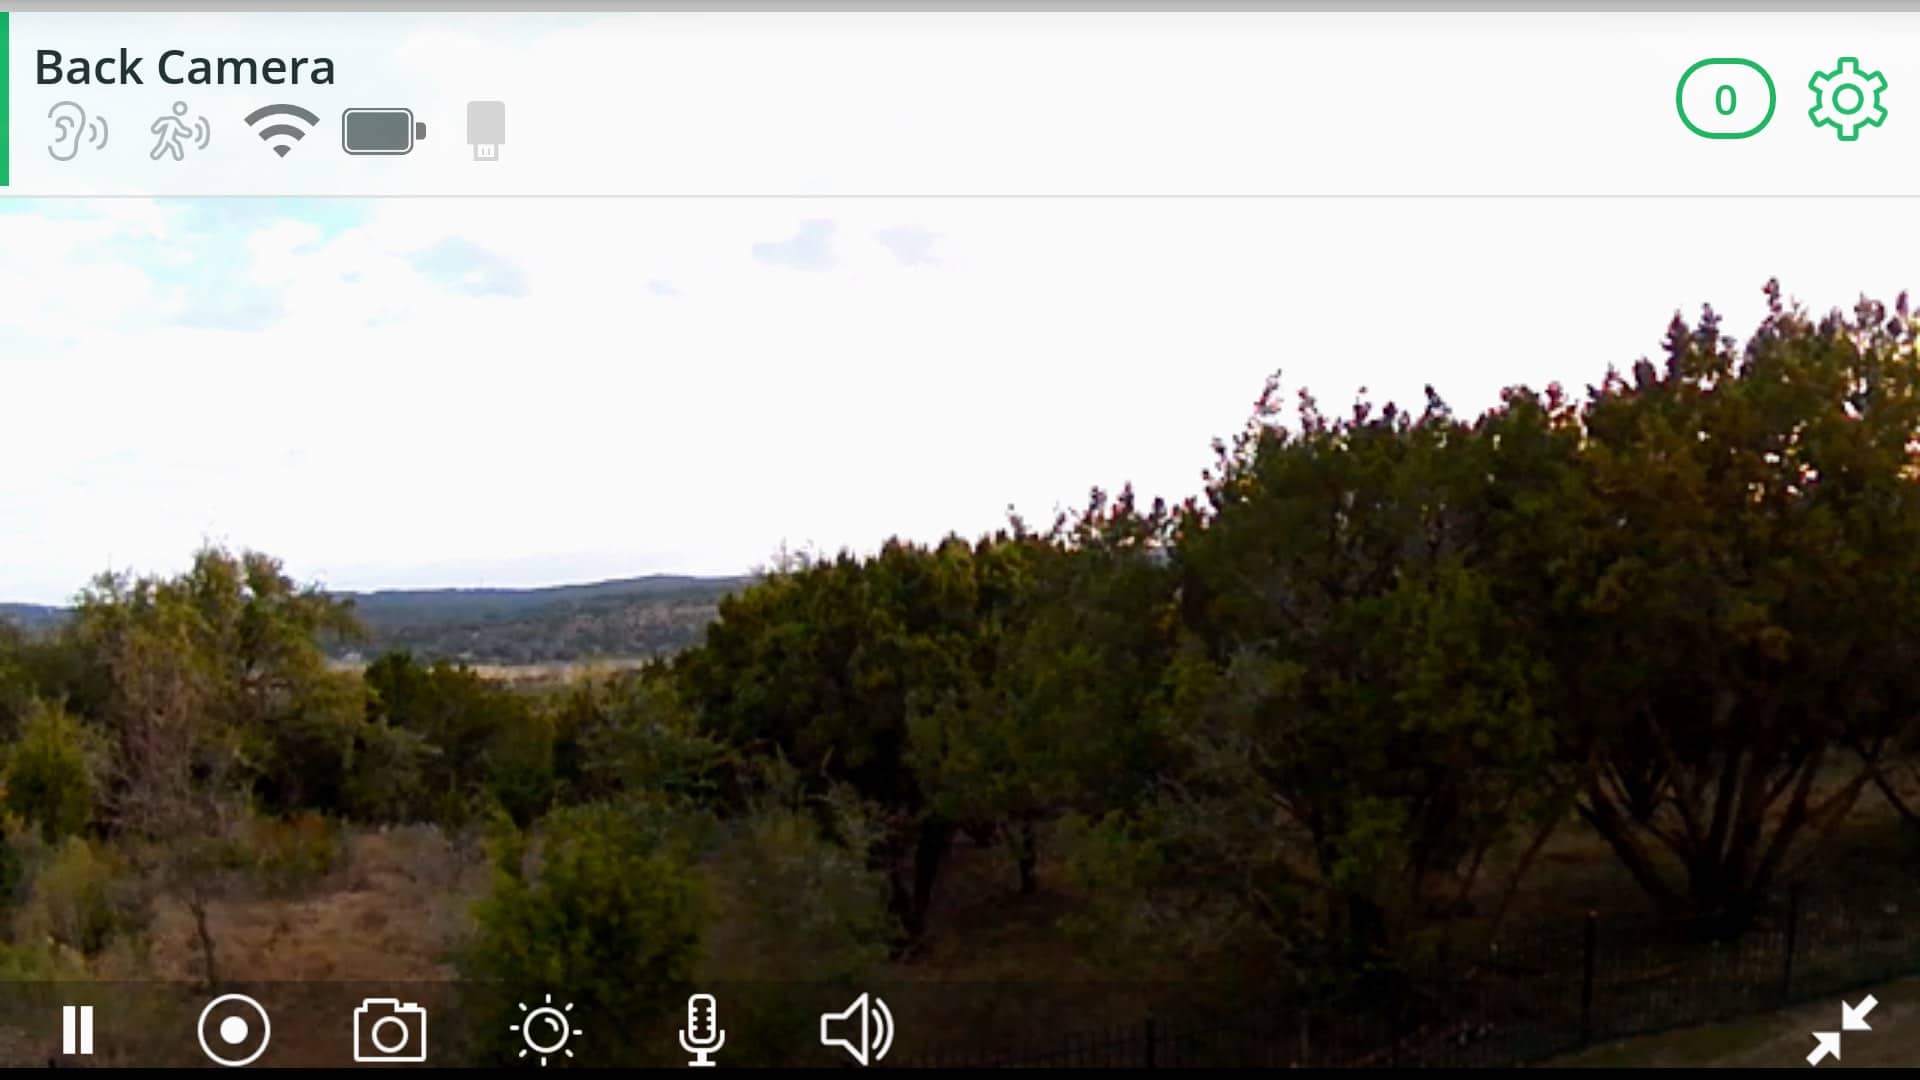
The app includes a camera positioning functions that display the live feed with minimal lag. I positioned my front camera in a way that also let me see if the other garage door was open.
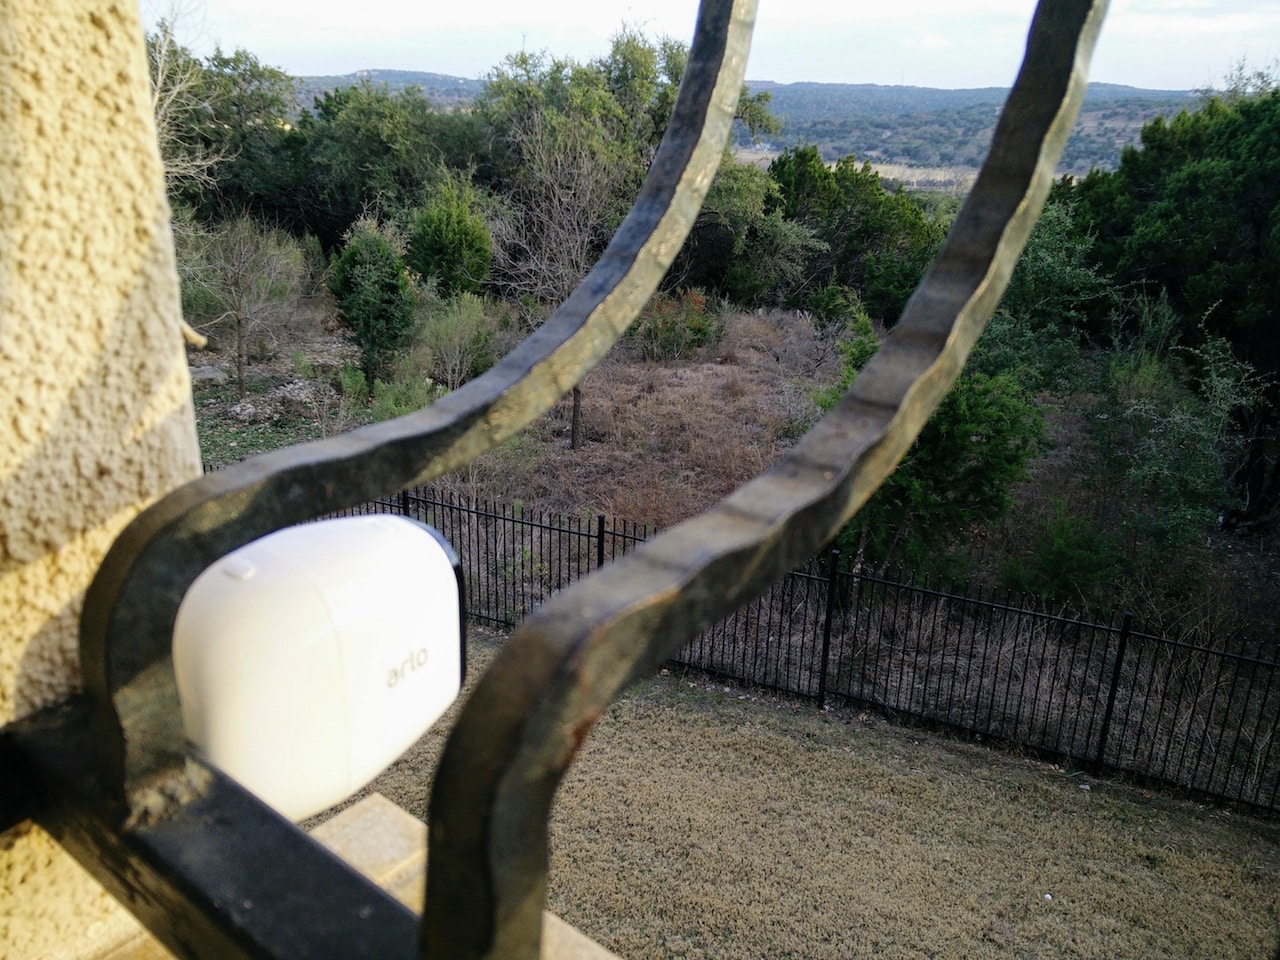
After I was happy with the front camera, I move on to the back camera. For this, I just used its strong magnet to attach it to my railing. Like I said the magnet is pretty strong and it survived a substantial thunderstorm with 40+mph gusts.
I have since moved the back camera onto my back fence in hopes of picking up some wildlife. Here in Texas, we see a lot of coyotes, deer, squirrels, ringtail cats, bobcats, foxes, rabbits and of course rattlesnakes!
Arlo has a cute webpage where people can submit what they’ve caught with Arlo: https://www.arlo.com/en-us/news/default.aspx
Usage
So, how well does it work?
First off, let me say if you are looking for 24/7 recordings this system and many like it are not for you. This system will not record until either the motion or audio triggers are tripped. You can however have one camera’s triggers set another camera(or cameras) to record in the app. I thought this was an interesting feature. Systems like Arlo Pro, are for people, who like me, want more home security/surveillance without having the pain & expense of running wires everywhere.
I receive Motion Push Alerts almost instantaneously. You can use these alerts with services such as IFTTT, Stringify, Smartthings, Wink and a few others. Using services like these, you could do cool things like having your floodlights turn on based on an Arlo Motion alert.
So although motion alerts come fast, it does take a few seconds to get the live video feed going. (The same things happens with my Ring Wifi Doorbell). There is also a slight delay from the time a video is recorded(and push alerts is received) until it is uploaded to the cloud. Once it is up in the cloud you can view it either on your smartphone or via the Arlo website. You can also share and download videos very easily from the app and website. One things I noticed, is that Arlo didn’t like the same account email to be logged in on 2 devices simultaneously. There is an easy fix for this though. Arlo let’s you setup additional users and give them certain access. I use my main Arlo account on my smartphone. I use another account for my desktop using their website and my wife has her own account. This could also be useful if you wanted to give a friend or family member temporary access to keep an eye on your house, or if you wanted to help keep an eye on say your elderly parents’ house.
I really need to point out, the quality of the audio recording is very good. Good enough to hear conversations near the camera and also good enough to pick up other sounds(like my neighbor closing his car door). The audio definitely adds to the usefulness of the recordings.
Battery Life
I know this is a big question everyone will have….How long will the batteries last? Here are my observations so far.
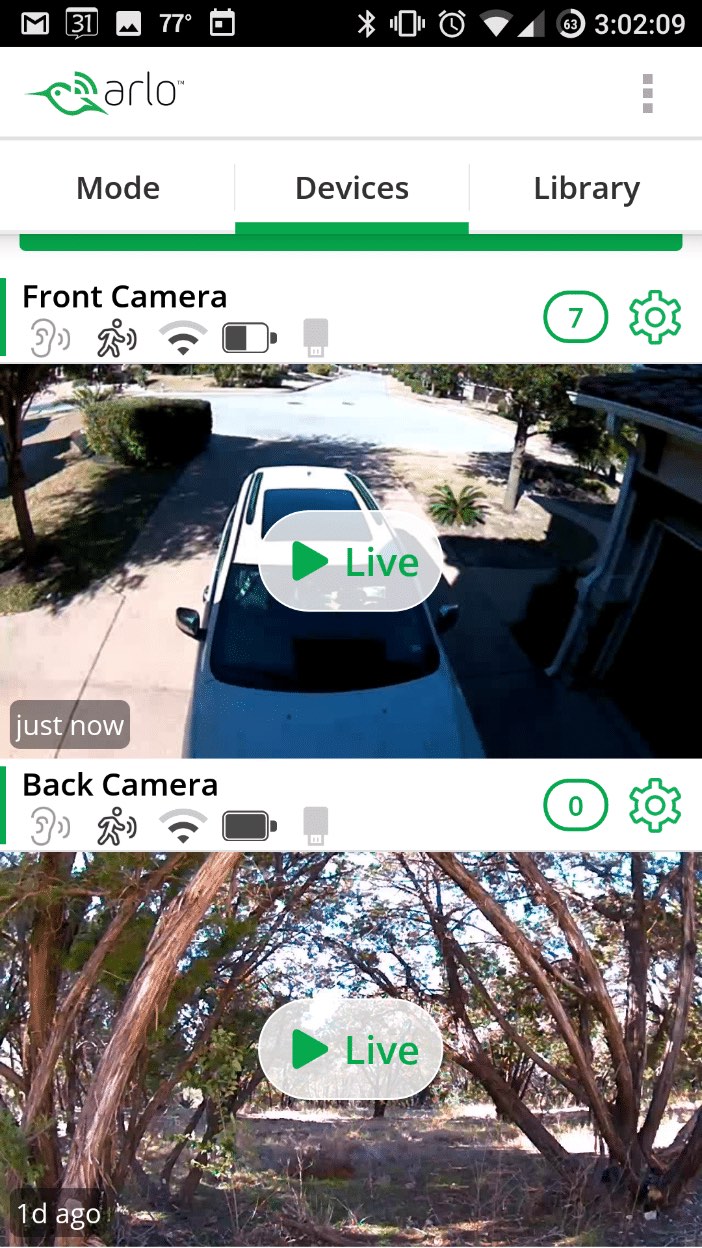
After 3 weeks of usage, the back camera is at 95% and the front camera is at 32%.
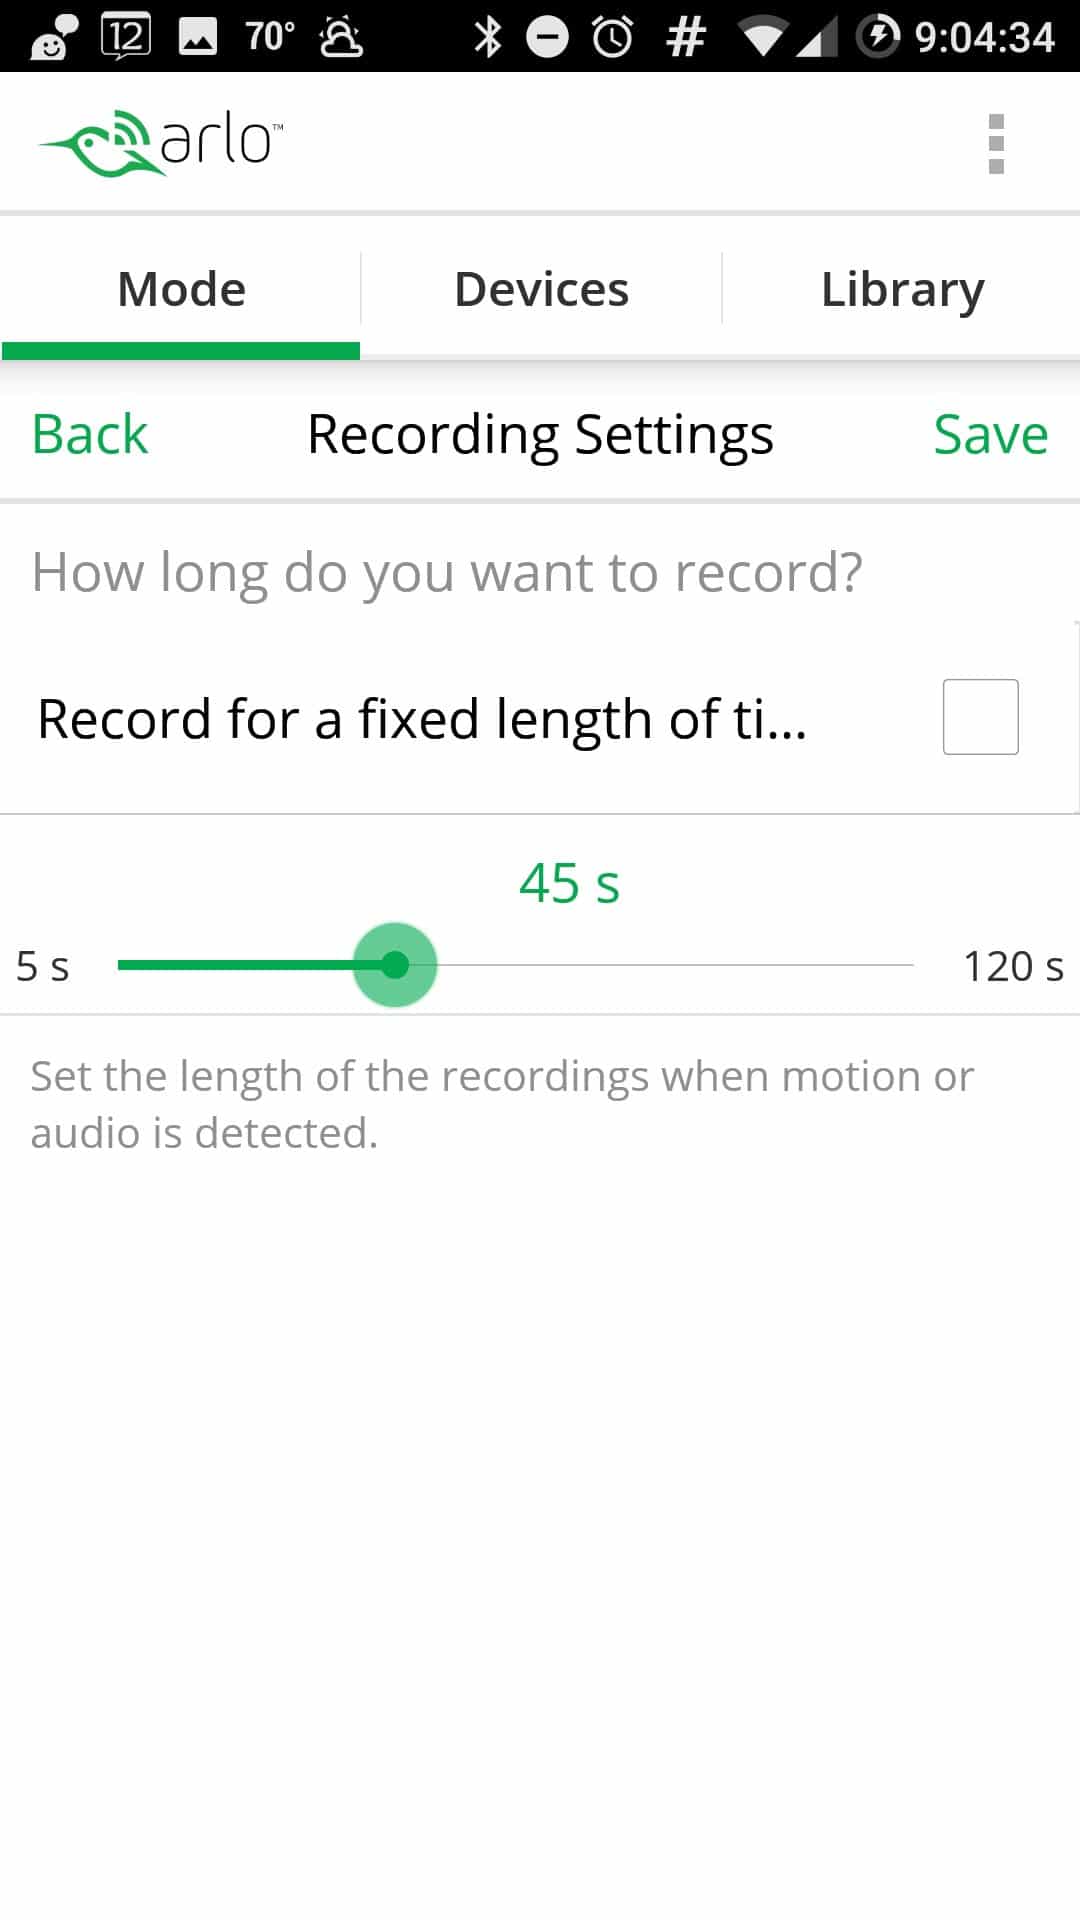
Why the big difference? The back camera has only been tripped less than 20 times in 3 weeks(not that much action in my backyard). The front camera, on the other hand, often gets tripped to record 20 times per day! Every time we pull a car in or out of the garage, it records. I have a 9 year old who is constantly playing in the driveway also setting it off. I could easily reduce the motion settings but I wanted to test it at full sensitivity. I could also set it only monitor certain hours at night.
Charging the batteries won’t be too hard. Grab my ladder, grab the camera and plug it into the provided USB charger and cable.

How sensitive is the motions detection? Sensitive enough that it caught a fox on camera, not once but twice at night! Check out the video below!
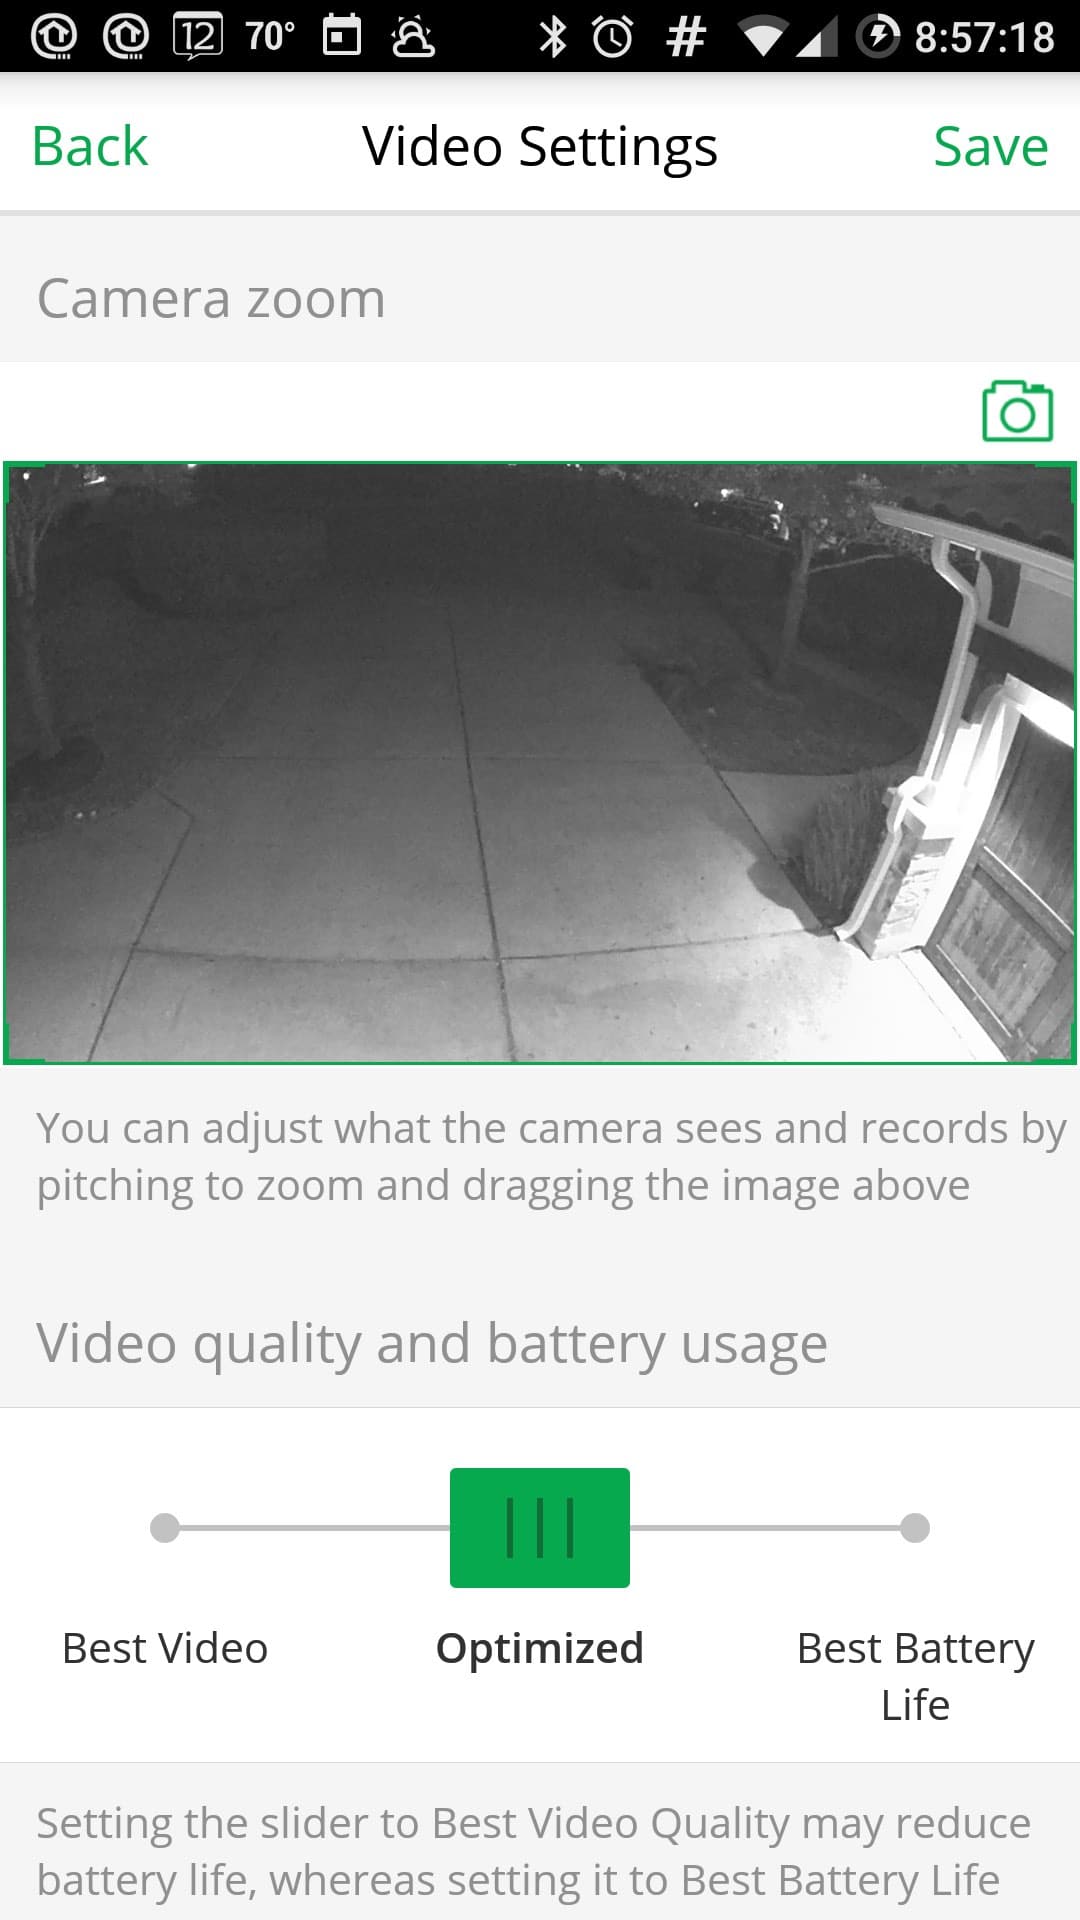
I am definitely happy with the sensitivity and the quality of the videos. At the supposed expense of battery life, you can increase the video quality. It does seem this only affects video quality if the camera records frequently as I have had the back camera set to full quality and it is still at 95%.
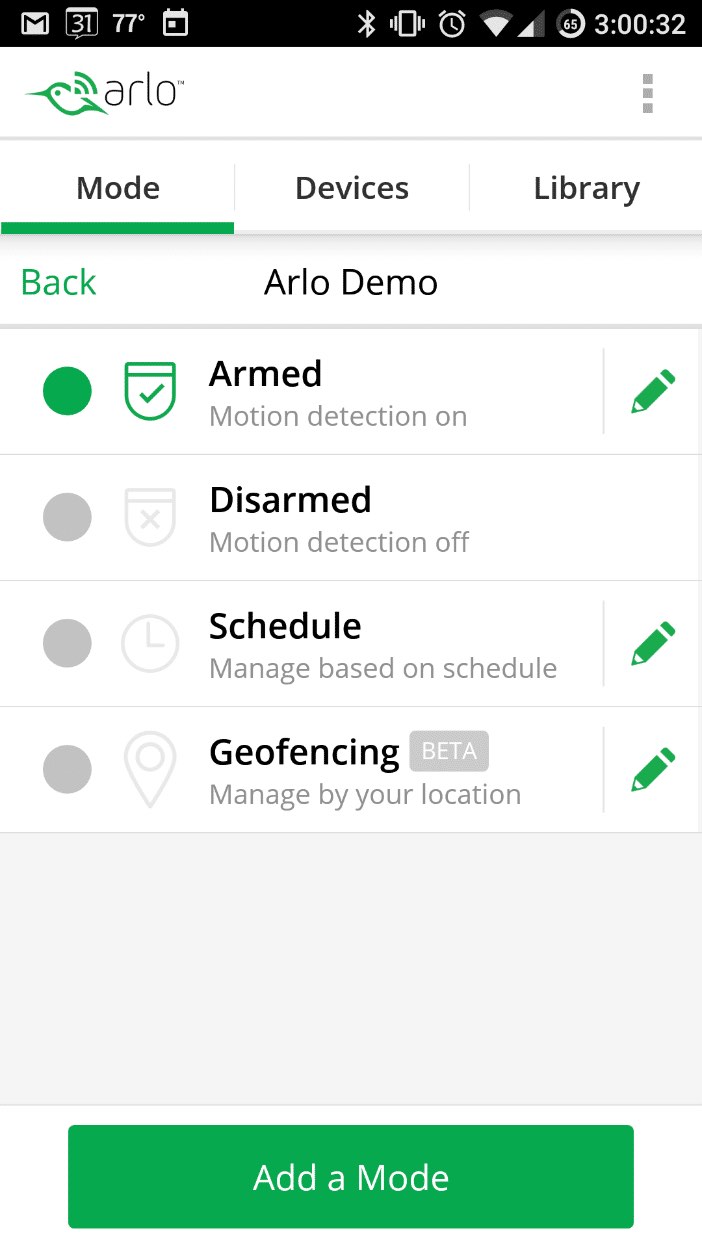
I have my motion detection set to always on, but as mentioned, you can also set it to a schedule or with geofencing. For example if I set my front camera to only record at night during the week, I would significantly reduce the amount of recordings and conversely significantly increase the battery life. Then it would be more in line with what we are seeing with the back camera battery life. If you are mounting this cameras at a place without a lot of action(like a vacation home) I think you will be extremely happy with the battery life.
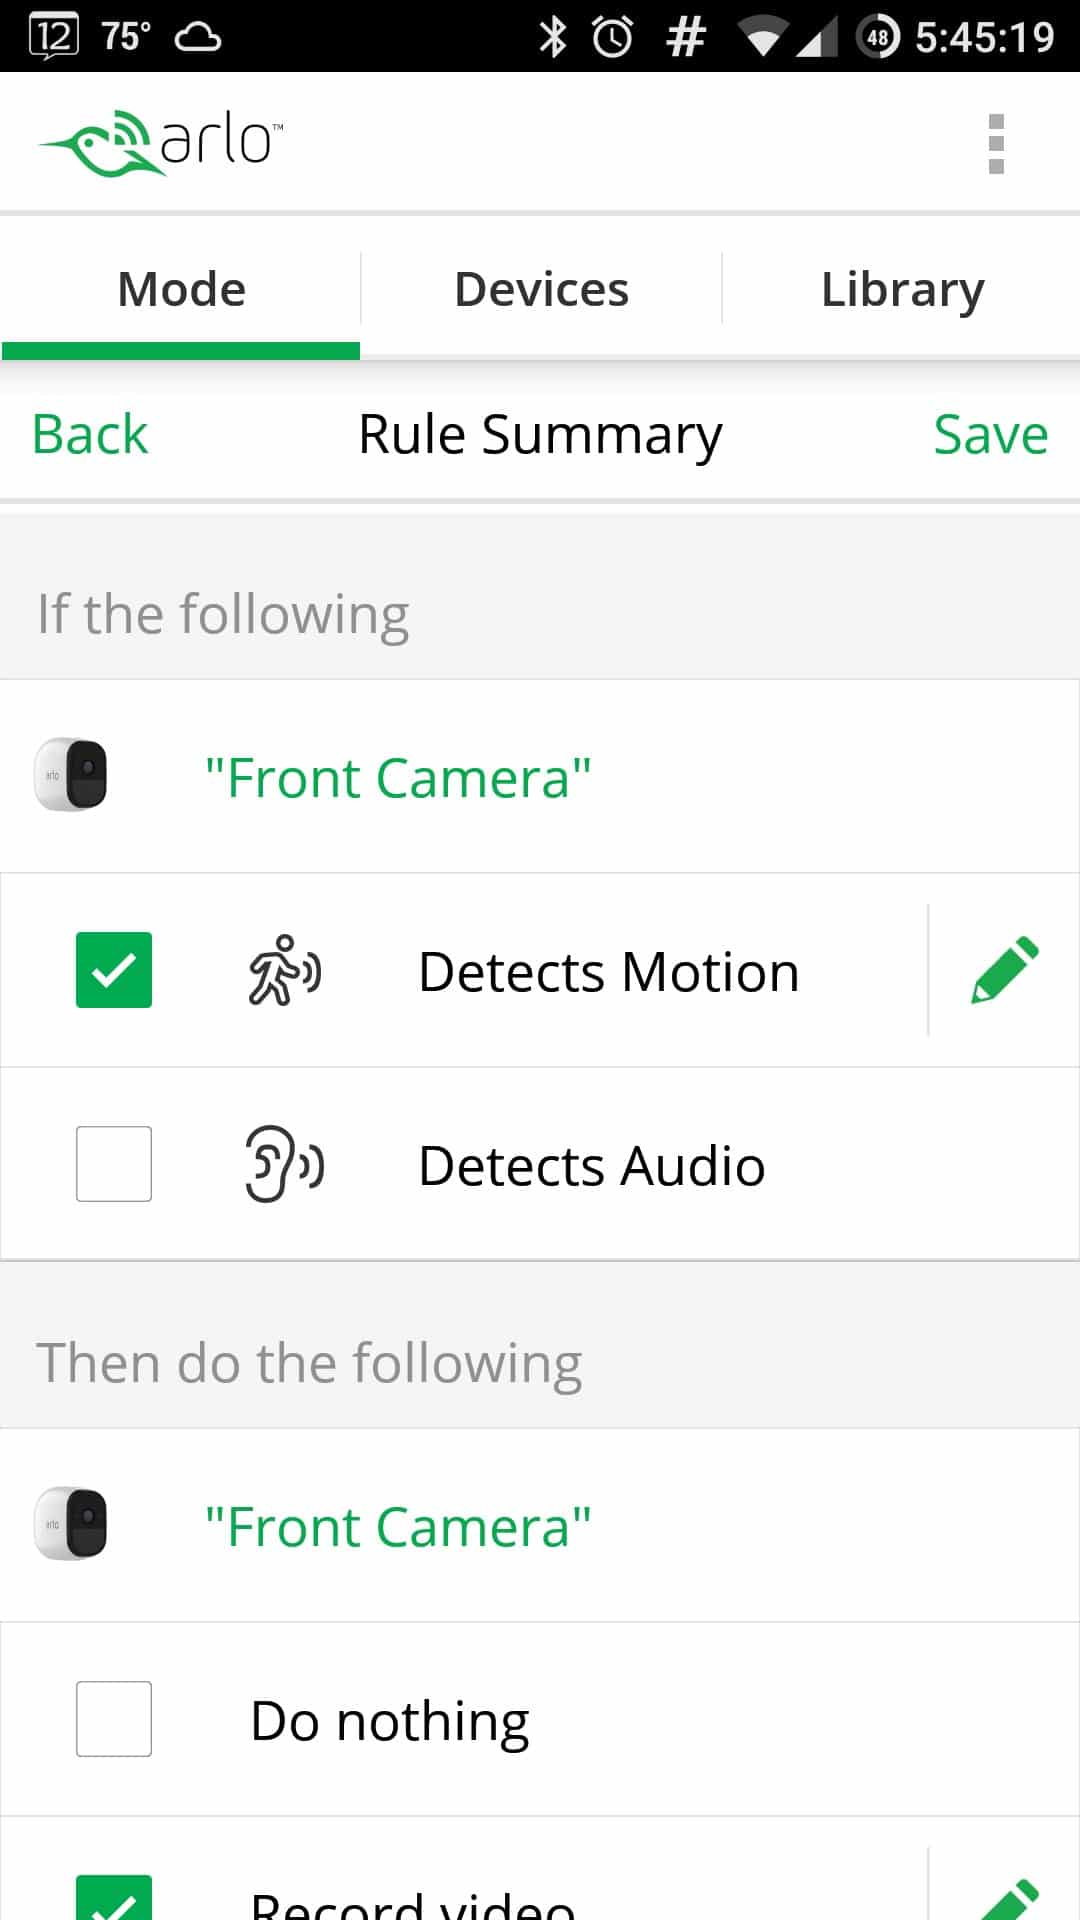
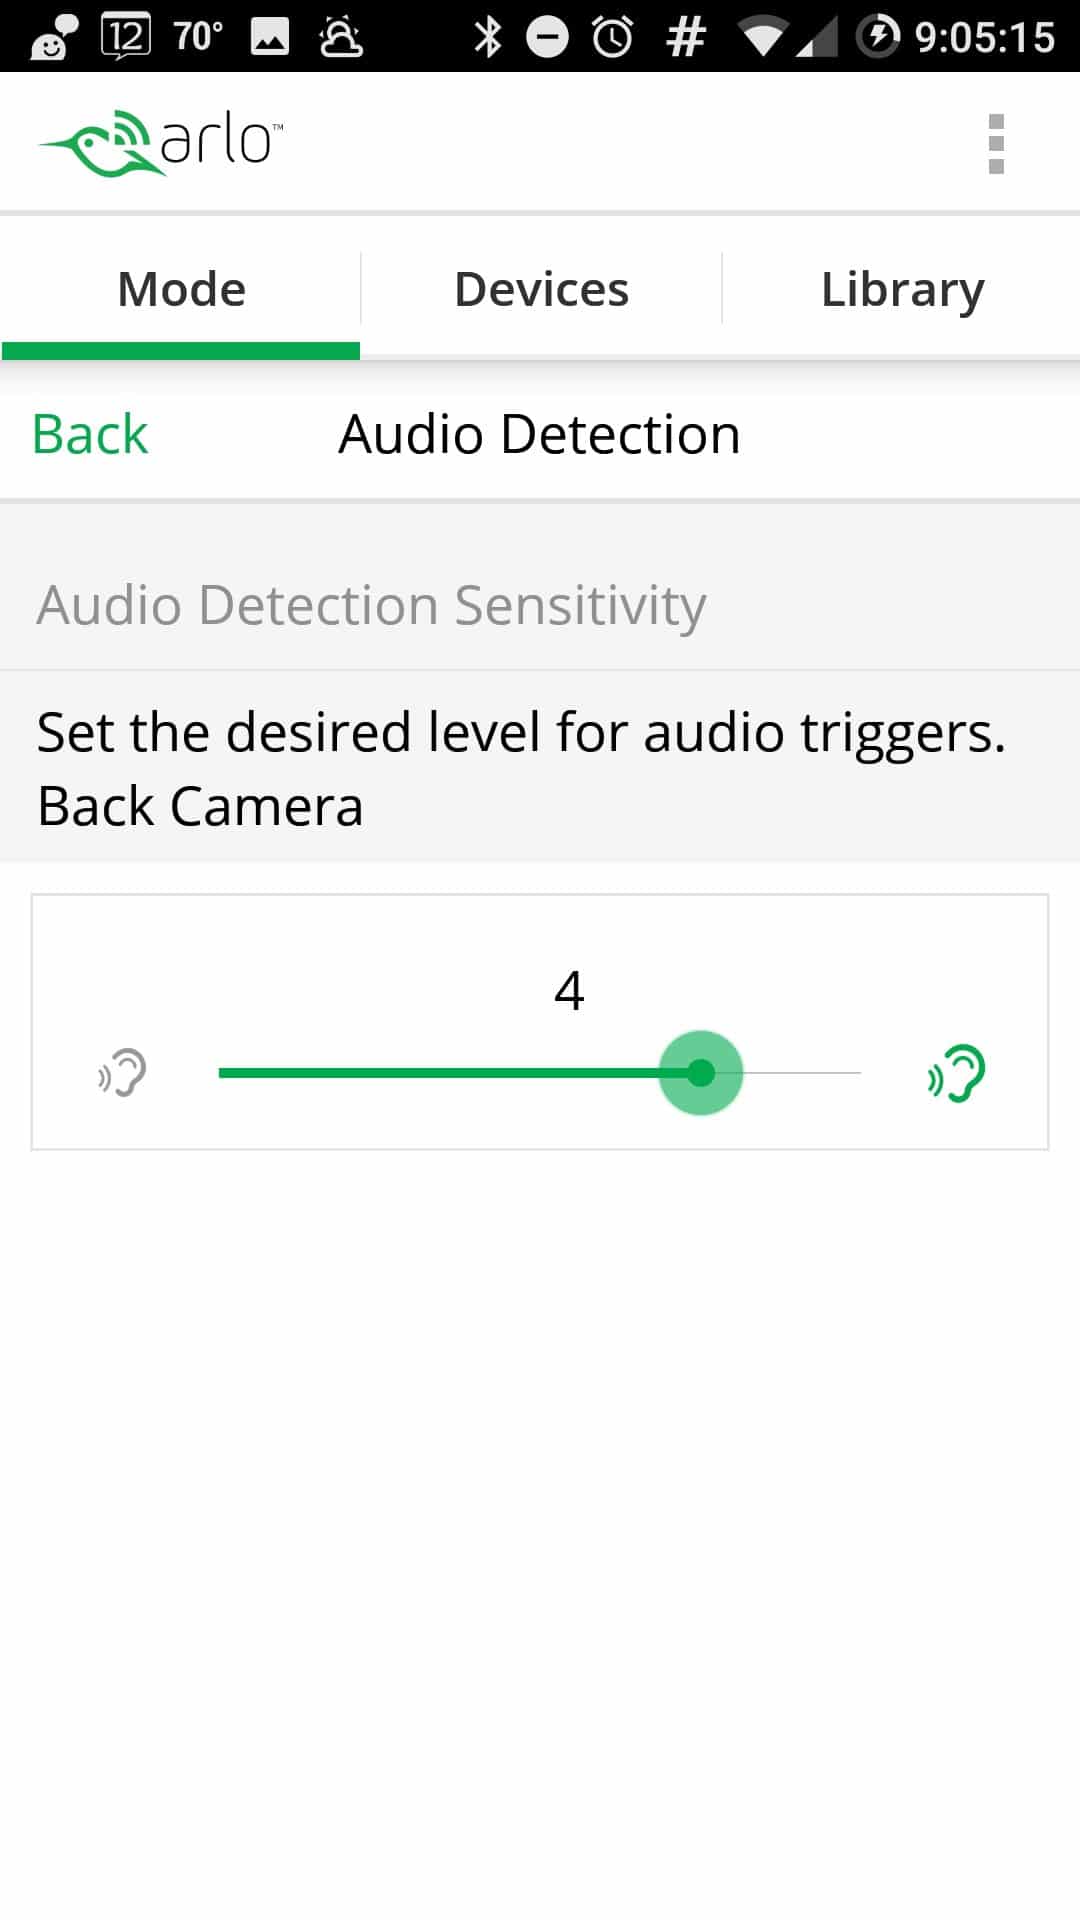
As you can see, the Arlo App provides many options, some which I haven’t touched yet. The other thing I really didn’t test out too much is the two-way audio function. I have my front Arlo Pro camera mounted fairly high up over the garage and don’t think the speaker would be loud enough to be too useful. I do think it would work well if you had it mounted close to your main doorway for example.
Wishlist
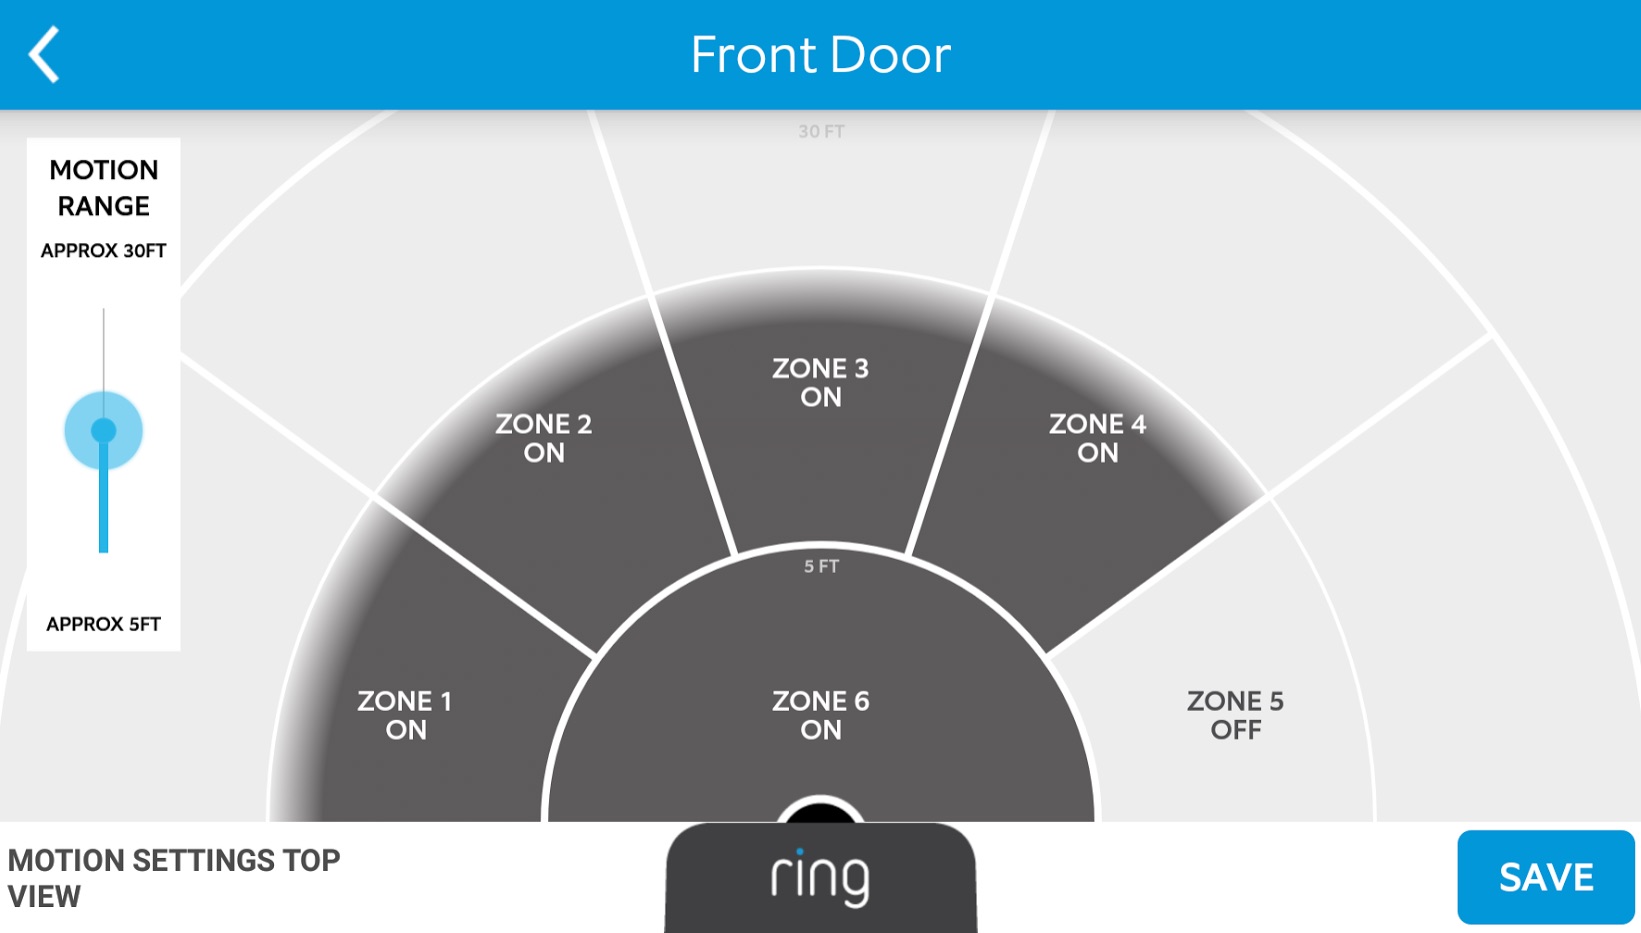
There are a few things I wish that Arlo Pro had. Probably the most important one would be configurable motion zones. Ring does this fairly well in their app. Nest does it even better by allowing you to draw the motion trigger areas. I would also like an option to have motion alerts pop me right into Live View. Hopefully these are things that can be added via app and firmware updates.
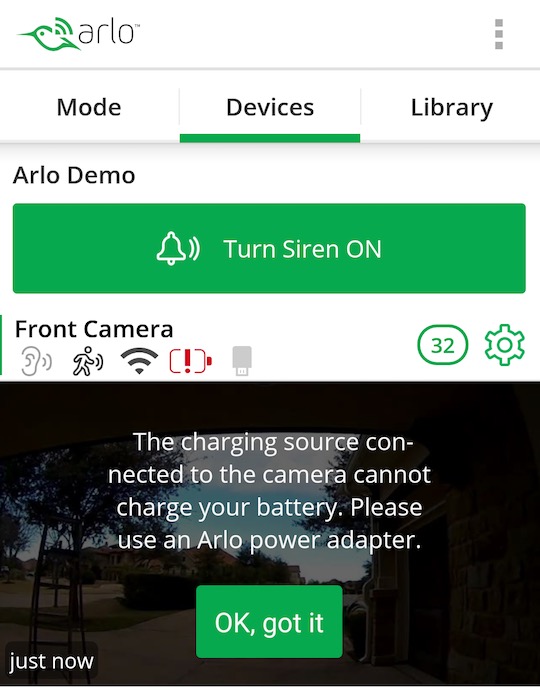
Also, I tried charging the camera battery with 2 different USB Battery Chargers and both resulted in a “The charging source connected to the camera cannot charge your battery. Please use an Arlo power adapter.” So even though it’s using micro usb cables, there is something proprietary going on with the charger. This crushes my plans of velcroing a USB Battery charger next to the camera to charge while in use.
Future Updates
“Smart Motion Recognition (coming later this year) – With smart object recognition launching later this year, Arlo will use advanced machine learning algorithms in the Arlo cloud to improve how Arlo cameras capture and report events. Smart recognition analytics identify people, cars, animals and swaying trees, allowing Arlo cameras to record and alert only those events that matter. Distinguishing between people, pets and other objects, and having the ability to ignore irrelevant movements and objects, eliminates unnecessary alerts, making Arlo even smarter and allowing you to focus on what matters most.”
Costs
Here are the current costs from Amazon at the time of writing this:
1 Camera Arlo Pro – $227.99
2 Camera Arlo Pro – $399.99
3 Camera Arlo Pro – $565.00
4 Camera Arlo Pro – $649.99
Additional Camera Addon – $169.99
Arlo also sells some additional accessories like Black Silicon Skins, spare batteries, and screw in mounts. I have heard rumors of a solar charging panel and this is something I would definately purchase!
Now available to order are the Arlo Solar Panel – Designed for Arlo Pro & Arlo Go Wire-free Cameras (VMA4600) $69.99 on Amazon and the Arlo Outdoor Power Adapter – Designed for Arlo Pro Wire-free Cameras (VMA4700) $19.99 on Amazon.
No products found.No products found.
Summary
In my household, we’ll be sad to send this setup back to Arlo 🙁 but not too sad as I will definitely be purchasing a 3 Camera Arlo Pro to cover the perimeter of my house! I think the price is right and you’d be hardpressed to find an easier way to get a DIY Security Camera system that functions as well as the Arlo Pro.
[ratings]
amzn_assoc_placement = “adunit0”;
amzn_assoc_search_bar = “false”;
amzn_assoc_tracking_id = “geekpi-20”;
amzn_assoc_ad_mode = “manual”;
amzn_assoc_ad_type = “smart”;
amzn_assoc_marketplace = “amazon”;
amzn_assoc_region = “US”;
amzn_assoc_title = “Buy Arlo Pro on Amazon”;
amzn_assoc_linkid = “44bd4d42d66cf386ea74c3e1b06968ec”;
amzn_assoc_asins = “B01LR8PG6Q,B01LWS96JV,B01MF9DLQW,B01LR8PG52”;